Do you want to change a drop shadow on hover in Elementor? By changing the drop shadow on hover can add a touch of interactivity to your website. This is especially useful for adding shadow on a png, SVG or webp image because a normal box shadow will add a square shadow.
With the Advanced Shadows extension from The Plus Addons for Elementor, you can easily change drop shadow on hover.
To check the complete feature overview documentation of The Plus Addons for Elementor Advanced Shadows extension, click here.
Now to change the drop shadow on hover follow the steps –
1. Select a container or a widget.
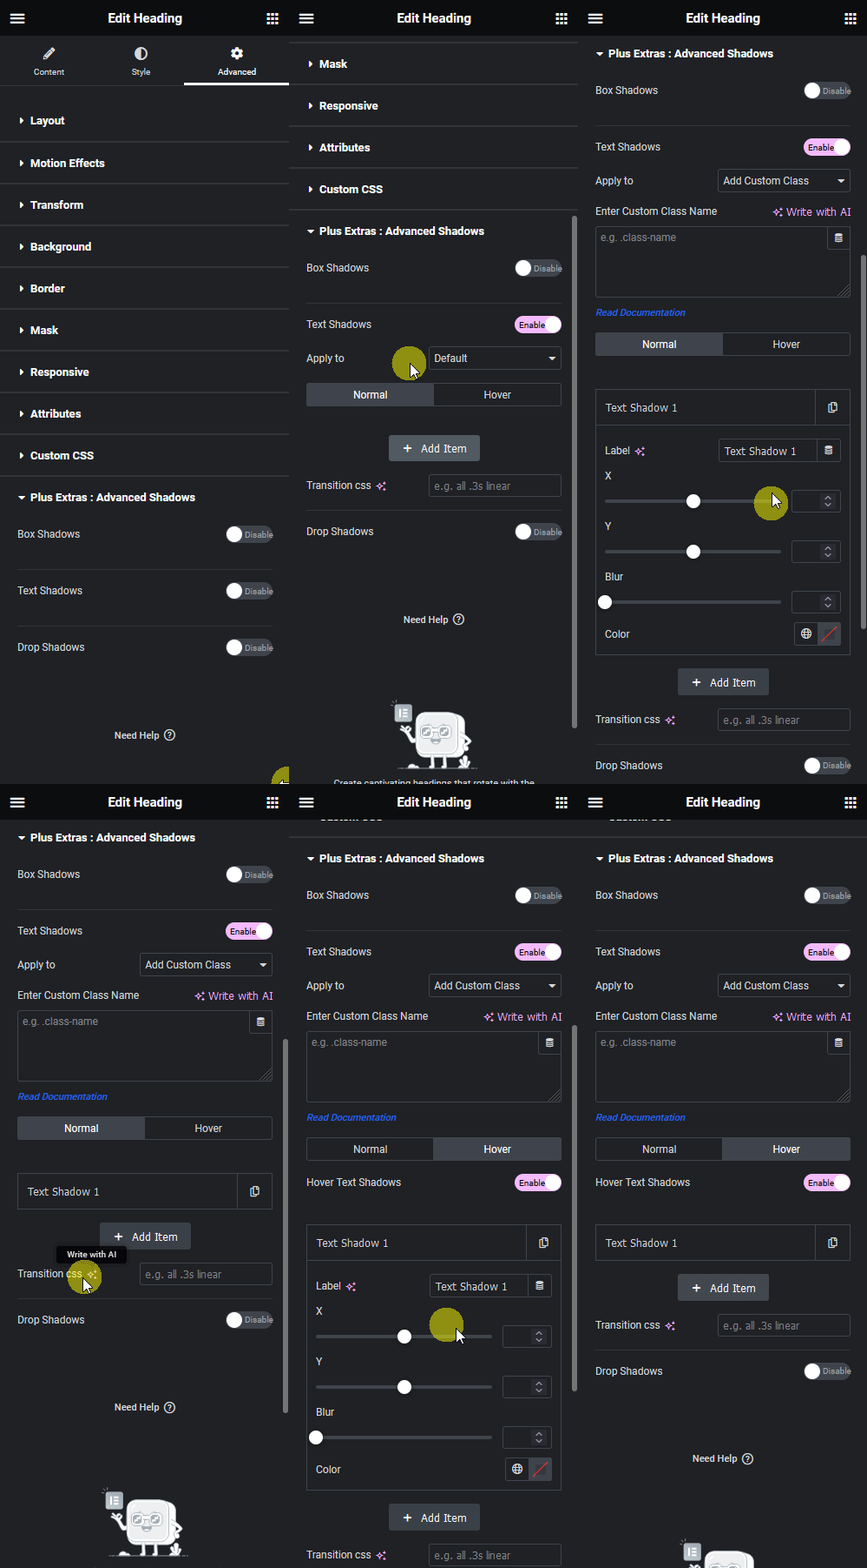
2. Then go to Advanced > Plus Extras : Advanced Shadows and enable the Drop Shadows toggle.

3. From the Apply to dropdown, you have to select where you want to apply the drop shadow. Here you’ll find two options –
Default – This will apply the drop shadow to all the elements within the widget or the container.
Add Custom Class – With this option, you can target an element by class name within a widget or container.
Note: You can use the browser Developer tools to find the element’s class name.
4. Then in the Normal tab you have to add a drop shadow by clicking on the +Add Item button.
From the X field, you can move the shadow horizontally.
From the Y field, you can move the shadow vertically.
From the Blur field, you can add blur to the shadow.
In the Color field, you can add color to the shadow.
5. Following the same process click on the +Add Item button to add multiple drop shadows.
In the Transition css field, you can add a transition value for a smooth animation.
6. Then go to the Hover tab and enable the Hover Drop Shadows toggle. Click on the +Add Item button to add different sets of drop shadows for hover.
Again in the Transition css field, you can add a transition value for a smooth animation.
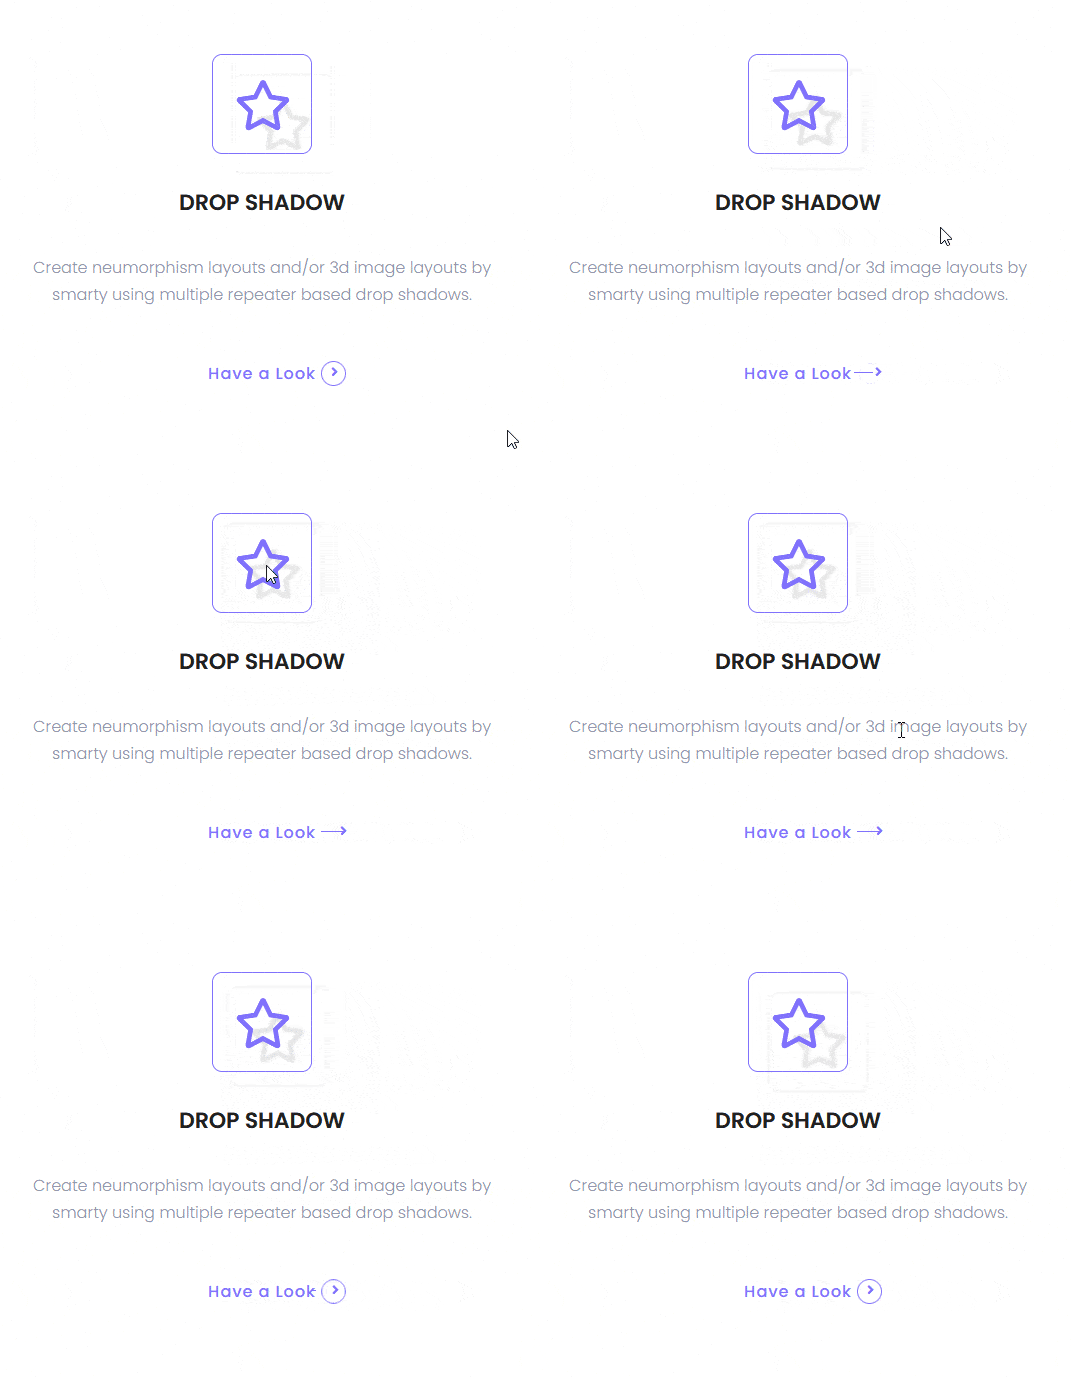
Now you’ll see an animated drop shadow on hover.

For further exploration of design techniques on text shadow effects in Elementor.


