Are you looking to translate your Elementor page created with The Plus Addons for Elementor plugin? The Plus Addons for Elementor plugin (free and pro) is fully compatible with the WPML, so you can easily translate your content to any language.
Let’s see how you can translate your The Plus Addons for Elementor content with WPML.
Required Plugins
- Elementor
- The Plus Addons for Elementor
- WPML Multilingual CMS
- WPML String Translation
Note: The Plus Addons for Elementor Pro is also fully compatible with the WPML.
Setup WPML
Once the WPML Multilingual CMS and WPML String Translation plugins are installed and activated, go to the WPML setup page.
On the first screen, you’ll see the default language is automatically selected in the Default language field.
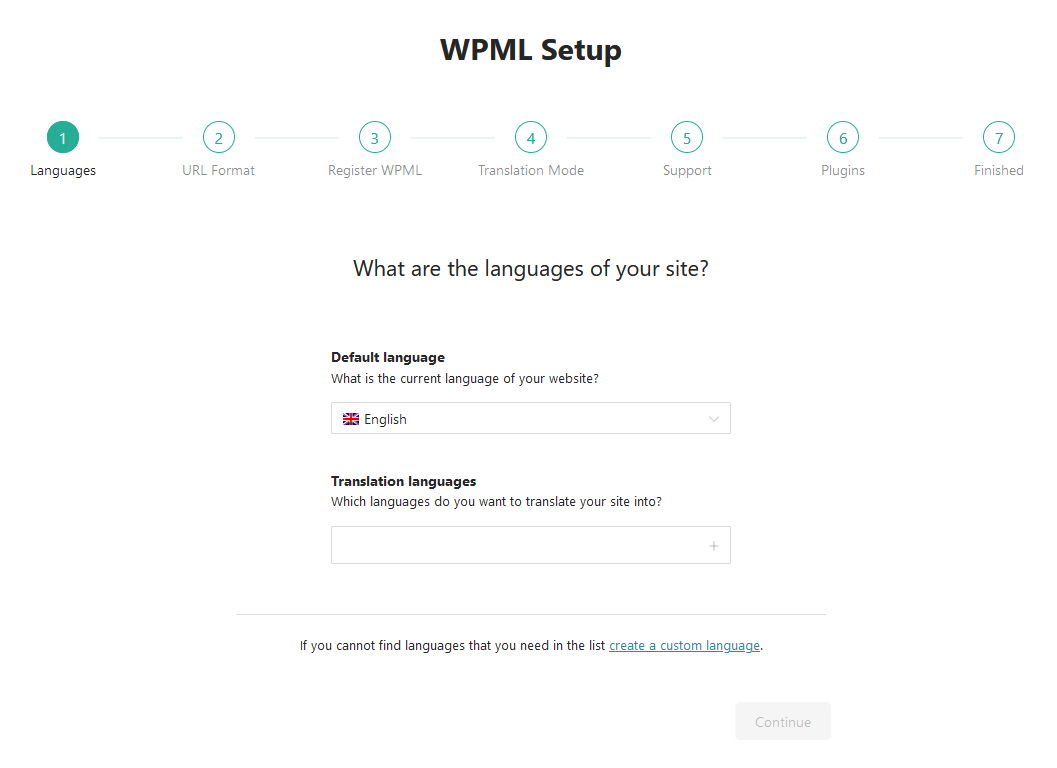
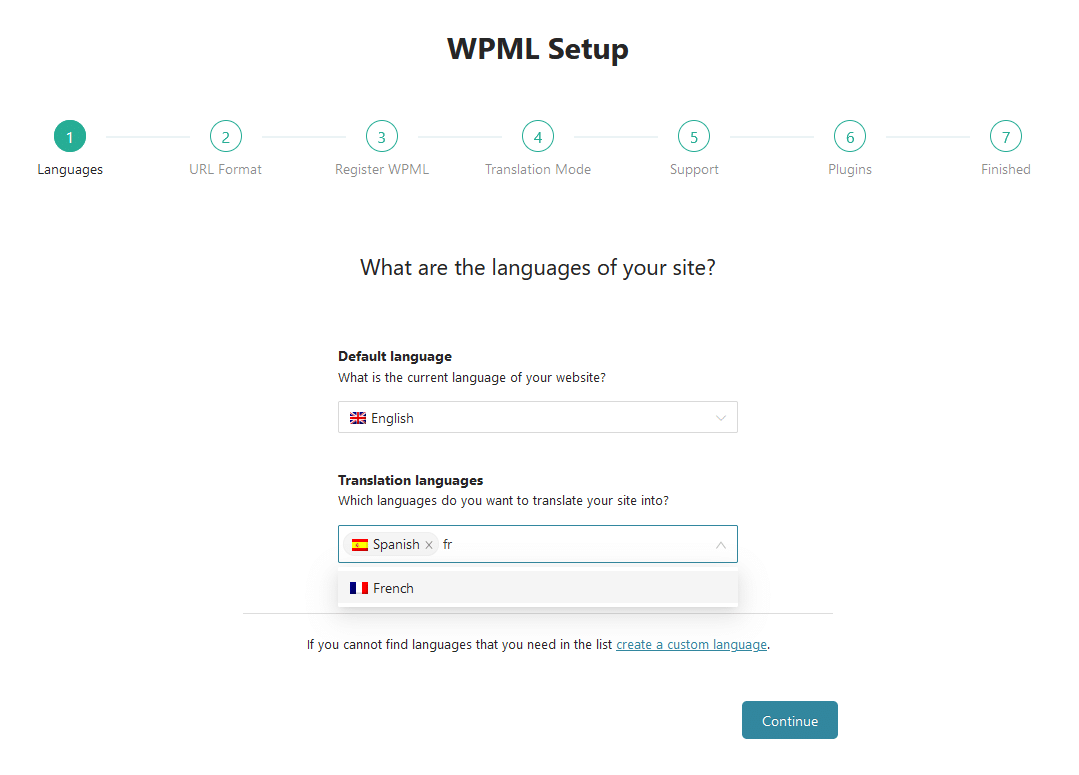
In the Translation languages field, you have to add the translation languages, i.e. the languages you want your content to translate. You can add multiple languages.
Once done, click on the Continue button.
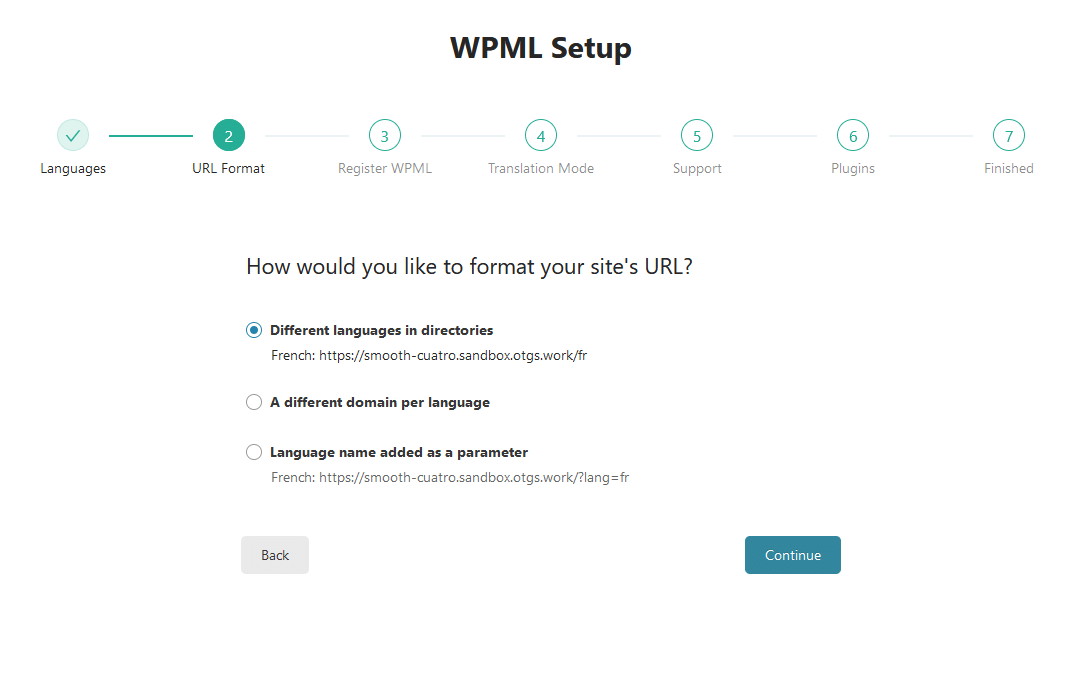
On the next screen, you have to select the URL format. Once done, click on the Continue button.
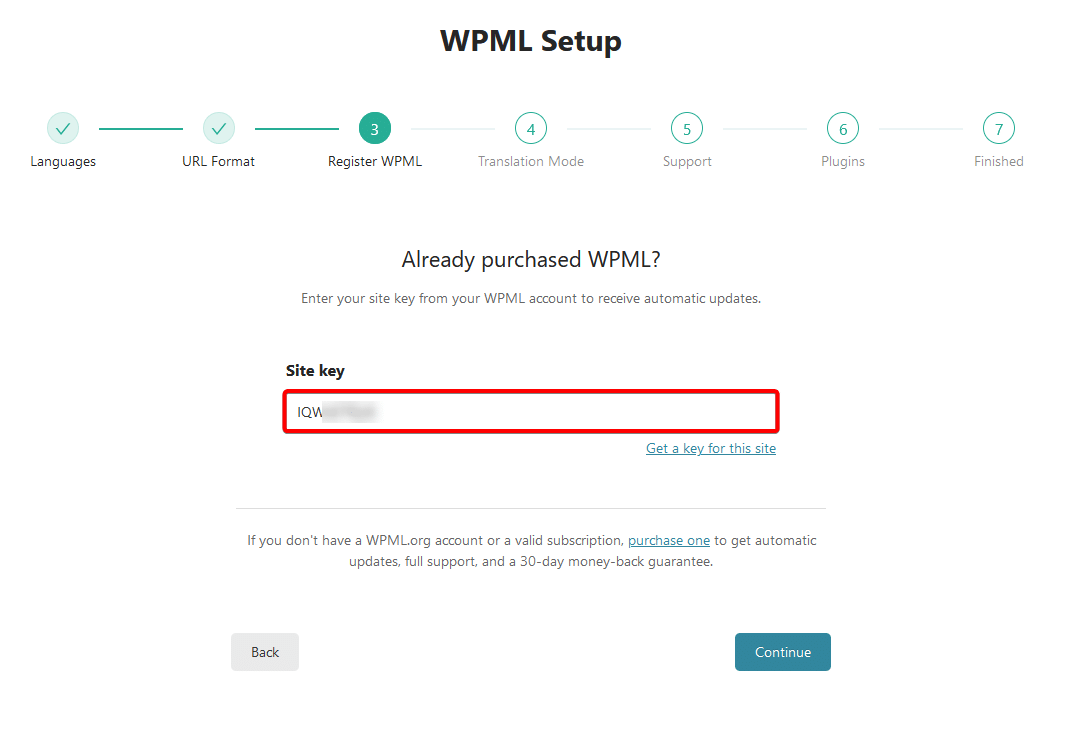
Next, you have to add the key in the Site key field and then click on the Continue button.
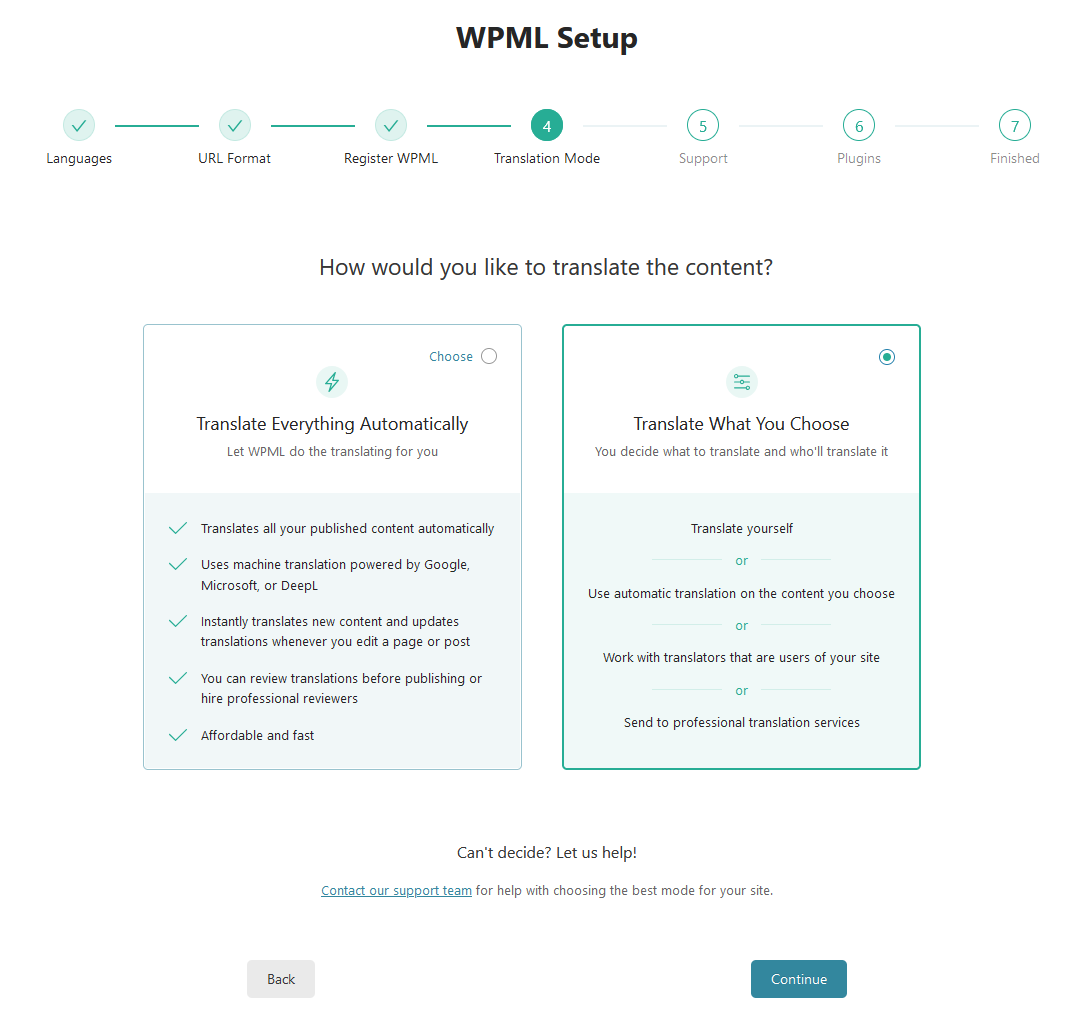
Then you have to select the translation mode, you can translate everything automatically using the WPML automatic translate feature or you can manually translate using the WPML translation editor.
Let’s select Translate What You Choose.
Note: For automatic translation, you’ll need credits.
Then, you have to select who can do the translation, select the appropriate options.
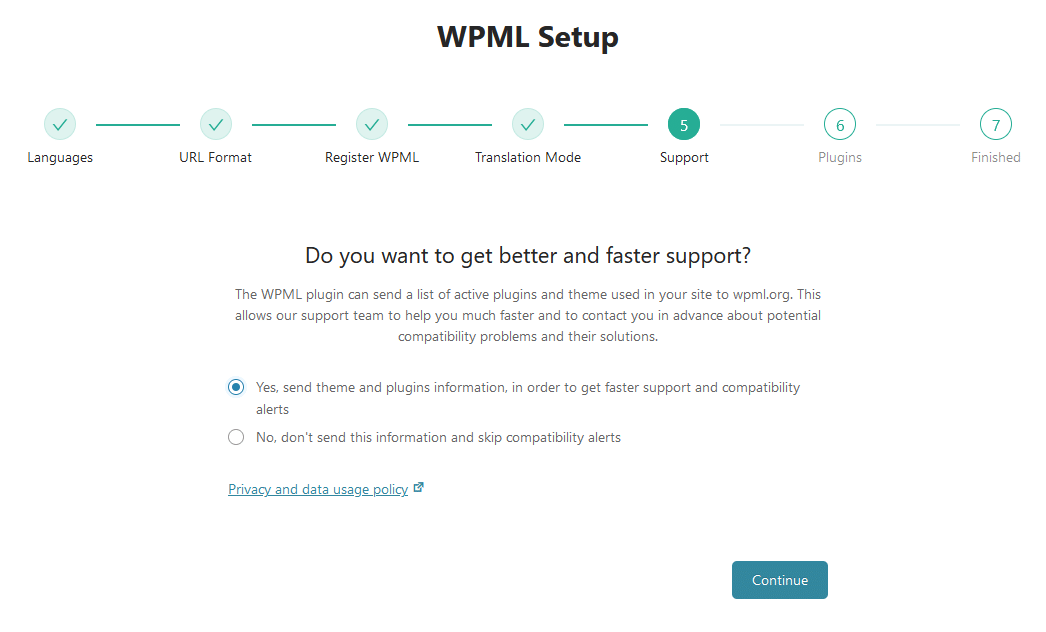
Then select the appropriate support type and click on the Continue button.
On the next screen, it will suggest some helpful plugins, you can install them or skip the step.
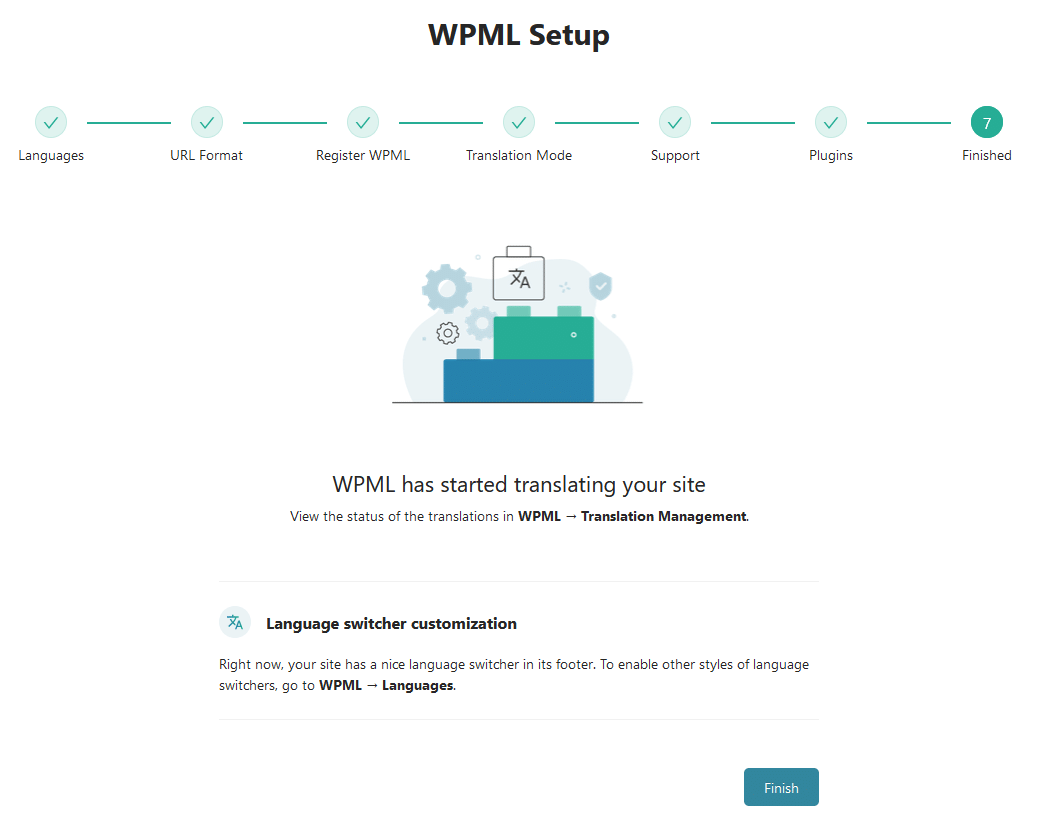
On the next screen, click on the Finish button to complete the setup.
Manage WPML Settings
If you want to customize any WPML translation settings, go to WPML > Settings. From here you can customize the settings as per your requirements.
Translate The Plus Addons for Elementor Content
For instance, we have created a simple Services page using the Info Box widget from The Plus Addons for Elementor.
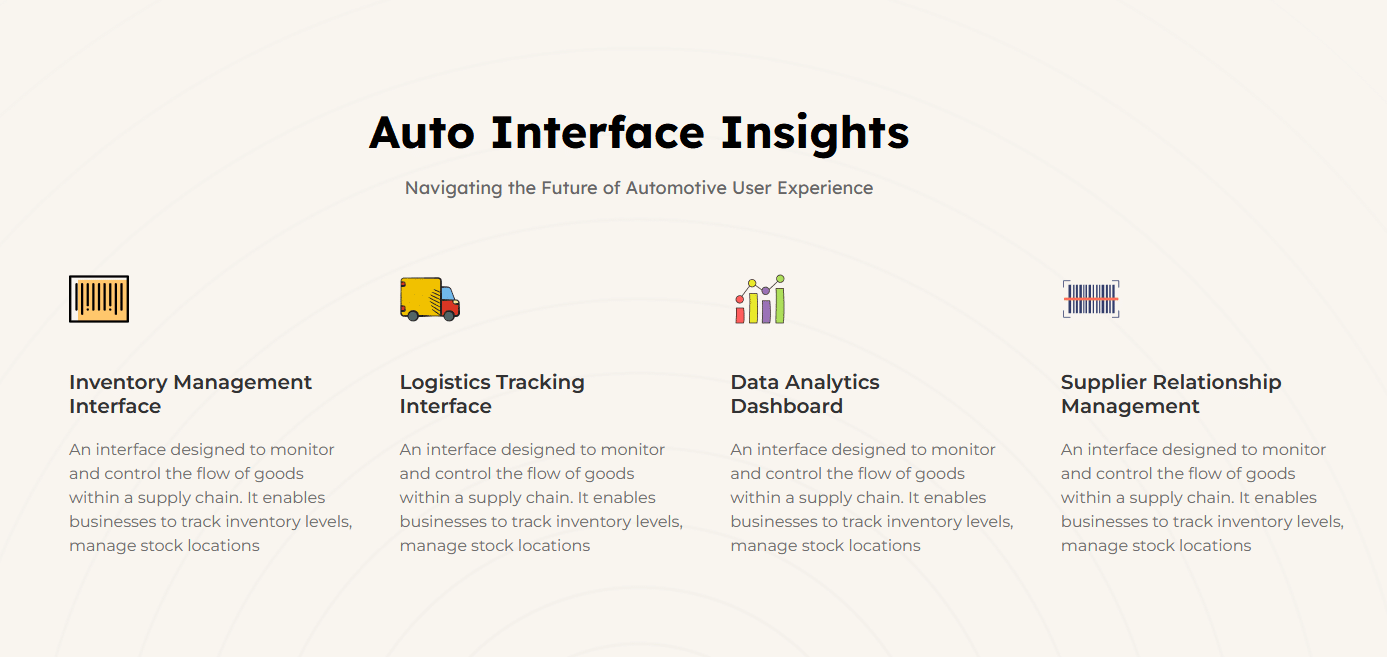
Once the page is ready, go to Pages > All Pages and head over to the page you want to translate, for instance, the Services page.
You’ll see country flags for specific languages as per your settings, just click on the + icon.

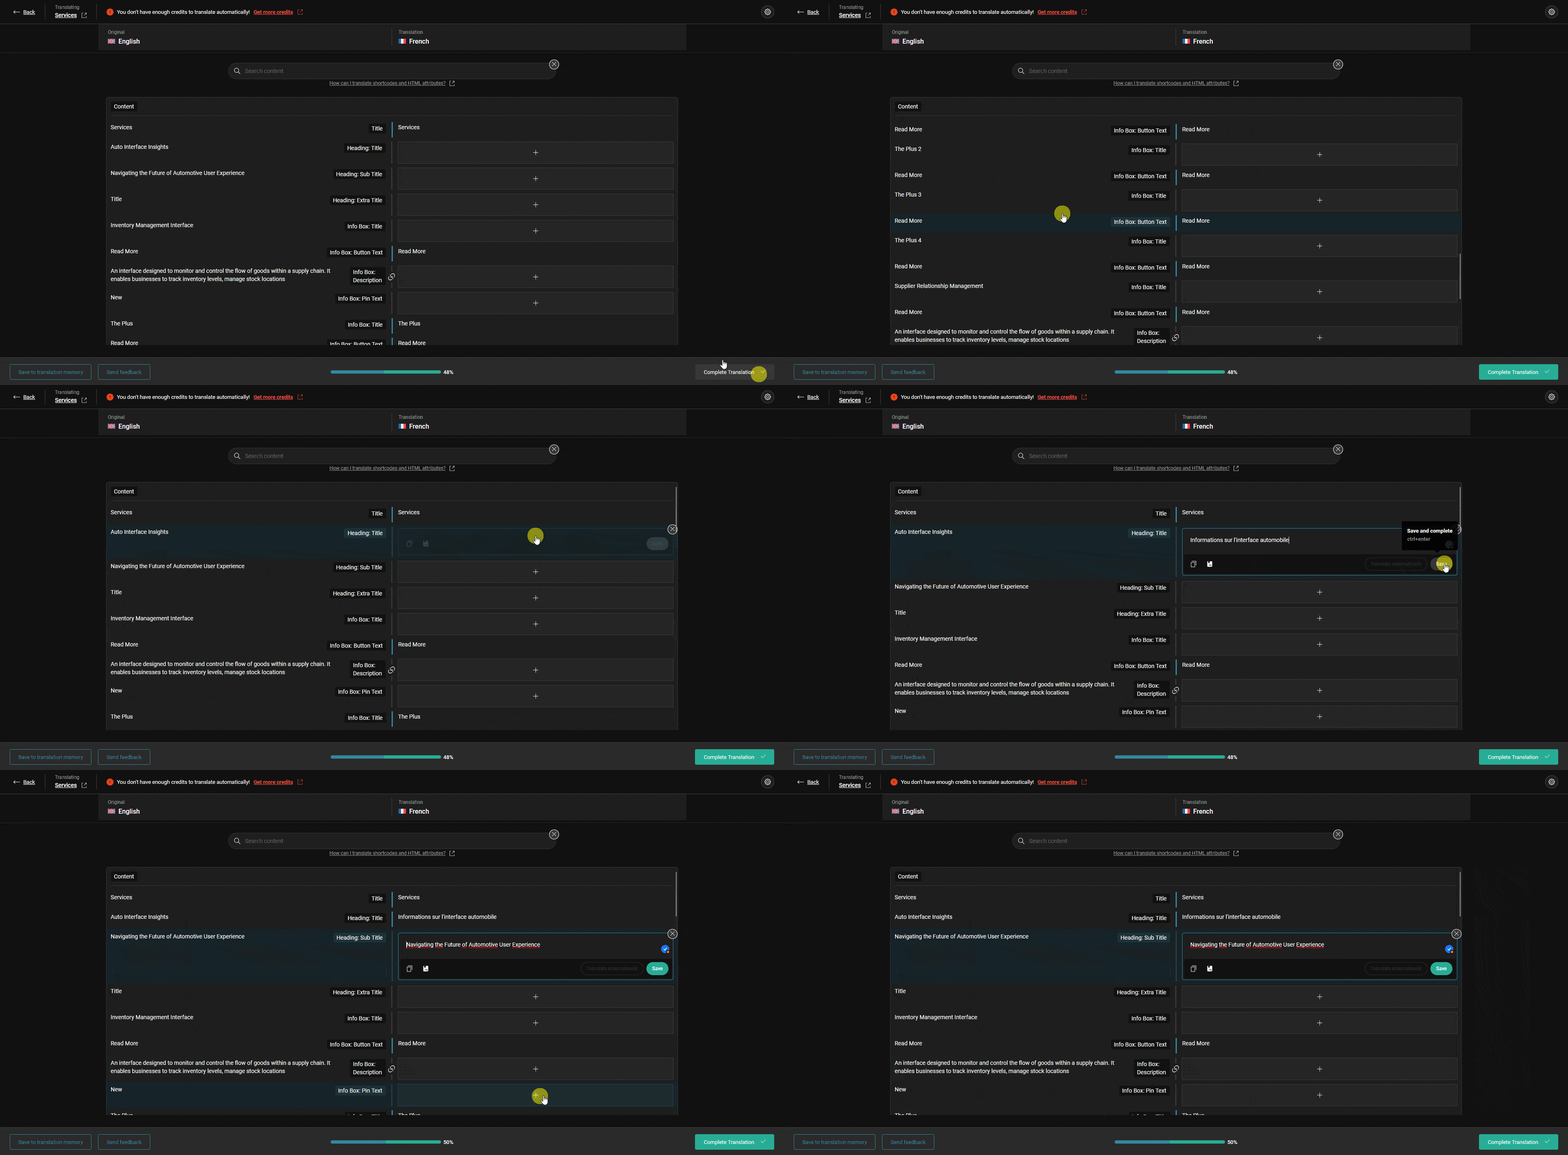
It will take you to the WPML translation editor, where you’ll find all the text of the page and you have to manually add the translation for each text.
To add translation to any specific text click on the + icon and add the translated text then click on the Save button.
Once all the texts are translated, click on the Complete Translation button to complete the translation.
Depending on the amount of content, it might take some time to save the translation.
Once the translation is saved, you can easily view the translated content in the browser.
Note: Depending on your website settings, you might not see the language switcher at the bottom of your website.
Translate The Plus Addons for Elementor Plugin Strings With WPML String Translation
If you want, you can also translate The Plus Addons for Elementor plugin (free and pro) strings with the WPML string translation feature.
To do so, from the Dashboard, go to WPML > Theme and plugins localization.
On that page, scroll down to the Strings in plugin section and select The Plus Addons for Elementor and The Plus Addons for Elementor – Pro, then click on the Scan selected plugins for strings button.
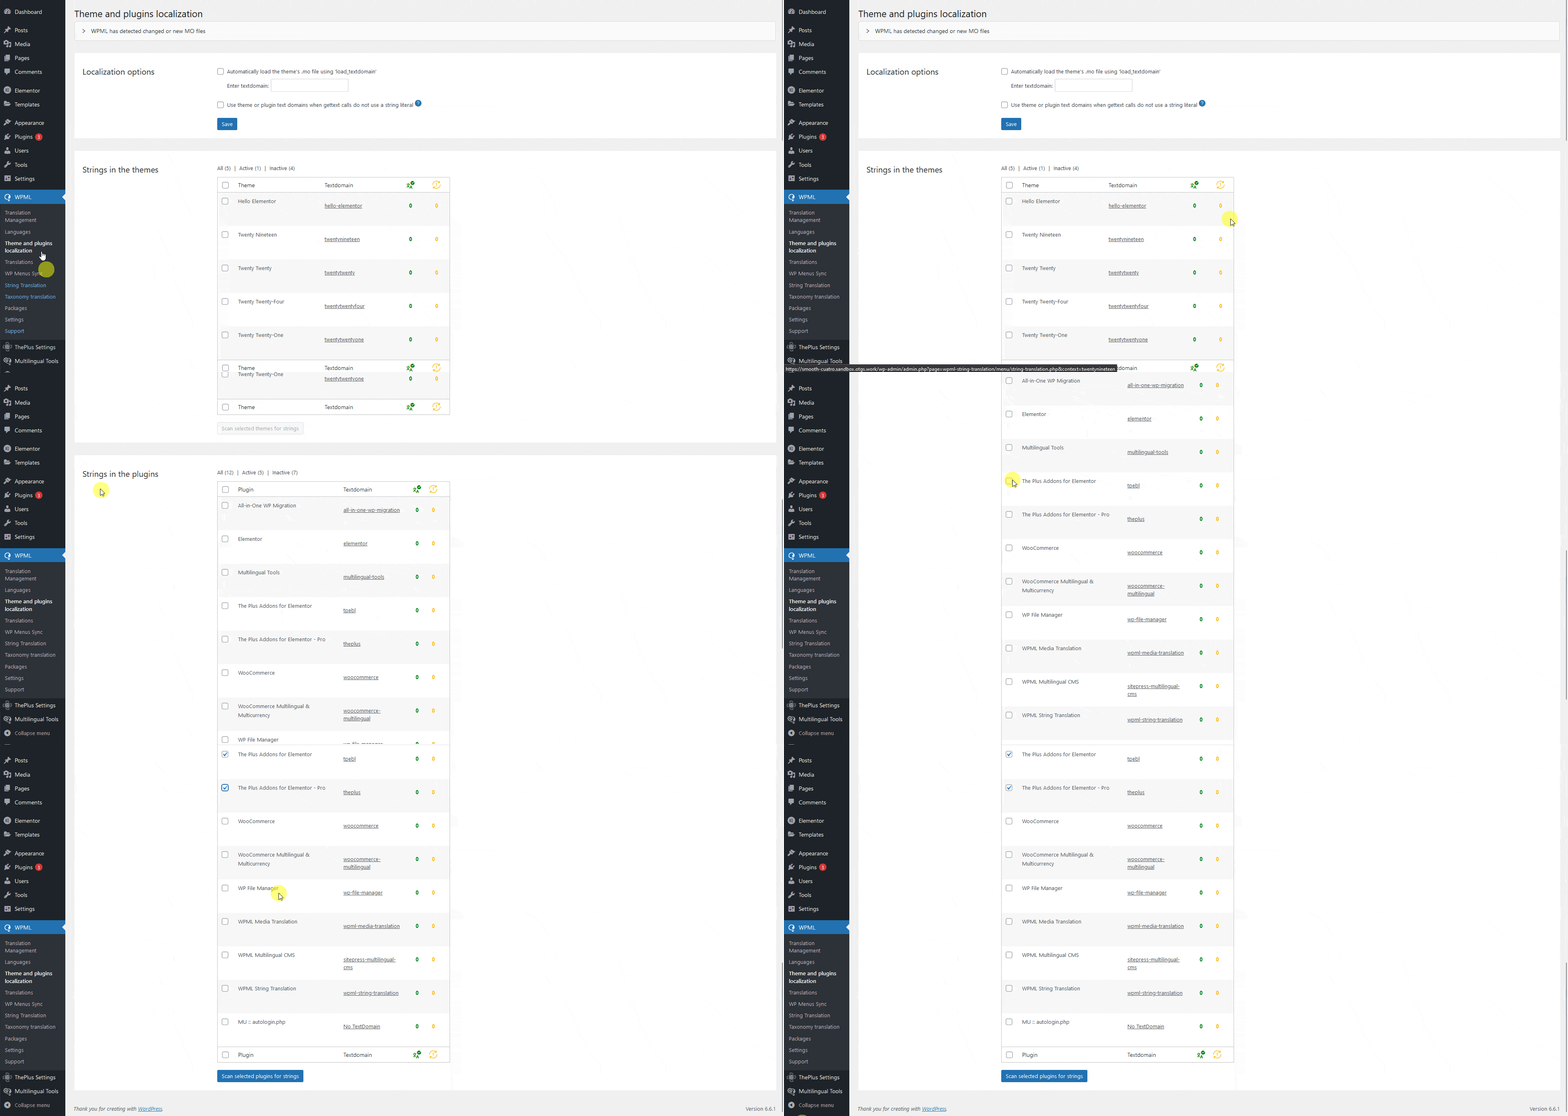
Then a popup will open and wait for the scan to complete.
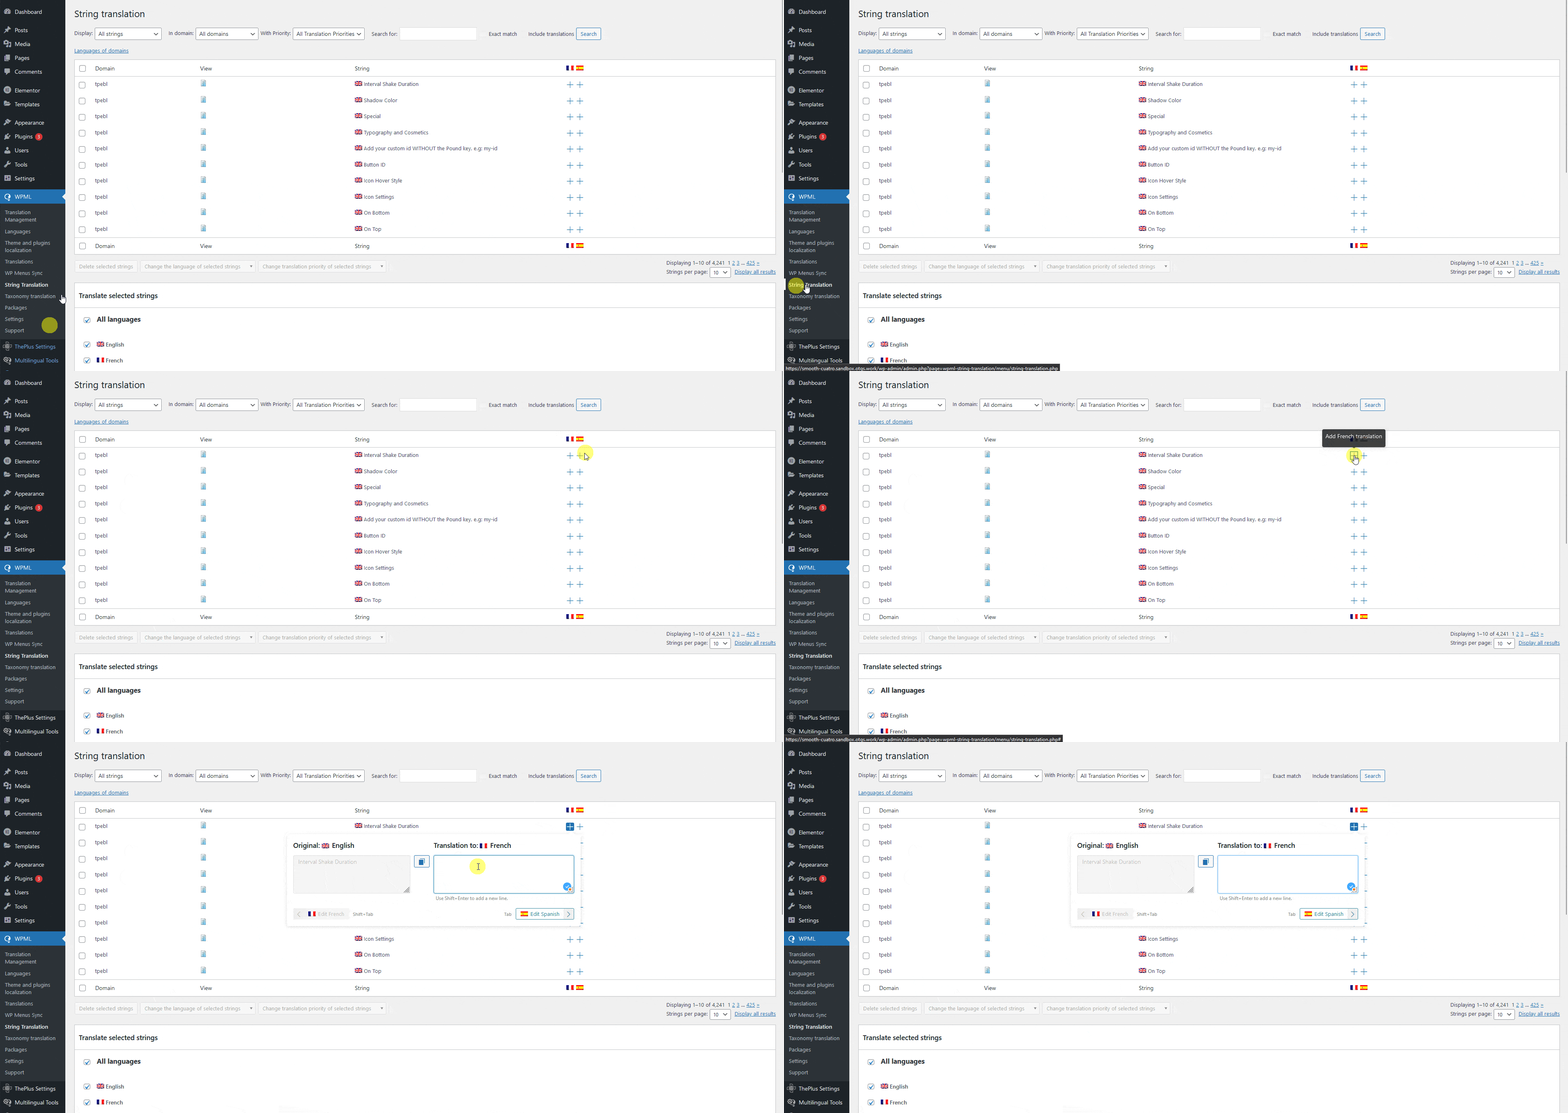
Once done, go to WPML > String Translation, then click on the + icon beside a string and add the translated string for that specific language.
So this is how easily you can translate content created with The Plus Addons for Elementor plugin and its strings.

