


Want to make your website more visually appealing and engaging? Learn How to Add Background Image in Elementor.
Background images are a great way to enhance your website’s aesthetic appeal, create a more immersive experience for your visitors, and reinforce your brand identity.
They can set the tone for your WordPress site, guide the user’s eye, and even improve readability.
However, adding background images traditionally involves playing around with CSS code and media queries. This can be frustrating if you aren’t an expert coder.
The Elementor editor simplifies this process and offers a user-friendly way to add background images to your WordPress website.
Let’s explore easy methods for adding images to your site’s background using the Elementor editor and specialized image widgets from The Plus Addons for Elementor.
Why Should You Add a Background Image in Elementor?
Background images can improve your website’s design and user experience. Here’s why you should consider adding them:
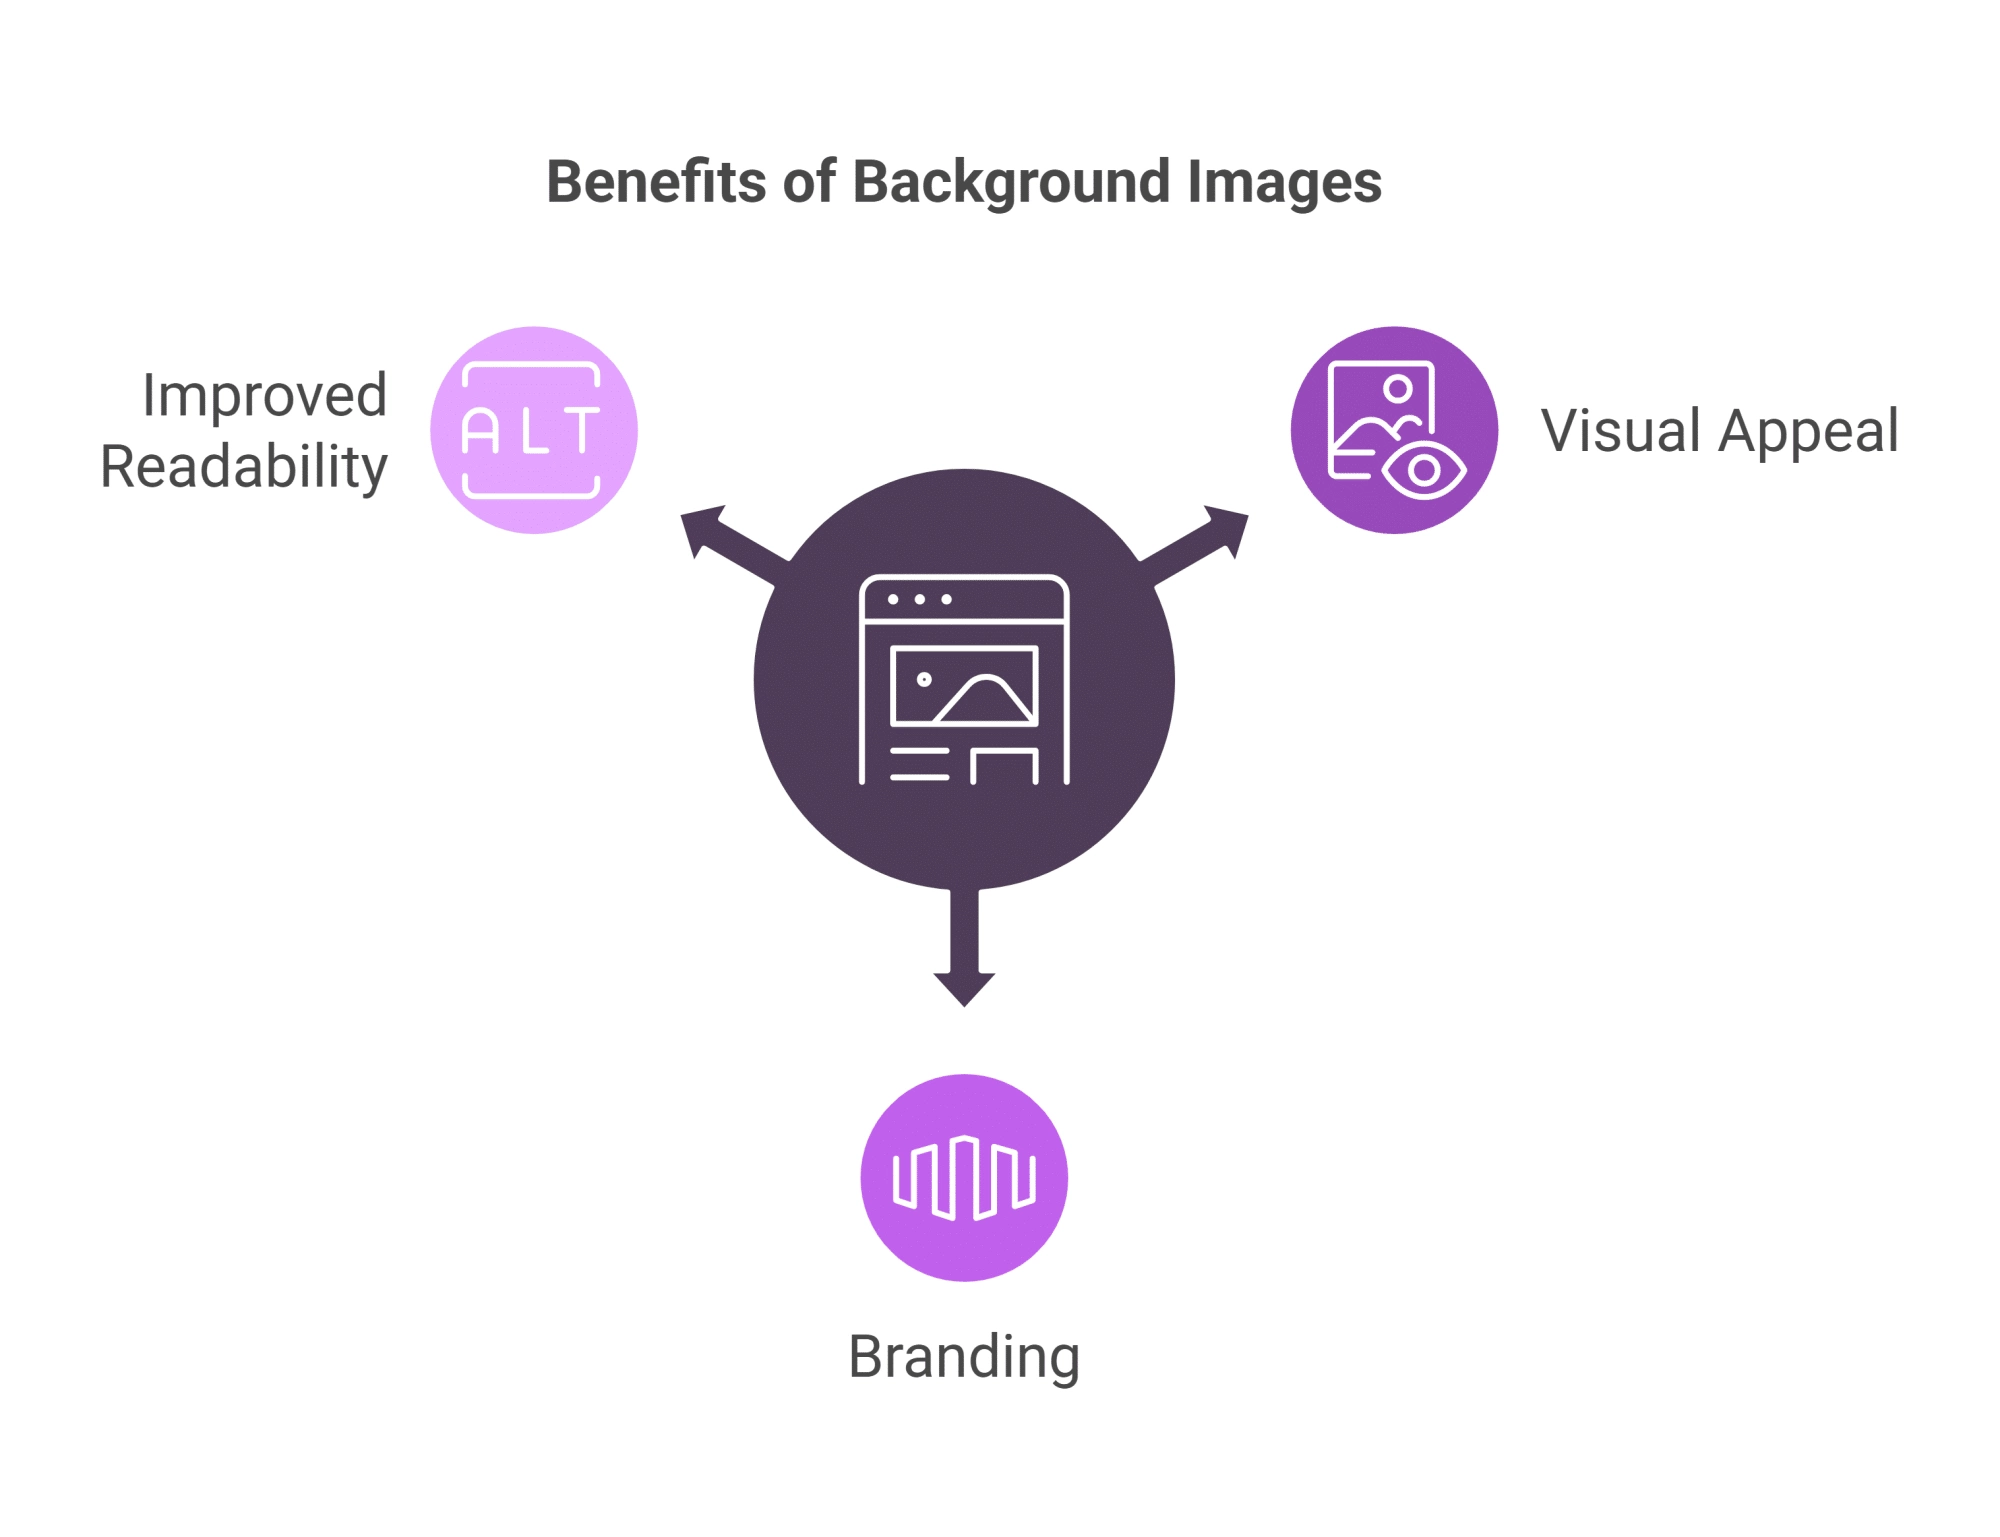
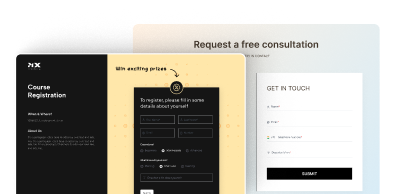
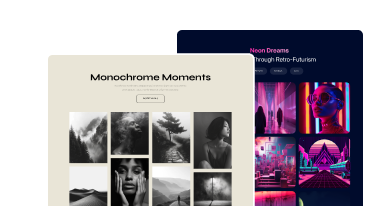
- Visual Appeal: A well-chosen image can instantly capture attention and create a positive first impression. It sets the visual tone and atmosphere of your website.
- Branding: Use background images to reinforce your brand identity. Select images that reflect your brand colors, style, and values.
- Improved Readability: A subtle image in the background can provide visual contrast, making text content easier to read and digest.
Adding a Background Image in Elementor [Multiple Scenarios]
Elementor offers incredible flexibility when it comes to adding images to the background. You can apply them to your entire website, a specific page, or even individual sections and columns.
You can also add dynamic effects like hover transitions, scrolling effects, and parallax backgrounds to create a more interactive and engaging experience.
Let’s see how you can achieve these design effects.
How to Add Background Image in Elementor for the Whole Website?
Go to your WordPress dashboard, and navigate to Pages > All Pages.
Select any page and click Edit with Elementor. Once the Elementor editor loads, click the three horizontal lines icons in the top left corner to open the Site Settings panel.
In the site settings panel, select Site Settings > Background.
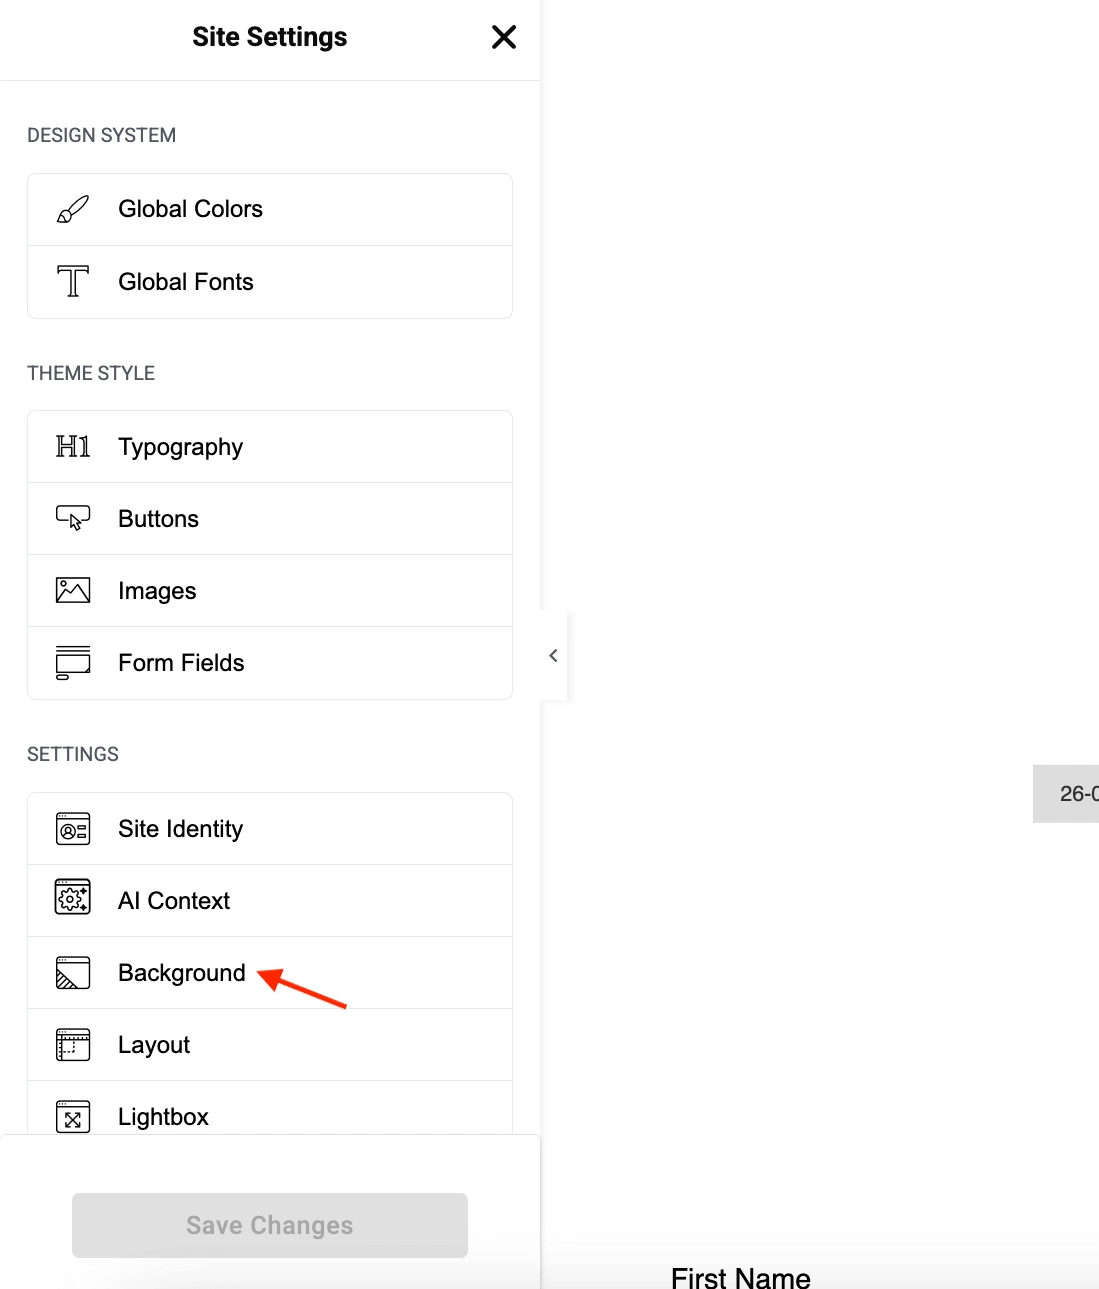
Choose the Classic background type. Click the Upload Image button to select the image you want to use for your website’s background.

Now you can adjust your background settings with the following configurations:
- Attachment: This controls how the background image behaves when you scroll. Scroll means the image moves with the page content, while Fixed keeps it in a stationary position.
- Repeat: This dictates how the image tiles across the screen. Options include repeating horizontally (Repeat-X), vertically (Repeat-Y), in both directions (Repeat), or not at all (No-Repeat).
- Display Size: This determines how the image is scaled. The cover ensures the image covers the entire background, potentially cropping some parts. Contain fits the whole image within the background, potentially leaving empty space. Auto displays the image at its original size.
Once you’re happy with your settings, click the Save Changes button.
Are your images showing up blurry? Learn how to fix blurry images in Elementor.
How to Add Background Image in Elementor for an Individual Page?
Next, let’s find out how to set background image in Elementor on an individual page.
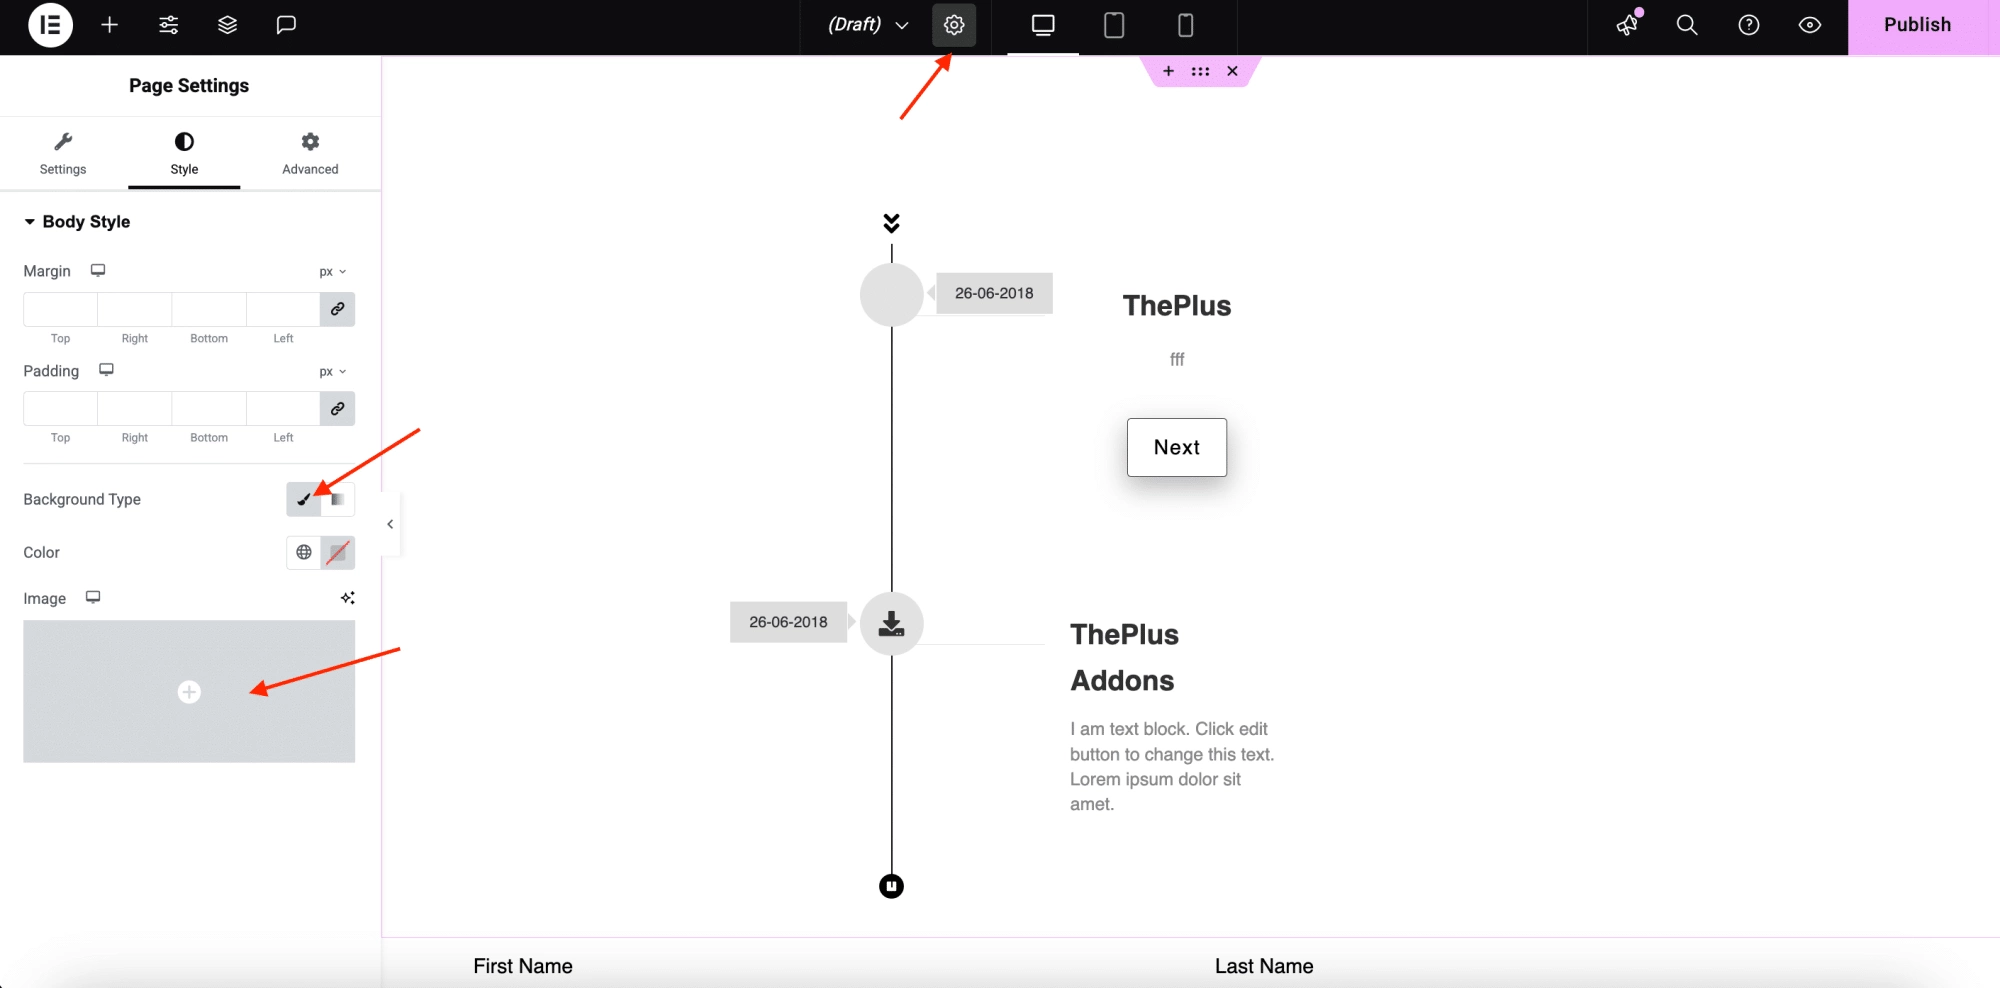
Open the page you want to edit with Elementor. In the Elementor editor, click the gear icon (Settings) at the top center to open the Page Settings.
In the Page Settings panel, go to Style > Background Type and select Classic.
Click the “+” button to upload the image you want to use as your page background.
Adjust the background settings (Attachment, Repeat, Size, Overscroll Behavior) as needed.
These settings work the same way as for the site settings.
How to Add Background Image in an Elementor Section or Column?
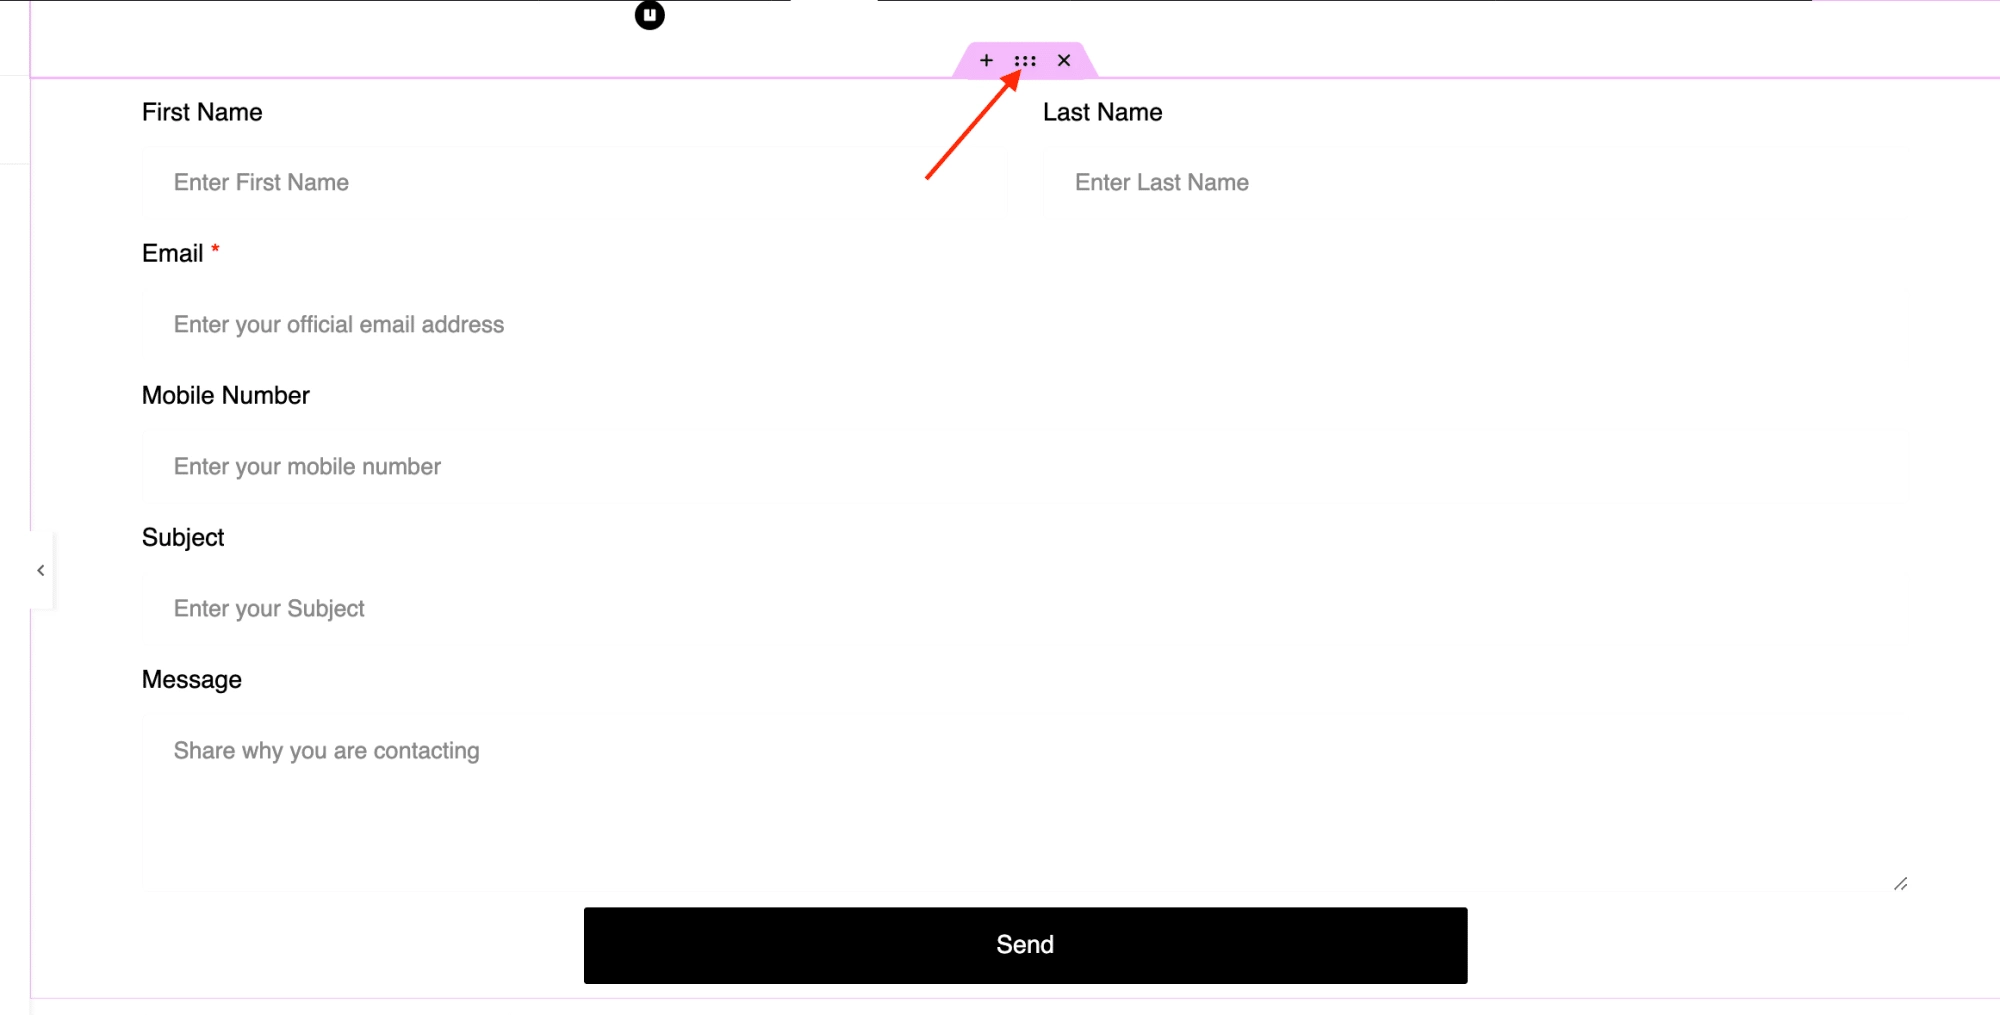
In the Elementor editor, hover over the section or column you want to modify and click the handle to open the Section Settings.
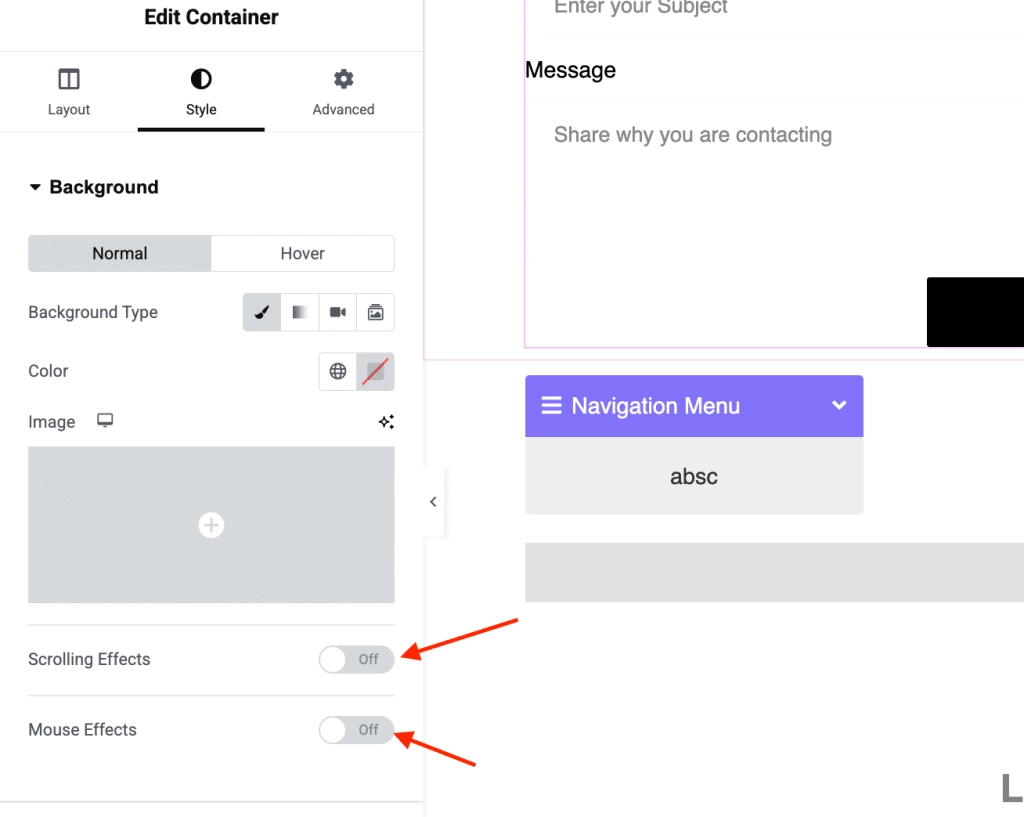
In the Section Settings, go to the Style tab. You’ll see two options under Background: Normal and Hover.
- Normal: This sets a stationary background image for the section/column.
- Hover: This allows you to set a different background image that appears when a user hovers their mouse over the section/column.
Select either Normal or Hover, then choose Classic as the Background Type.
Click the “+” button to upload your desired background image.

To configure the background:
If you select Normal, you can configure the Scrolling Effect. This creates a parallax effect where the background image moves at a different speed than the content when scrolling.
You can also add a Mouse Effect which creates subtle movement in the background image as the user moves their mouse over the section.
If you select Hover, you can also set the Transition Duration. This determines how long it takes for the hover background image to transition in and out when the user hovers their mouse over the section.
Elementor’s default settings automatically cover the entire content section with the image. However, you can adjust this using the size settings.
Want to improve user experience on your website? Learn how to add a parallax effect in Elementor.
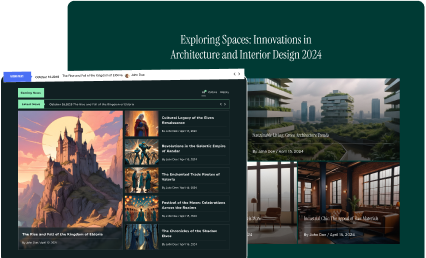
How to Change a Background Image on Scroll in Elementor?
Elementor provides a solid foundation for website design, but sometimes you need extra features to achieve a specific look.
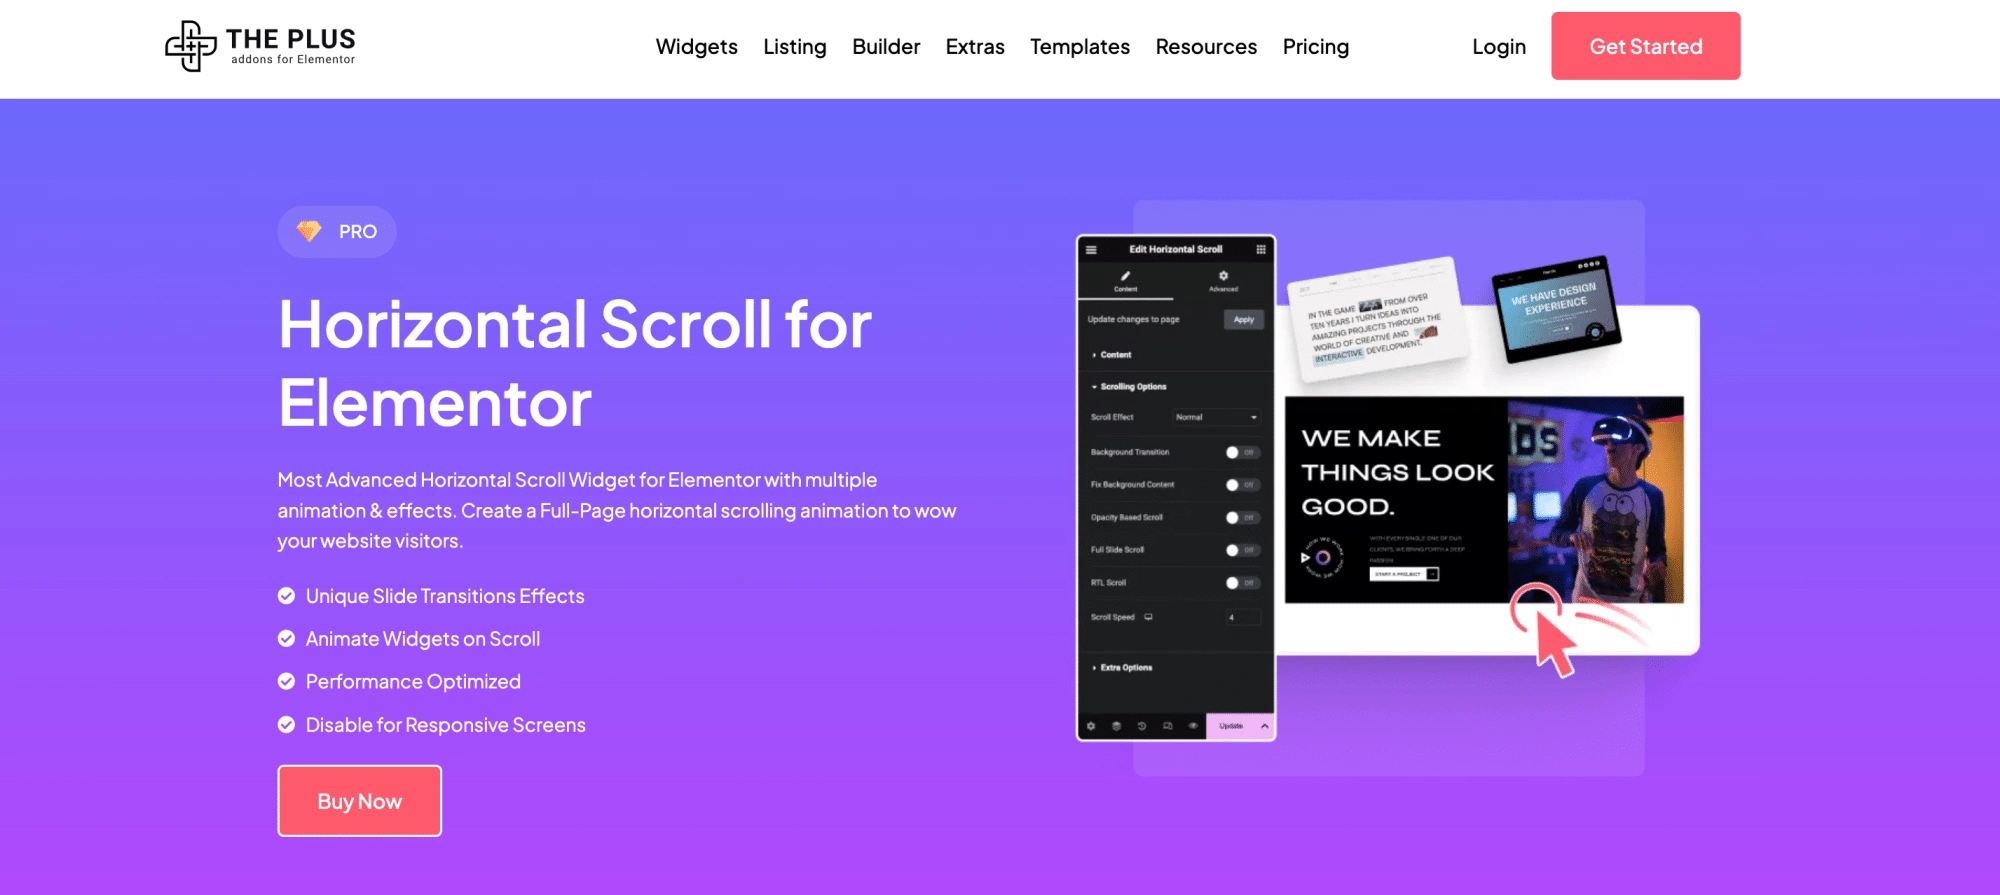
If you want to change your background image as the user scrolls, you can use the Horizontal Scroll widget from The Plus Addons for Elementor to achieve this design feature.
First, ensure you have The Plus Addons for Elementor plugin installed and activated on your WordPress website.
Edit the page where you want the scrolling effect with Elementor.
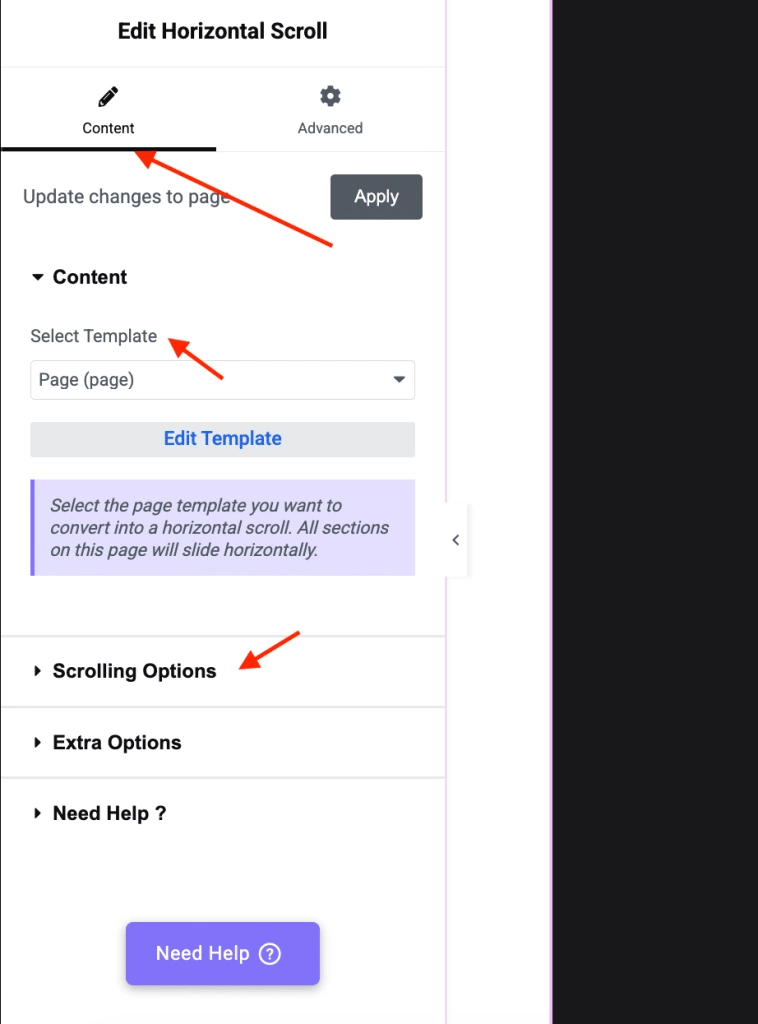
Search for the Horizontal Scroll widget in the Elementor panel and drag it onto your page.
The Plus Addons offers pre-designed templates to get you started quickly.
In the widget settings, go to Content > Select Template and choose a template that suits your design.
To activate the background image change effect, go to Scrolling Options and turn on the Background Transition toggle.
You’ll see a list of items. Each item represents a section within your horizontal scroll, and you can set a different background image for each.
Click on an item to edit its settings, and upload your desired background image.
To create more sections with different background images, click the + Add Item button. You can add as many items as you need to create your desired scrolling effect.

Control the smoothness of the background transitions by adjusting the Background Transition Duration value.
This determines how long it takes for one background image to fade into the next.
Once you’re satisfied with your setup, click the Apply button at the top of the content tab to save your changes.
Now, when visitors scroll through the Horizontal Scroll section on your page, the background image will dynamically change.
Detailed step-by-step guide here: How to Change the Background Image on Scroll in Elementor Horizontal Page Scroll?
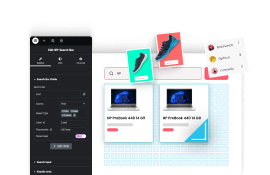
How to Change Background Image on Hover in Elementor?
If you want to add a touch of interactivity and visual flair to your website, changing background images on hover can create a dynamic and engaging user experience.
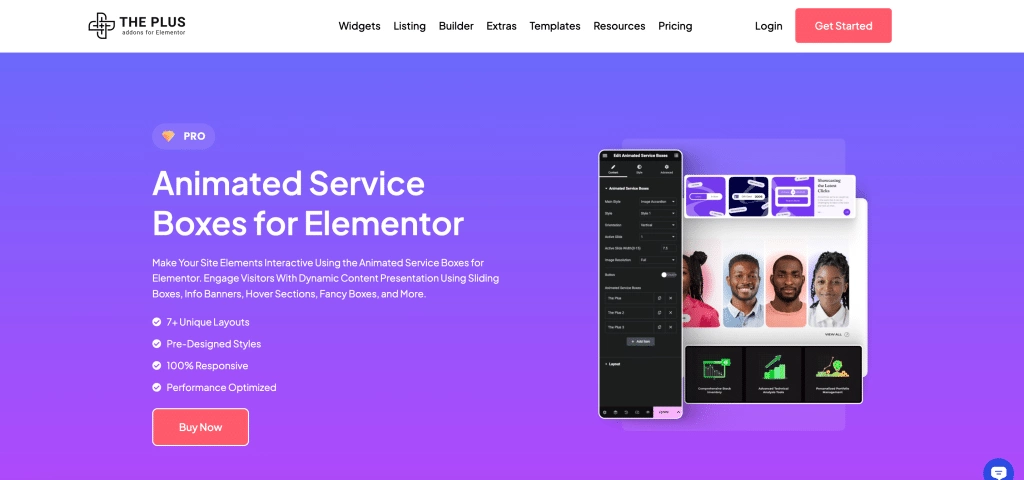
With the Animated Service Boxes widget from The Plus Addons for Elementor, achieving this effect is a breeze.
Begin by installing and activating The Plus Addons for Elementor plugin on your WordPress site.
Edit the page where you want the hover effect and add the “Animated Service Boxes” widget from the Elementor panel.
In the widget settings, navigate to Content > Main Style > Hover Style.
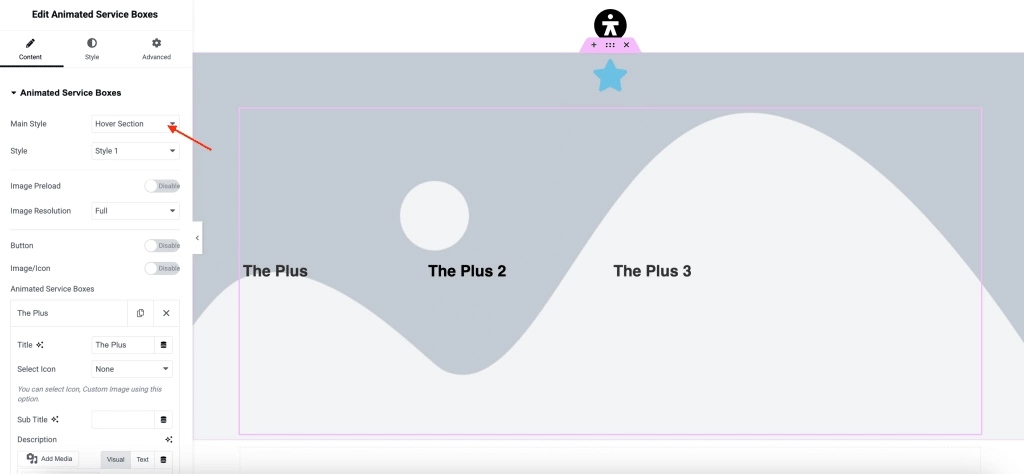
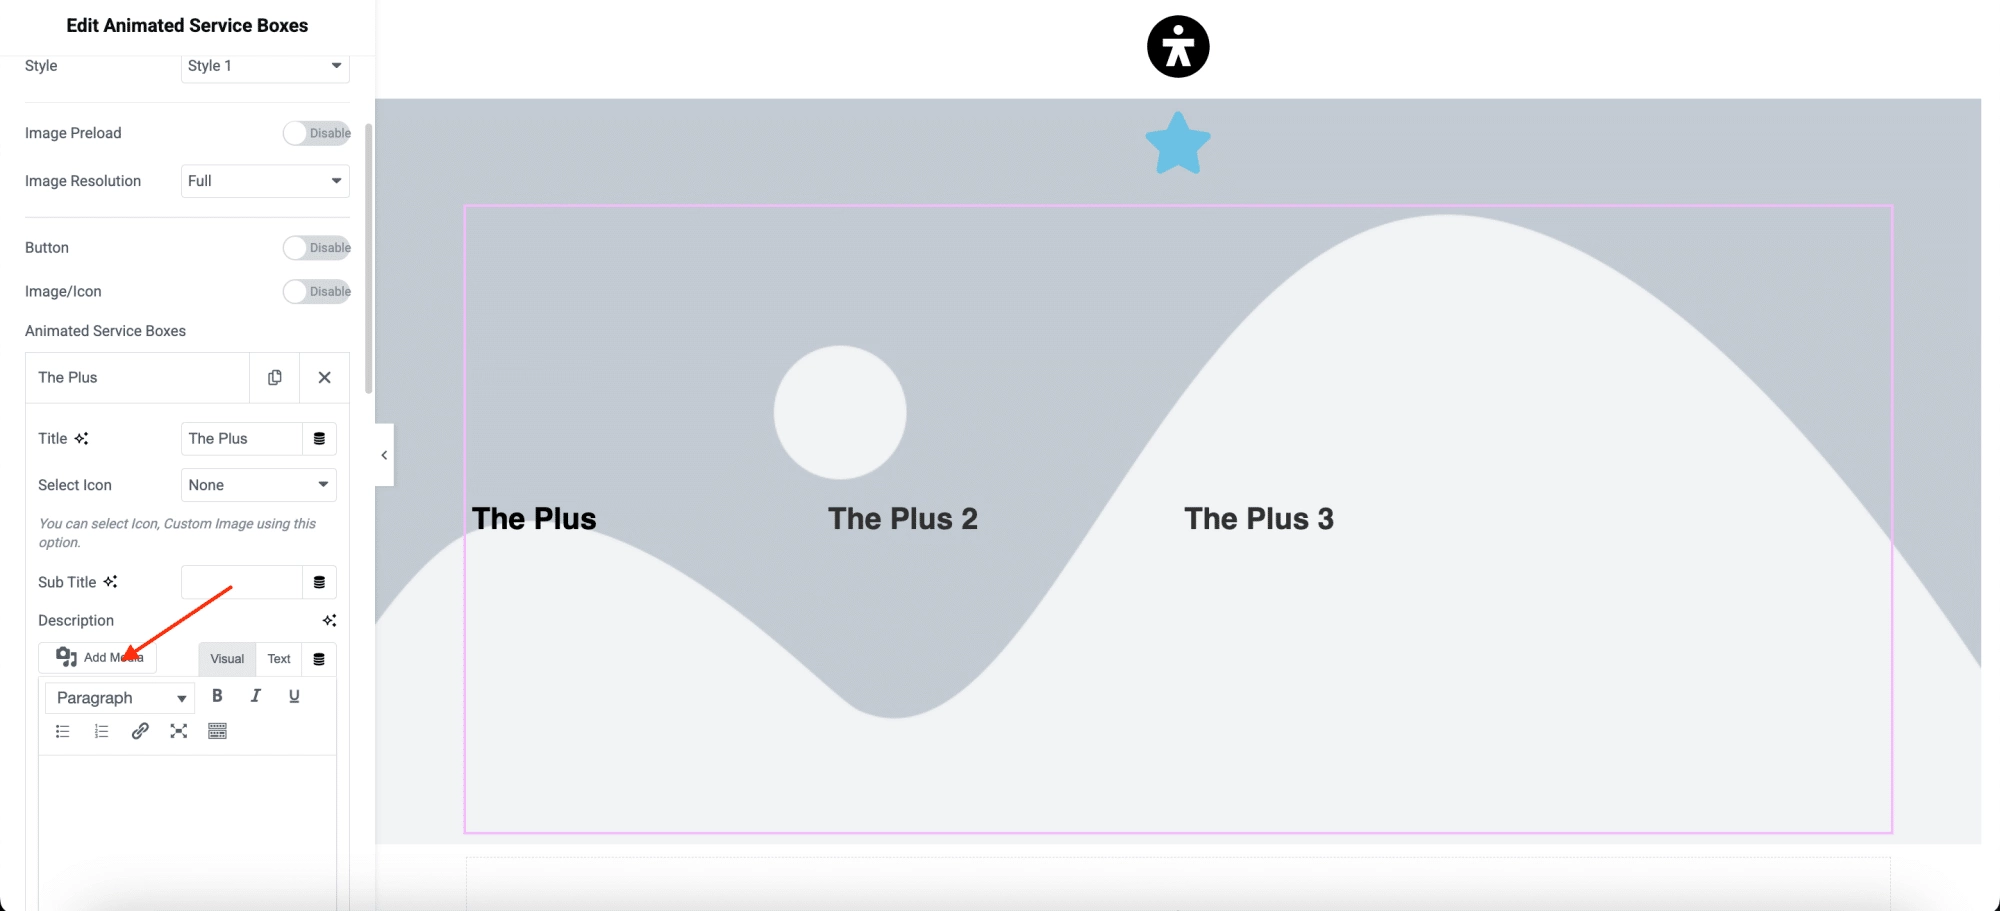
Under Animated Service Boxes, you’ll see a list of items. Each item represents a service box.
Click on an item to edit its settings, and under you can upload a different image for the Hover.
This image will appear when a user hovers their mouse over the service box. Customize each service box with its own unique hover background image.
With simple steps, you can create an interactive and visually appealing experience for your website visitors.
As they hover over each service box, the background image will change to create a dynamic effect.
Detailed step-by-step guide here: How to Change Background Image on Hover in Elementor?

Wrapping Up
Background images are a powerful way to improve your website’s visual appeal and create a more engaging user experience. They can set the tone of your site, reinforce your brand identity, and even improve readability.
As we’ve explored, Elementor provides a user-friendly way to add background images to your entire website, individual pages, and even specific sections or columns.
To take your background images to the next level, you can leverage the Horizontal Scroll and Animated Service Boxes Elementor widgets from The Plus Addons for Elementor.
These can help you create dynamic and interactive background effects, such as changing images on scroll or hover.
However, The Plus Addons for Elementor doesn’t stop at just two widgets. This all-in-one plugin offers a vast library of over 120+ Elementor widgets, helping you to improve every aspect of your website’s design and functionality.
Explore The Plus Addons for Elementor and learn more about the endless possibilities for creating a truly unique and captivating online presence.