


Ever wanted to change who sees what on your WordPress website? Elementor display conditions let you achieve just that.
A common requirement block when running your website is displaying specific content to users based on their login status.
Without it, you might end up revealing premium content to logged out users, or display repetitive login requests to logged in users.
Elementor’s display conditions let you take control of who sees what content on your website. These can be great for your users, as well as your website management.
This blog will walk you through exactly how to do that step-by-step. Additionally, we’ll look at the Display Conditions extension, which gives you even more control over content visibility.
What are Elementor Display Conditions and Why Use Them?
Elementor display conditions allow you to control the visibility of your pages, sections, or widgets based on specific rules. These rules could be based on time, device type, page templates, user roles, and of course, login status.
It allows you to show or hide different attributes of the page, depending on your user role, date, time, user id, etc.
Instead of creating multiple versions of a page, content block, or widget, display conditions help you serve dynamic content that can adapt based on the viewer.
For example,
- Using date-based display conditions, you could set up promotional messages for winter-only sales on your website.
- Alternatively, you might want a calendar widget to only be visible on the events page of your website.
- Another example is showing login or signup forms on your websites, to users that are not logged in, using login based display conditions.
Let’s take a closer look at what login status is, and how you can use it in Elementor Display Conditions.
What is Login Status in Elementor Display Conditions?
Among different display conditions, login status is one of the most practical condition types in Elementor. It allows you to customize what your website shows based on whether a user is logged in or not.
You can choose to:
- Show a welcome message or dashboard shortcut to logged-in users.
- Hide login forms from users who are already logged in.
- Alternatively, show login or sign up forms to users who are not logged in.
- Display premium content only to registered users.
- Restrict sensitive information or pages based on the login status.
If you are running membership websites, customer portals, or even blogs with exclusive content, you will find this display condition extremely helpful.
Still figuring out the best login page? Check out this article on the 8 best login page examples, and how you can use them for your website.
Benefits of Using Elementor Display Conditions Based on Login Status
Here’s why login-based conditions, and by extension, all display conditions, matter for your website:
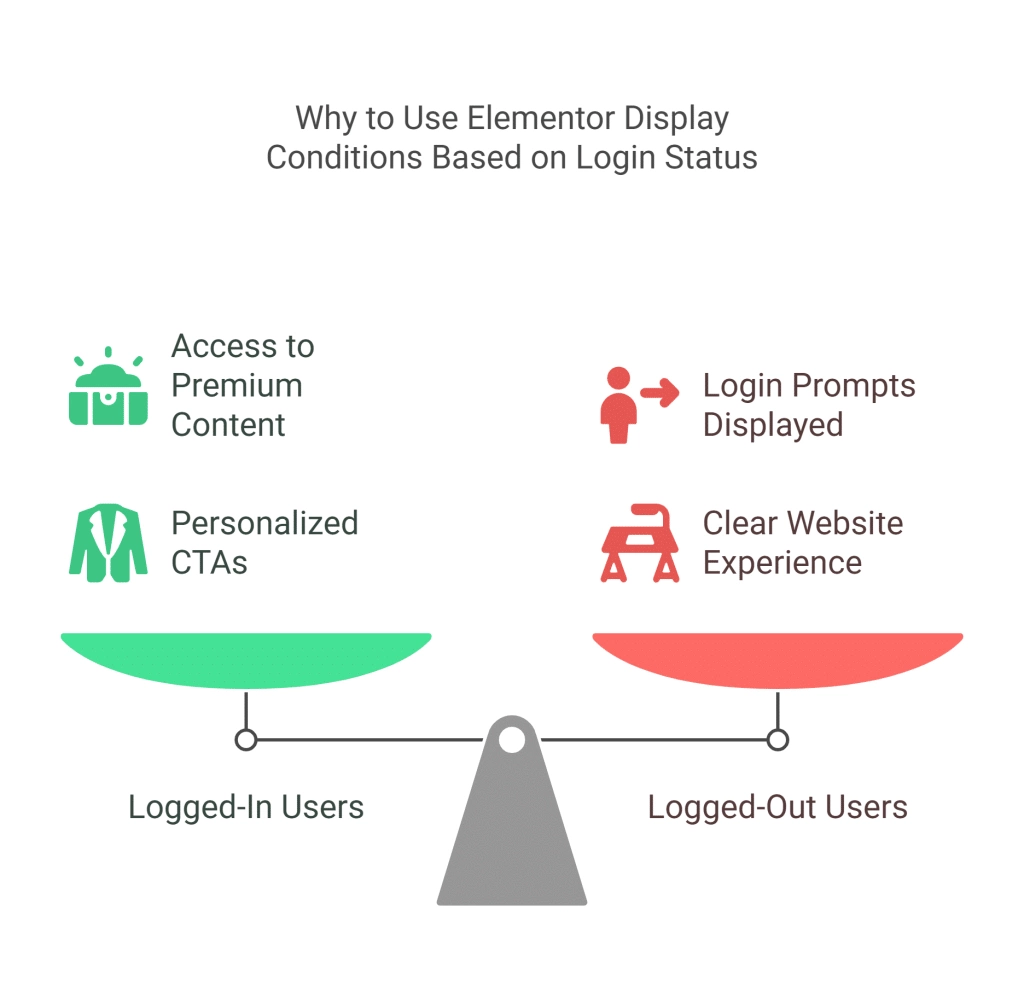
- No Data Duplication: You might consider creating different templates and duplicating data across your website in order to change who-sees-what. But with display conditions, this becomes unnecessary, and content is shown based on the context you decide.
- Content Gating: With display conditions, you have more flexibility over content availability, letting you choose different content segments for different user conditions. For example, you can use login-based display settings in Elementor to hide pages unless logged in, keeping premium content secure.
- User Personalization: With login-based display conditions, you can personalize CTAs or messages for logged-in and logged-out users.
- Better User Experience: Using this feature, you can display “login” prompts for logged out users and hide them from logged in users, saving them from a cluttered website experience.
- Improved Conversions: Finally, you can rely on display conditions to serve the right content to the right audience at the right time. This translates to improved conversions for your website.
With these benefits of using display conditions outlined, let us explore how to set display conditions based on login status of your website’s user in the next section.
Want to check how to secure your WordPress login page? Here are 11 proven ways to do it.
How to Set Elementor Display Conditions Based on Login Status [Step-by-Step]
With the Display Condition extension of The Plus Addons for Elementor, you can set display conditions based on whether a visitor is logged in or not.
This allows you to customize your website experience for each user.
Step 1: Activate The Plus Addons for Elementor
Before anything else, you will need to install The Plus Addons for Elementor
Step 2: Enable Display Conditions Extension
Once The Plus Addons has been installed and activated, you can enable the Display Conditions extension.
To do this, navigate to The Plus Addons > Widgets. Here, search for “Display Conditions” in the search bar.
Turn on the toggle option for the widget.
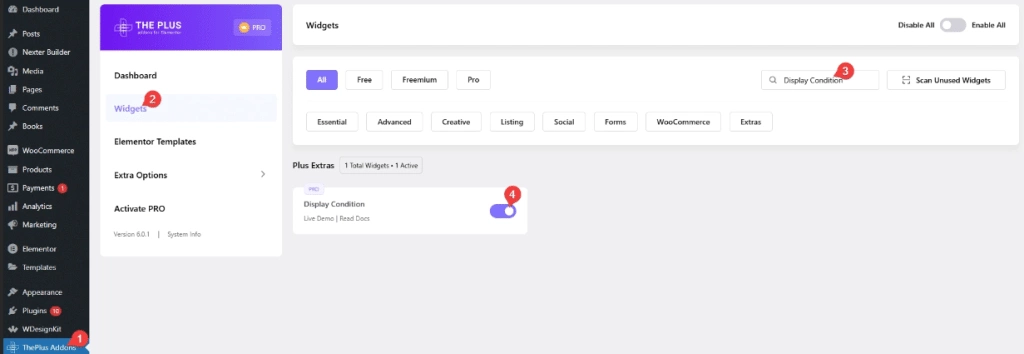
This will activate the logic controls across all Elementor widgets and sections, letting you edit your pages in the next section.
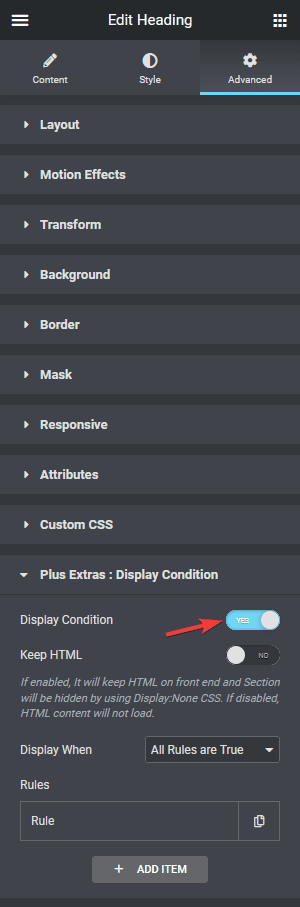
Step 3: Edit Your Elementor Page or Section
Now, open the page in Elementor where you want to apply display conditions based on login status. Select the widget, column, or section.
From here, navigate to Advanced > Plus Extras : Display Condition. Turn on the Display Condition toggle.
An option called Keep HTML will be visible on your screen. Enabling it will hide the content in the frontend if the condition is false, but it will remain in the HTML (DOM).
However, we don’t need to get into the code here, as Display Conditions has it covered.
From the Display When dropdown, you can choose when the display conditions are applied. You can choose between two options:
- All Rules are True: In this option, all the rules that you have set in the Rules section have to be true for the display condition to work.
- Any one Rule is True : In this option, any one rule has to be true for the display condition to work.
Under the Rules section, you can set the actual display condition. You can have one or multiple conditions, which gives you greater flexibility over your content’s display rules.
To set the rule, click on the Rule tab. You’ll find different options to set your display condition in the dropdown.
Step 4: Choose “Login Status” Condition
Select Login Status from the first dropdown under the Rule tab. When a second dropdown appears, you have two options-
- Is : This will make the statement true.
- Not : This will make the statement false.
In the last dropdown, pick the Logged In option.
For example, if you want to show a content to logged in users only, then after selecting Login Status from the first dropdown, choose Is from the second dropdown.
This will make the content visible to logged in users only. Otherwise, if you choose Not from the dropdown, then it will be visible to logged out users only.
Step 5: Save and Publish
With this, your display conditions are saved. Save your page and publish it. It will dynamically follow the display condition rules you have set based on user login status.
For some quick troubleshooting, if you notice Elementor display conditions are missing or not showing as expected, ensure that the Display Conditions extension is enabled and active, in The Plus Addons settings.
Also, if you find that Elementor display conditions are not working, clear your cache to check if the changes reflect.
Recommended Read: How to Clear Elementor Cache [3-Step Beginners Guide]
Advanced Use Cases of Elementor Display Conditions by The Plus Addons
Now that we have looked at the basics, we can look at additional, advanced use cases of Elementor Display Conditions.
The Plus Addons offers some advanced conditions you won’t find in native Elementor.
Here are a few:
1. Based on Different User Roles
If you want to show an admin-specific dashboard block or hide premium content from subscribers, this is the right option for you.
For example, if you want to show a piece of content only to the administrator role users, then after selecting User Role from the first dropdown, choose Is from the second dropdown.
This is super helpful for multisite setups, online courses, or editorial workflows. Using this, you can also opt to exclude certain content to specific user roles.
Here’s one more way to restrict content to registered users in WordPress.
2. Based on Operating System
Another way to use Display Conditions is by tailoring your design and content based on the user’s OS.
Want to show a download link for Mac users only? With this option, you can set the display condition of a widget based on the user’s operating system.
This can be used if you offer something specific like software/app for different operating systems, you can show content accordingly to the visitors based on their operating system.
This option is best suited for use cases like software downloads, or support pages.
3. Based on Visitor Browser
With this option, you can conditionally hide complex animations, or features, from browsers like Internet Explorer or Safari.
You can set display conditions for a content based on the visitors browser. This condition can be used if you offer something browser specific like addons or in-browser apps.

4. Based on Geo-Location of Visitor
This feature is ideal if you have an e-commerce store, or plan for regional marketing and promotions.
It lets you “geo-target” your visitors with region-specific content, language preferences, or even country-level pricing.
This can be a great way to show custom content or offer based on the visitor’s location.
Want to create location-based filters for WooCommerce products in Elementor? Check out this handy guide by The Plus Addons.
Wrapping Up
With this, we have extensively covered how to set display conditions with Elementor.
Its built-in display conditions are a good start, but if you want full control over who sees what and when, using The Plus Addons for Elementor is the way to go.
Beyond the advanced options covered earlier, the Display Conditions extension lets you conditionally show your content with 48+ supported rules, based on url strings or parameters, shortcodes, WooCommerce products, page templates, and the date and time.
Whether you’re building a membership site, optimizing user flows, or targeting content based on login status, the Display Conditions by The Plus Addons make it super easy and code-free. It lets you create dynamic user experiences for every page of your WordPress website.
The Plus Addons is more than just the Display Conditions extension. With over 120+ widgets, features like dynamic content, pop ups, carousels, mega menus, and more, The Plus Addons truly extends Elementor’s capabilities.
If you are a WordPress website owner seeking more customization and control, The Plus Addons has you covered every step of the way.