Need help with your WordPress website maintenance? Then, bookmark this ultimate WordPress maintenance checklist.
Timely maintenance helps you not only improve the site’s performance but also identify and patch any issues that may hurt your site’s visibility or even its security.
But you may face questions like where should you start? Which maintenance tasks should you perform? And how often? No worries, we have you covered.
In this blog, we will explore why WordPress website maintenance should be on your workflow.
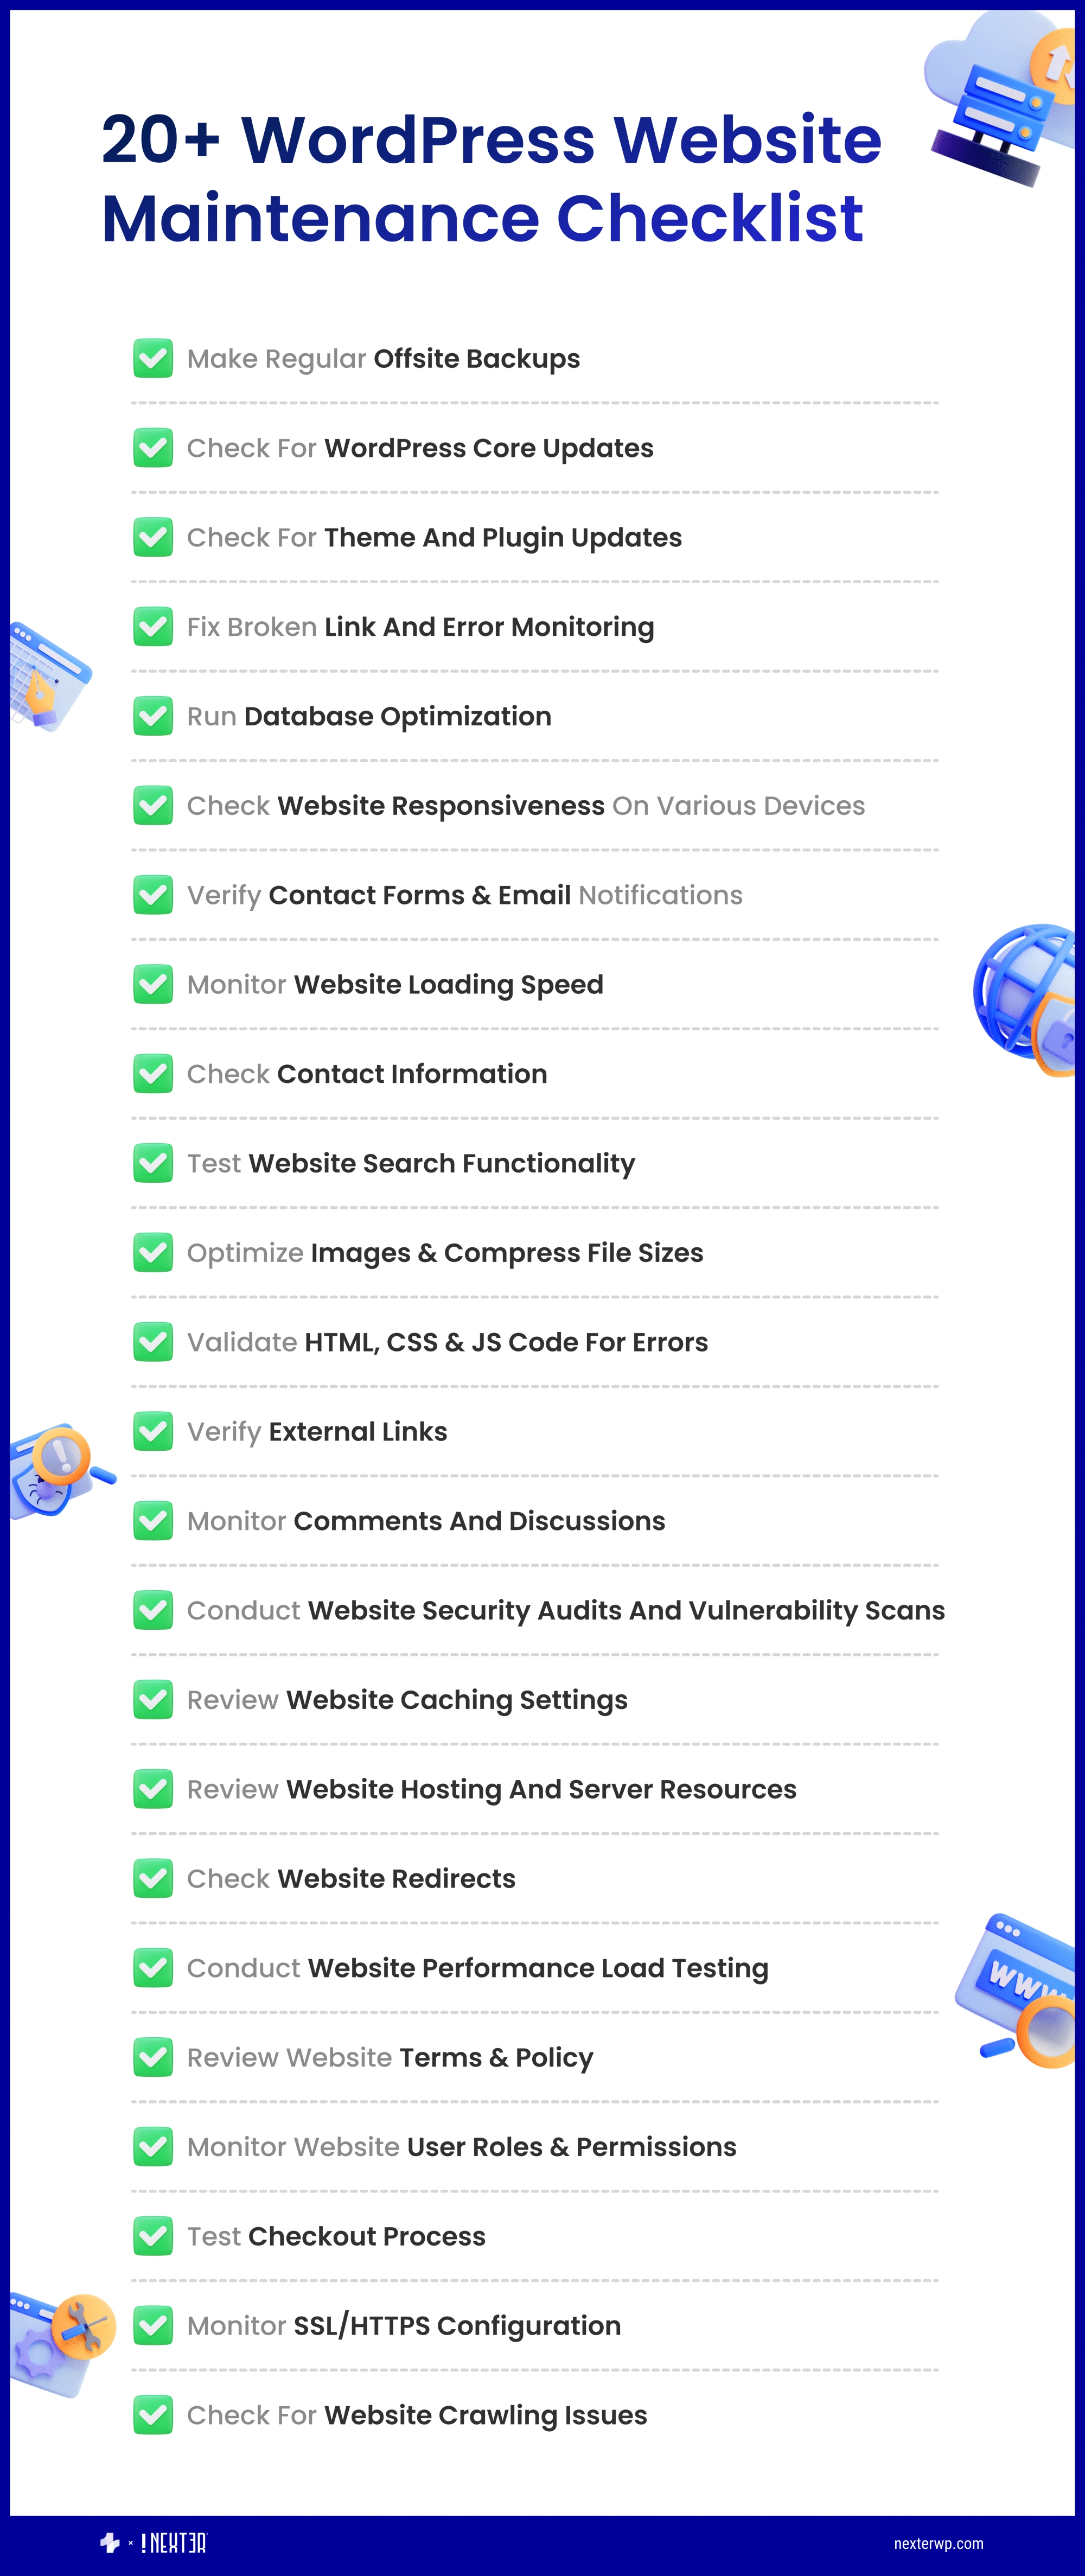
We will also walk you through 20+ crucial tasks in our comprehensive WordPress maintenance checklist.
So, let’s dive straight in.
What Is WordPress Maintenance?
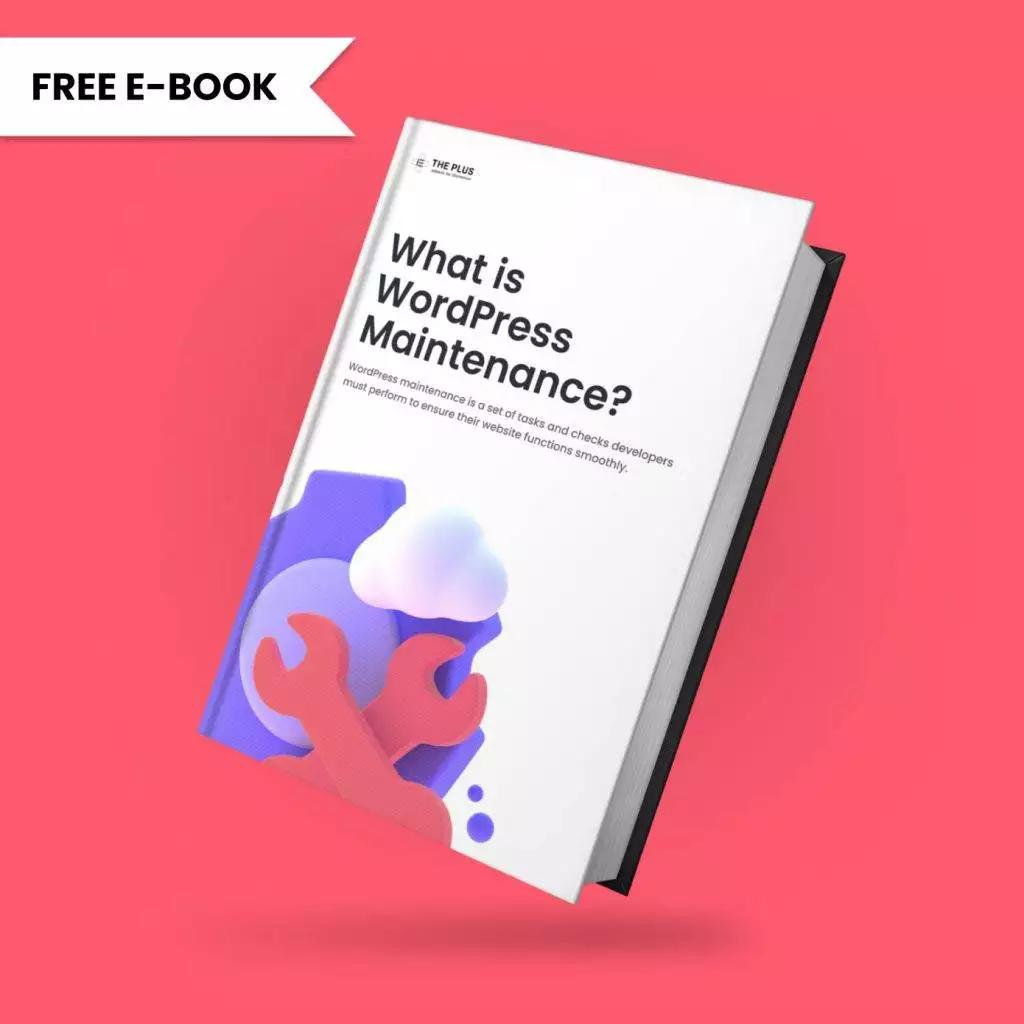
WordPress maintenance is a set of tasks, and checks developers must perform to ensure their website functions smoothly.
Maintenance involves ensuring that WordPress core, plugins, themes, etc., are up to date. At the same time, it also includes performing backups and security checks.
However, it is essential to note that maintenance for WordPress websites is not a one-time procedure but an ongoing cycle.
So, you must be proactive in performing all the checks and taking all measures to ensure your website is safe and functions at its best.
“We often encounter website owners that have neglected their WordPress web maintenance to the extent it has affected their website’s functionality, performance and security,” says Donald Chan, founder of IMPACT, a web maintenance agency in Singapore.
WordPress Website Maintenance Checklist
See your WordPress maintenance checklist below.
1. Create a Sitemap
As you know, a sitemap is a file that lists links to all your posts and pages arranged in hierarchical order. Ideally, your website should have two sitemaps – XML and HTML sitemaps. An XML sitemap is for web crawlers, while an HTML sitemap is for visitors.
If you frequently post content, add new pages, or remove older content, you should update your sitemap to reflect these changes. This will help crawlers rank your latest pages and posts, and your audiences can easily navigate your content.
You can add these sitemaps manually or use WordPress plugins like Yoast SEO or WP Sitemap to add new pages and posts to the sitemap automatically.
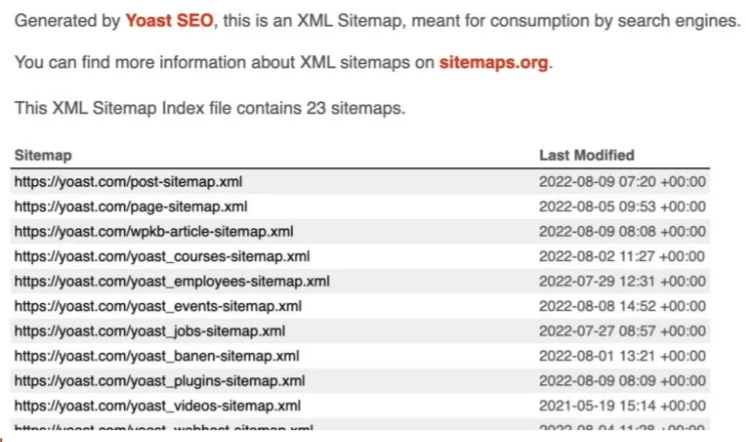
Sample sitemap from Yoast.com
2. Backup Your Site Regularly
Without a proper backup, you will have to start from scratch if your website loses its data or gets hacked. It can cause longer downtime and loss of business.
At this point, backups are a basic security measure to safeguard digital data. People even use them to back up text messages.
Considering your website is a crucial business component, you should back it up regularly.
There are many different ways to back up a WordPress website. You can do it manually or use plugins.
While the manual backup is tedious, plugins let you schedule backups at regular intervals. You can also use your website host’s backup service.
3. Run a Security and Malware Scan
Over 43% of all websites on the Internet use WordPress as their CMS. As a result, they are also a popular target for cybercriminals and hackers.
Hence, you should regularly check your website to ensure its safety.
So, how can you run these scans? You can use security plugins like Wordfence, Sucuri, etc., to scan and remove malware and malicious codes from your website.
You can also use these plugins to configure firewalls, login protection, etc.
Besides, you can even run vulnerability checks to find issues like outdated themes and plugins, weak passwords, file permissions, etc. Then, you can take steps to mitigate data breaches and malware attacks.
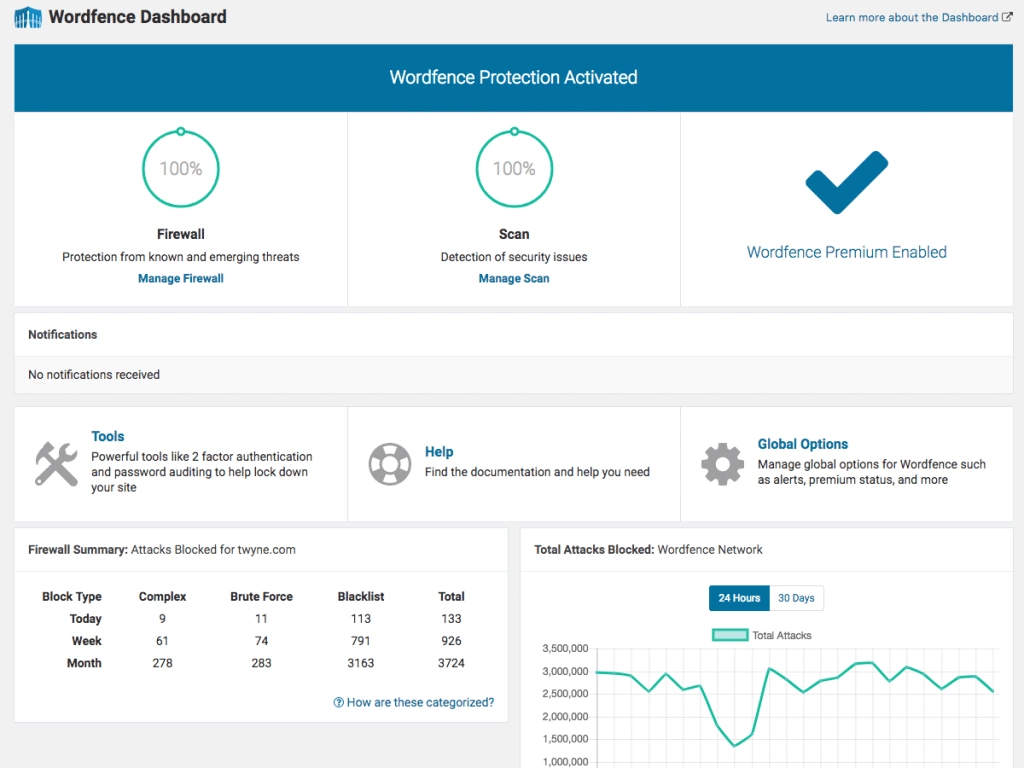
Dashboard snapshot from Wordfence
4. Ensure Device and Browser Compatibility
The market is flooded with devices and apps people use to access the Internet. Even if you have one of the most flexible and responsive websites, its performance can vary on some specific devices and browsers due to incompatibility.
The only way to avoid such issues is to perform regular compatibility checks. Access your website from different devices with varying screen sizes, resolutions, and operating systems to check device compatibility.
Test your website on parameters of loading speed, responsiveness, navigation, interactivity, etc.
As for browser compatibility, you can use plugins like BrowserStack and LambdaTest to check cross-browser performance. By following these steps, you can ensure visitors have a consistent experience across devices and apps.
5. Upgrade the WordPress Version
Being the most popular CMS in the market, the team at WordPress constantly works to improve their product. They release frequent updates for their CMS, including bug fixes, new features, and security patches.
Upgrading the WordPress version should be a priority in your maintenance checklist because there is no alternative to it.
With updates, you get enhancements and protection directly in your WordPress installation, which no plugin and third-party apps can offer. So, make sure not to delay and install these updates as they are available.
However, it is also essential to note that in rare cases, these updates can lead to incompatibility issues with themes and plugins.
So, back up your current website and create a staging environment to test the latest updates before deploying it to your live website.
6. Update Themes and Plugins
Once you have updated WordPress, the next task on your checklist is to update any theme and plugins you have installed. Theme and plugin developers regularly release updates to add new features and security fixes to their products.
And according to a report, outdated plugins and themes are the biggest carriers of security vulnerabilities. So, you should not skip this WordPress maintenance task from your checklist.
As mentioned in the previous point, these updates can also sort out any incompatibility issues that arise from upgrading WordPress.
Similar to upgrading the WordPress version, you can test these updates in staging environments before installing them on your main setup.
If you seek secure WordPress themes, you can check out the Nexter theme by POSIMYTH Innovations.
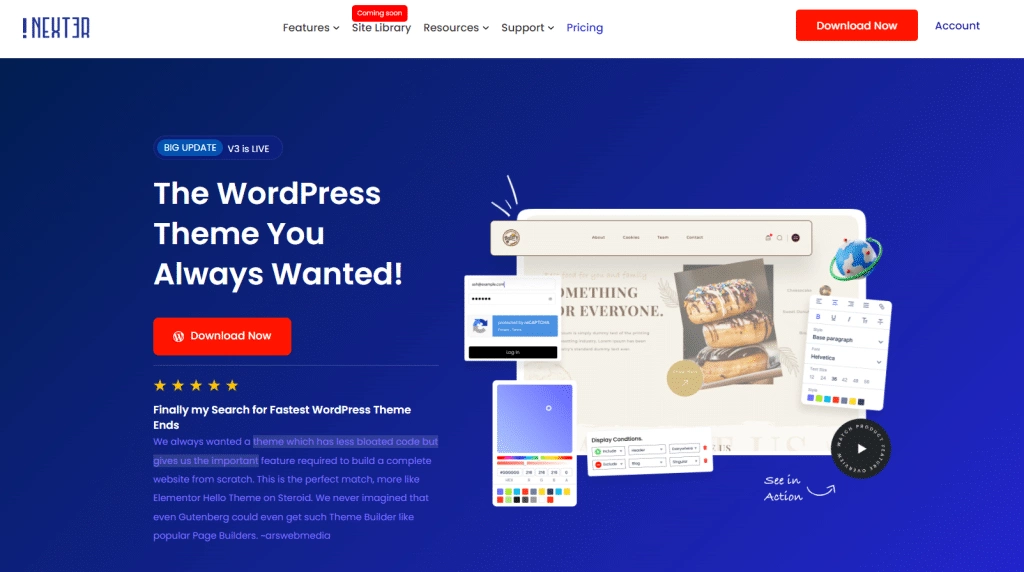
Nexter has built-in security features like disabling XML-RPC, the WordPress Rest API, hiding the WordPress version, and more.
You also get content protection and Google reCAPTCHA to protect your website from hackers and spammers.
7. Remove Inactive Themes and Plugins
We often install several themes and plugins to see what works best for our website. But when people find the right fit, they do not remove the unused plugins.
Instead, these themes and plugins lie inactive, hogging their WordPress resources.
You may think about how inactive plugins and themes can affect your website if they are not under use.
Since they are inactive, you do not get updates for these plugins. As a result, they may be exposed to vulnerabilities that hackers can easily exploit.
Similarly, you should remove unused widgets using a page builder like Elementor.
You can use The Plus Addons for Elementor’s free Unused Widget Scanner to scan and remove unused widgets from your WordPress installation.
Here’s a quick video tutorial on how it works:
8. Identify and Delete Spam
No matter the type of website, you are likely to attract spam comments if you have a substantial audience. In fact, 8 out of 10 comments on most WordPress websites are spam.
They often promote other websites and products but can even contain malicious links. They are a real threat to your and your visitor’s cybersecurity.
Now, physically identifying such comments and deleting them will be a tedious task. So, install an anti-spam plugin like Antispam Bee and Akismet.
These plugins let you implement reCAPTCHA to comment forms and blacklist spam commenters. These plugins also employ analytics and algorithms to detect and prevent spam.
Here’s how you can add Google reCAPTCHA to comment forms:
9. Fix Broken Links
The next step in your WordPress website maintenance services checklist should be to find and fix broken links on your website.
Broken links hurt user experience and leave an impression that the website is under poor management. Not only that. Such links also negatively impact your SEO efforts.
First, broken links make it difficult for crawlers to index and rank your website. Second, it reduces your domain authority since search engines fail to link and distribute authority across pages.
You can use a broken link scanner or a website audit tool to find such links. These tools will crawl your website and return a list of all broken links on your website.
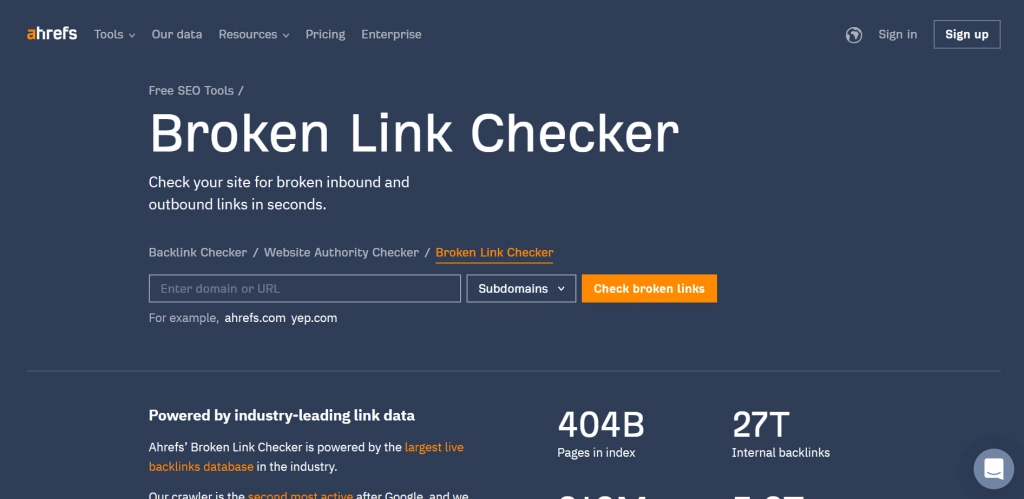
Snapshot of Broken Link Checker tool by Ahrefs
10. Fix 404 Errors
When we click a link, it is a bummer if it returns a 404 error. There are many reasons a webpage may give a “page not found” error that you can’t control like visitors typing the wrong address.
But if the error results from broken links, deleted pages, or server-related issues, it’s your problem to fix.
The easiest way to find such web pages is to use Google Search Console’s Page Indexing feature. In the Google Search Console home page, click Indexing > Pages on the left navigation bar and then click the “Not Found (404)” option.
Now, you can see the list of URLs that return a 404 error.
Does your Elementor website feel slow and sluggish? Check out 25+ Effective Ways to Boost Elementor Website Performance.
11. Fix PHP Errors
As you know, PHPs are the building blocks for a WordPress website. And if there’s an error in the PHP code, it can cause severe performance issues and expose your site to exploits.
These errors can be due to simple reasons like missing or misplaced semi-colons, unnecessary whitespaces, etc., but they can significantly damage performance.
So, your WordPress website maintenance checklist must also give importance to finding and fixing PHP errors. You can use WordPress debug mode to find PHP files and the exact lines that cause the errors.
You can also enable error reporting in your PHP configuration to get detailed error messages. Simply edit your PHP file and add the following line of code:
error_reporting(E_ALL);

ini_set('display_errors', 1);
12. Review Website Passwords
We all try to use passwords that are easily rememberable. However, this leads to weak and repeated passwords, which gives hackers an easy gateway to your website.
Not reviewing credentials for extended periods leaves your website open to brute-force or password-guessing attacks.
That is why you must add password review to your website maintenance checklist. Also, keep in mind these standard guidelines for creating safer passwords:
- Use both lowercase and capital letters
- Use numbers, punctuation, and special characters
- Use longer strings as passwords
- Avoid repeating a password
- Regularly change your credentials
- Use a password manager
As an added security measure, you can change your WP Admin URL path, as most WordPress websites have a common URL for accessing the dashboard (i.e., https://yourwebsite.com/wp-admin), which makes it easier for hackers to get a doorway to your WordPress dashboard.
To tackle this issue, you can use Nexter’s security feature to set a custom login URL.
Here’s a quick video tutorial on how to do it easily for Free:
13. Check Google Analytics and Google Search Console
You must use Google Analytics and Search Console to assess how your audiences interact with your website. But you can also use them to review your website’s performance and security.
For instance, you can use these tools to find broken links, page load times, server errors, crawl stats, and indexing issues.
You can use Google Search Console, in particular, to get alerts about malware attacks and prevent your website from getting blacklisted.
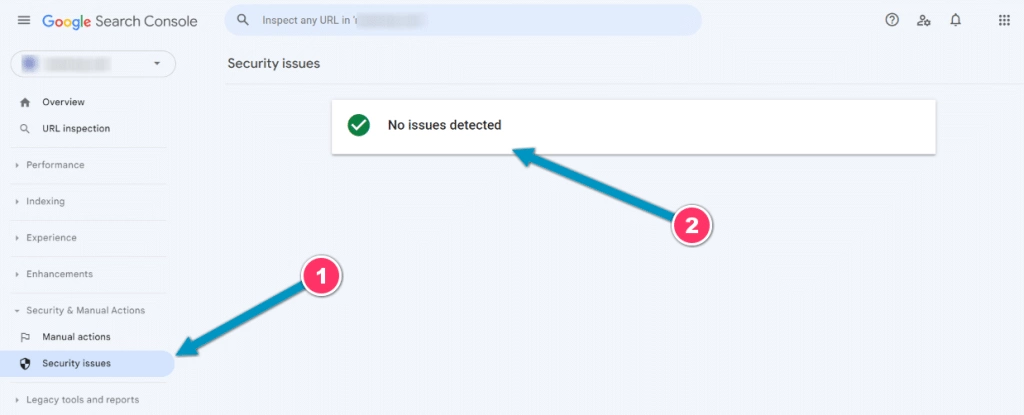
Similarly, you can detect unusual traffic in your Google Analytics property and review if any unexpected spikes are real traffic or a possible cyber-attack.
14. Clear Database Trash
Every plugin you install, every post or media you upload, and every form entry you collect is stored in your WordPress database.
Like any storage, letting these files pile up will affect your website’s performance, especially when loading files and other assets on the front end.
So, you should regularly clean your database by deleting old and unnecessary data. You can do it manually or install a plugin that automates the database cleaning.
15. Temporary Media Files Cleaning
Audiovisual content is an essential element of a modern professional website. But using too many images, videos, and audio files can hog resources and slow your website down.
But as you add more content to your website, you should regularly remove media files you no longer need.
Increasing DOM size can also affect your site performance and speed. Here are 6 Proven Methods to Reduce DOM Size in Elementor.
16. Check the Site Health Section in the WordPress Dashboard
The Site Health section in the WordPress Dashboard (Tools > Site Health) offers a comprehensive overview of your website’s performance and security.
It provides information on PHP and WordPress versions, active themes and plugins, and potential security issues.
Regularly checking this section helps you stay informed about any issues or outdated components that may affect your site.
Take proactive measures to address concerns and optimize your website for a smooth and secure user experience.
Visit the Site Health section in the WordPress Dashboard to ensure the health and efficiency of your WordPress website.
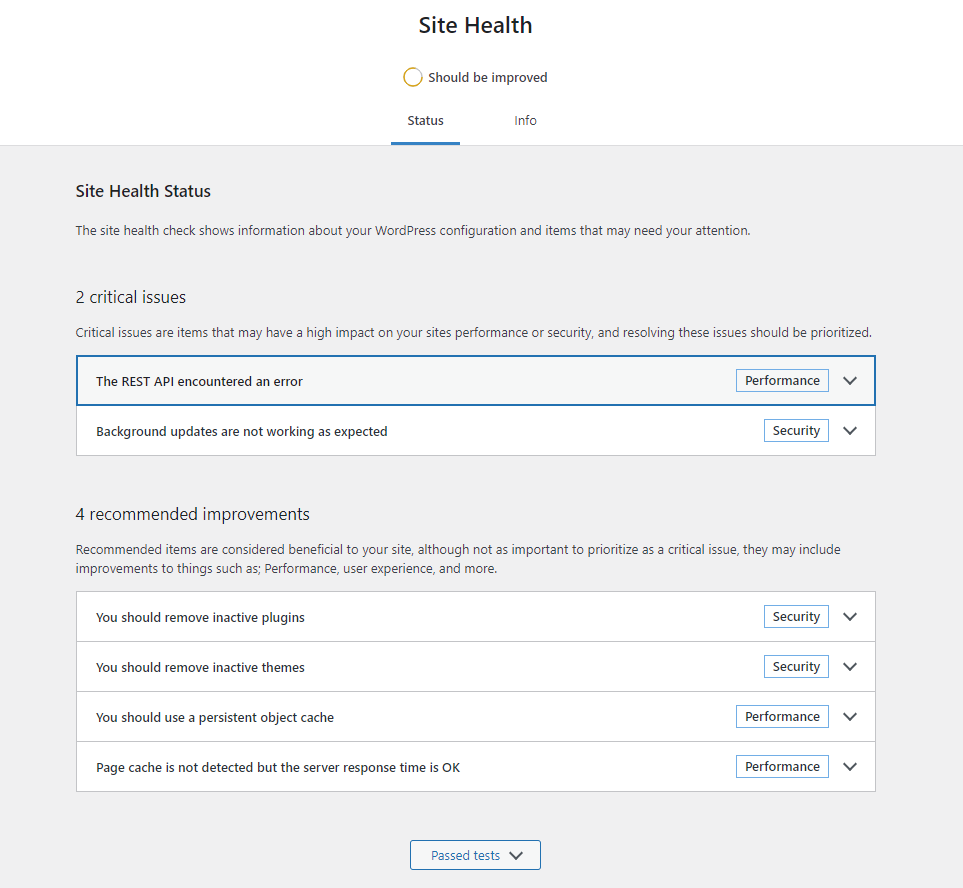
Snapshot of Site Health Section in WordPress dashboard
17. Run a Thorough Content and SEO Audit
Every expert marketer will tell you that content and SEO are not a one-time thing but an ongoing process. You should not post content and forget about it if you want to rank more keywords and get more traffic and conversions.
Instead, you must go back to your old content and update it with the latest information so it remains relevant for longer.
While you are at it, you should also review your SEO strategy. Evaluate if meta titles, tags, and descriptions follow the latest search engine guidelines.
Performing SEO and content audits is more important than ever, especially with the arrival of AI content-generation tools. You must improve your existing content and SEO to compete against mass-scale AI content.
Check out the best AI blog content generation tools for WordPress and revolutionize your writing process.
18. Optimize Images
As mentioned earlier, visual content is vital to provide a good user experience on your website.
However, using unoptimized media can increase the loading time and negatively impact the visitors’ experience.
That is why the next maintenance check should be to ensure that all images on your site are optimized for WordPress. Ideally, you should use JPEG and PNG files on your website.
Before uploading, you should also reduce their size and compress them.
Besides, you should use caching and lazy loading to load these images faster on different devices. Also, make sure to include alt texts for images on your website so search engines can understand its purpose, which can boost traffic to your website.
19. Test Your Forms
WordPress allows you to use form plugins to create all kinds of forms. But these forms often stop working due to version compatibility, server misconfiguration, or issues with your email service provider.
In most cases, forms stop registering new entries or do not trigger an email notification. If forms are an important part of your website, these issues can seriously impact your user experience.
You can use a plugin like FormTester 365 to automatically check forms on your website regularly and notify you if the forms do not work properly.
Contact forms on Elementor can also receive a lot of spam. Here are 5 Methods to Stop Elementor Contact Form Spam Completely.
20. Check If WordPress Hosting Needs Upgradation
If you are not using your hosting service provider’s highest-tier plan, you should keep track of factors like load times, downtimes, and poor server response.
It is essential because you will quickly exhaust your hosting limits as your website grows.
It can lead to long load times, and your website may become inaccessible. So, you should regularly test if your current hosting setup can support your expanding website.
Also, when choosing a hosting service, ensure it is scalable as your website grows.
Looking for a content protection plugin? Check out our comparison of the top 5 WordPress Content Protection Plugins.
21. Media Library Cleaning
If you use many images on your website and do it for a long time, then these images must consume significant resources on your WordPress database.
So, regularly clean your media library for the last check on your maintenance task list. Delete any image that is no longer in use and use optimized images to save space and resources.
Want additional tips on how to secure your WordPress website? Check this quick tutorial:
Why Is WordPress Maintenance Important?
Let’s look at some reasons that make a strong case for regular WordPress maintenance:
- Performance: No website developer wants their website to look sluggish and slow, for it negatively impacts visitors’ experience. But to ensure that your website is snappy, you must conduct regular tests, identify issues, and optimize your website for optimum performance.
- Security: If you run an older WordPress core version or an old PHP, your website is more susceptible to hacks and malware. That is why you should update your website’s backend and plugins and apply the latest security patches at regular intervals.
- Visibility: A slow-loading website with broken links and corrupt media can force visitors to bounce to a different website. Similarly, improper site structure can make it difficult for Google’s crawlers to rank your website. But if you have an established maintenance cycle, you can avoid losing visibility by fixing all such issues in time.
- Recovery: Backing up your website and its data is an important step in WordPress maintenance. So, even when your website suffers technical failures or cyberattacks, you can restore the latest version of the website and avoid severe downtimes.
How Often Should You Perform WordPress Maintenance Tasks?
The frequency of maintenance varies for each website. Generally, a monthly cycle works well, but shorter or longer cycles suit different sites.
Consider site size, traffic, plugins, and content updates. For simple sites, opt for monthly or annual cycles; complex, high-traffic sites need weekly cycles.
Distribute tasks wisely to minimize downtime and manage online businesses effectively.
Weekly tasks include backups, form checks, and plugin updates; monthly cycles focus on performance, security, and database maintenance; and yearly cycles cover content audits, password reviews, and hosting upgrades.
If you’re an Elementor user, we would highly recommend you to check out The Plus Addons for Elementor plugin, it provides more than 120 Elementor widgets to enhance the functionality of your Elementor editor.
