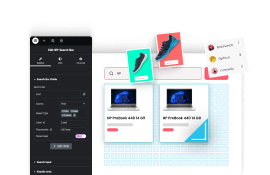
A wishlist allows customers to save items they are interested in purchasing at a later date, making the shopping experience more convenient and personalized.
With the Woo Wishlist widget from The Plus Addons for Elementor, you can easily add a wishlist feature to WooCommerce products as well as to other post types in Elementor.
Required Setup
- Elementor FREE Plugin installed & activated.
- You need to have The Plus Addons for Elementor plugin installed and activated.
- This is a Premium widget, and you need the PRO version of The Plus Addons for Elementor.
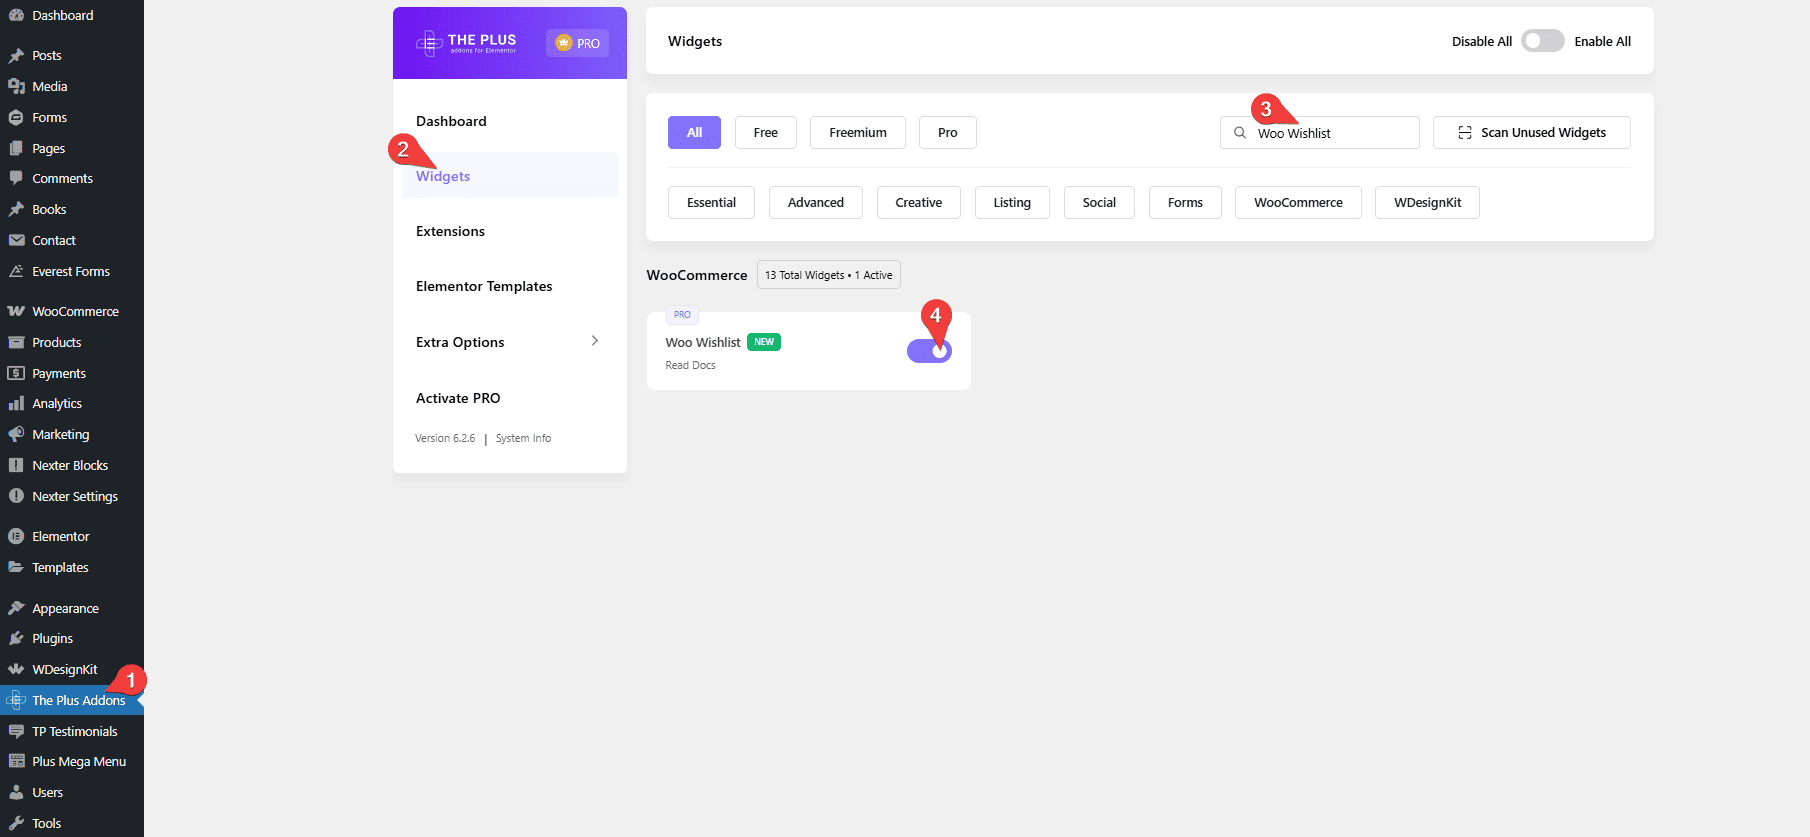
- Make sure the Woo Wishlist widget is activated, to verify this visit The Plus Addons → Widgets → and Search for Woo Wishlist and activate.
How to Activate the Woo Wishlist Widget?
Go to
- The Plus Addons → Widgets
- Search the widget name and turn on the toggle.
Key Features
- 2 Types – You can add a wishlist option in two types – Button and Count.
- Different Post Types – You can add the wishlist feature to products, standard post types, and custom post types.
How to Use the Woo Wishlist in Elementor?
Based on your usage requirements you have to add the Woo Wishlist widget to a page or template.
Woo Wishlist
From the Type dropdown, you have to select the wishlist type you want to add.
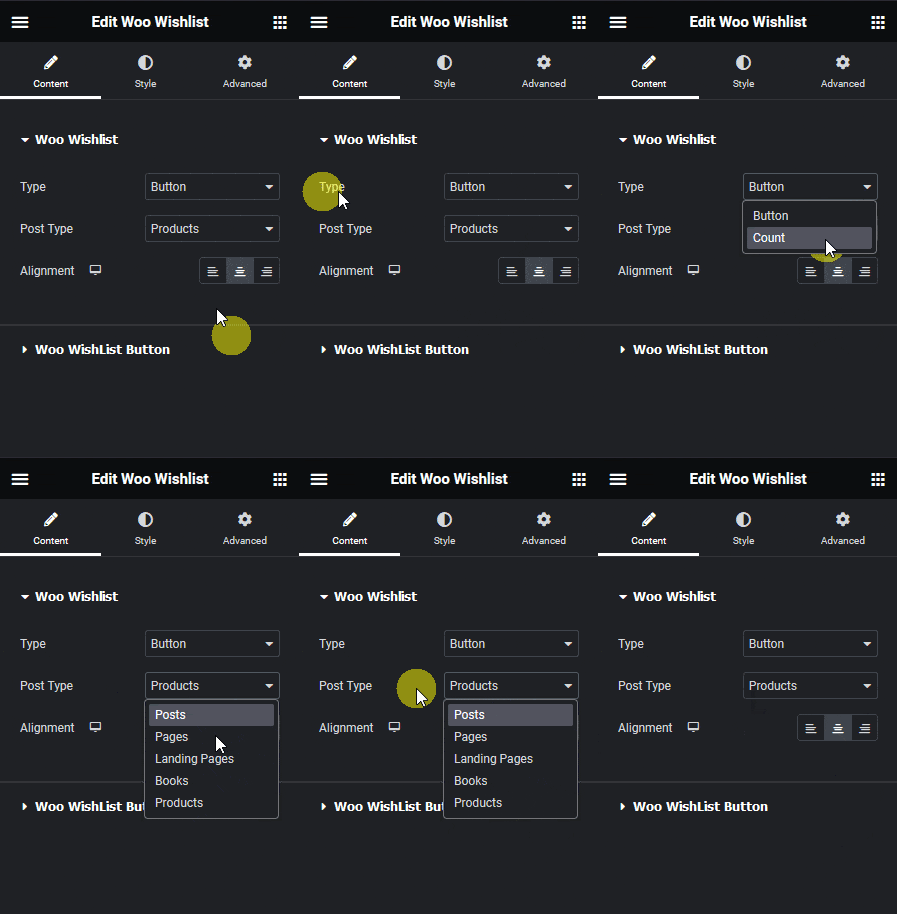
Here you’ll find two options –
- Button – To add a wishlist button to a custom product skin loop, a single product, or any other post type.
- Count – To show product wishlist count or any other post type.
Select the option as per your requirements. Options will vary based on your selection. Let’s select Button here.
Then from the Post Type dropdown, you have to select the post type where you want to add the wishlist button, here you’ll find a few options –
- Post – To add a wishlist button to a blog post custom skin loop or single blog post.
- Page – To add a wishlist button to a page custom skin loop or a single page.
- Custom Post Type – To add a wishlist button to a custom post type using the custom skin loop or single custom post type.
- Product – To add a wishlist button to a product custom skin loop or a single product.
Note: The custom post type option name will depend on the custom post type name and the number of items will depend on the number of custom post types you have.
Select the option as per your requirements.
From the Alignment section, you can align the wishlist button for responsive devices.
Woo Wishlist Button
From the Wish Type dropdown, you have to select the content type on the button.
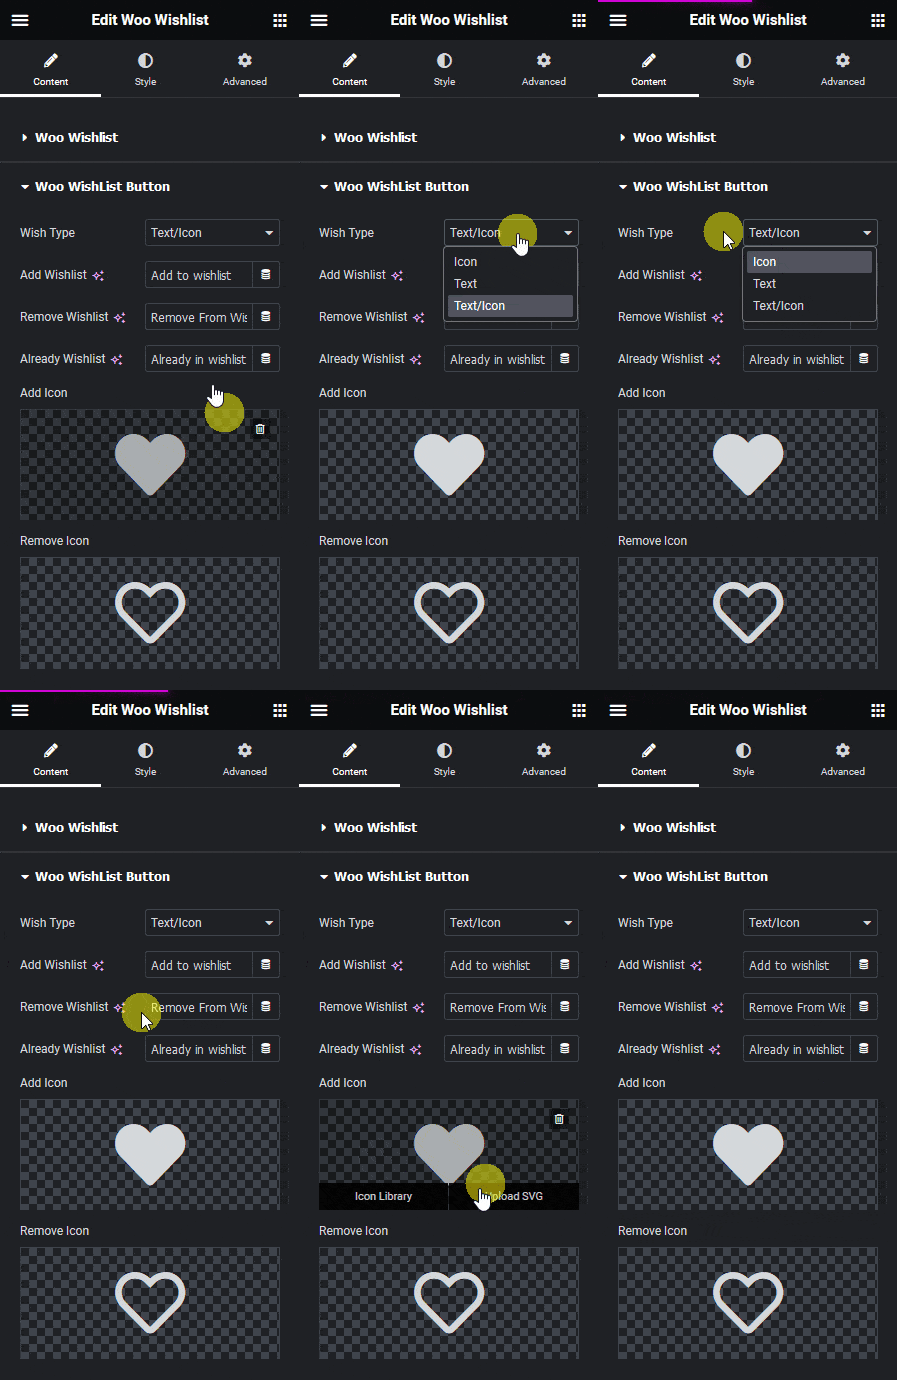
Here you’ll find three options –
- Icon – To show the button with an icon only.
- Text – To show the button with text only.
- Text/Icon – To show the button with an icon and text.
Select the option as per your requirements. Let’s select Text/Icon here.
In the Add Wishlist field, you can edit the default button text.
Then in the Remove Wishlist field, you can customize the button text when the item is added to the wishlist.
From the Already Wishlist field, you can edit the tooltip text of the button when the item is already added to the wishlist.
In the Add Icon section, you can add an icon when the item is added to the wishlist.
In the Remove Icon, you can add an icon when the item is removed from the wishlist.
How to Style the Woo Wishlist Widget?
To style the Woo Wishlist widget you’ll find all options in the Style tab. The options will vary based on the selected wishlist type.
Icon – You’ll see this option only when the Button type is selected in the Content tab. From here, you can style the icon of the wishlist button.
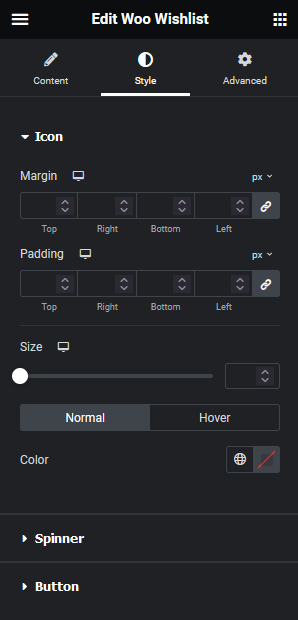
Spinner – You’ll see this option only when the Button type is selected in the Content tab. From here, you can style the spinner on the wishlist button visible when an item is added or removed.
Button – You’ll see this option only when the Button type is selected in the Content tab. From here, you can style the wishlist button.
Count – You’ll see this option only when the Count type is selected in the Content tab. From here, you can style the counter.
Advanced options remain common for all our widgets, you can explore all its options from here.
