


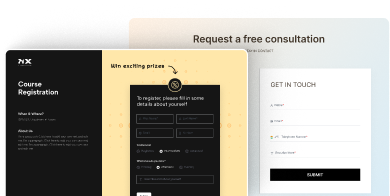


Are you looking to add an Elementor form for free? Forms play an important role, whether you’re aiming to gather leads or facilitate user feedback from your website.
With the Form widget from The Plus Addons for Elementor, you can easily add a form to your Elementor website for free.
Required Setup
- Elementor FREE Plugin installed & activated.
- You need to have The Plus Addons for Elementor plugin installed and activated.
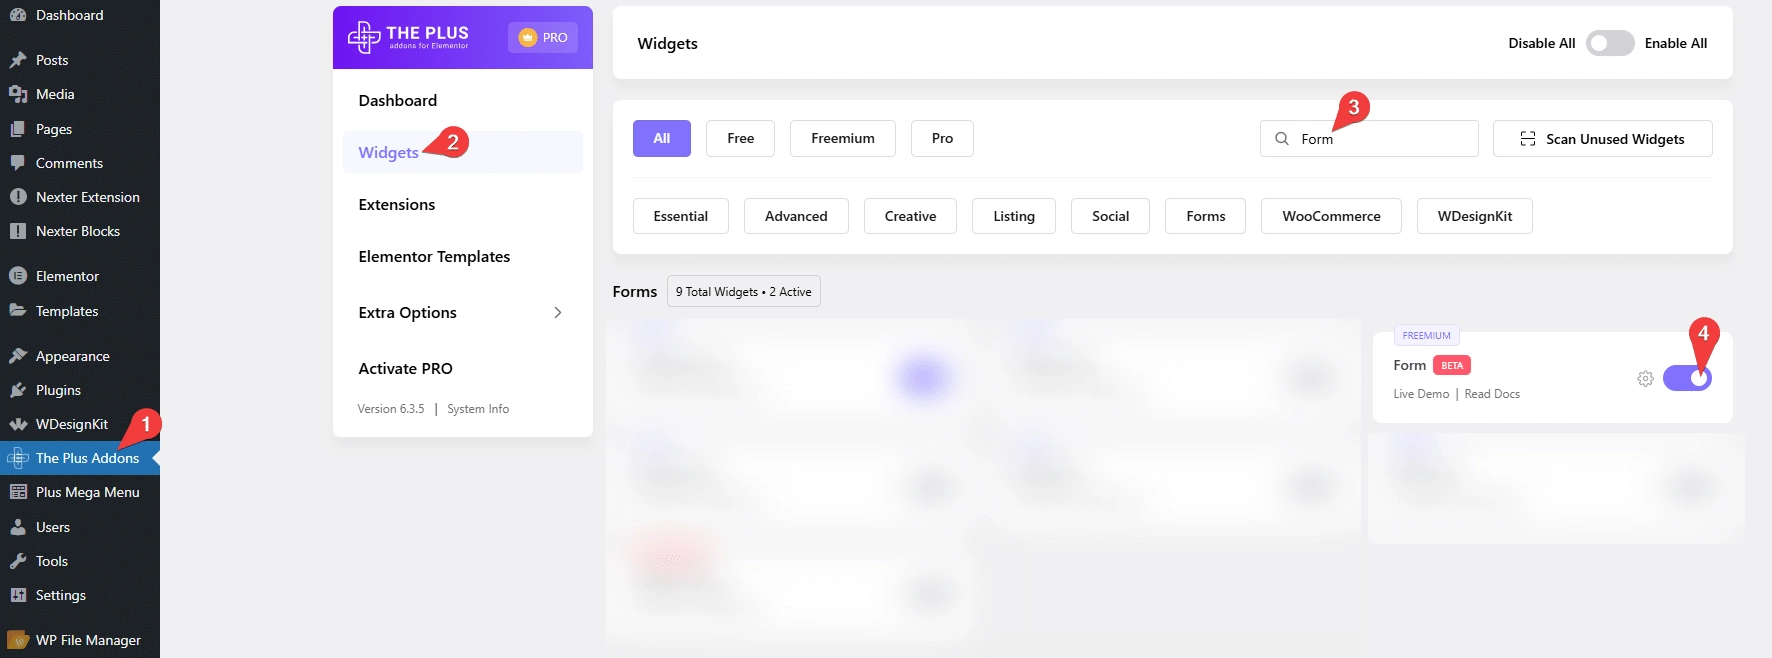
- Make sure the Form widget is activated, to verify this visit ThePlus Addons → Widgets → and Search for Form and activate.
Learn via Video Tutorial:

How to Activate the Form Widget?
Go to
- ThePlus Addons → Widgets
- Search the widget name and turn on the toggle.
Key Features
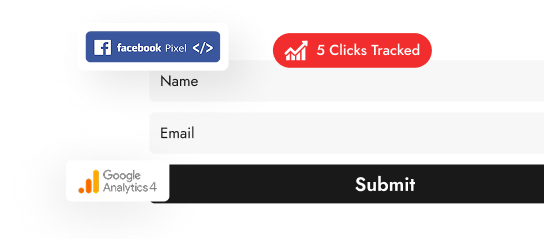
- Google reCAPTCHA – You can add Google reCAPTCHA to Elementor Form.
- Cloudflare CAPTCHA – You can add Cloudflare Turnstile CAPTCHA to Elementor Form.
- Custom Email – You can easily customize email confirmation.
- Custom User Email – You can easily customize the email confirmation for the user.
- Redirect – You can redirect users from the form.
- ActiveCampaign (pro) – You can add users to ActiveCampaign from a Elementor Form.
- Brevo (pro) – You can add users to Brevo from a Elementor Form.
- ConvertKit (pro) – You can add users to Kit (formerly ConvertKit) from a Elementor Form.
- GetResponse (pro) – You can add users to GetResponse from a Elementor Form.
- Mailchimp (pro) – You can add users to Mailchimp from a Elementor Form.
- MailerLite (pro) – You can add users to MailerLite from a Elementor Form.
- Drip (pro) – You can add users to Drip from a Elementor Form.
- Slack (pro) – You can send a message to a Slack channel from a Elementor Form.
- Discord (pro) – You can send a message to a Discord server from a Elementor Form.
- WebHook (pro) – You can send data to a Zapier Zap from a Elementor Form.
- Custom Email – You can easily customize email confirmation.
- Redirect – You can redirect users from the form.
How to Use the Form Widget?
Add the Form widget from The Plus Addons for Elementor to the page.
General
From this tab, you can create the form.
In the Form Name field, you can add a form name.
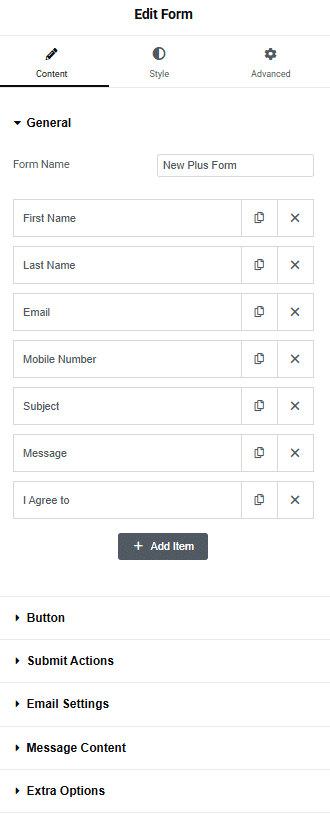
Then, you’ll find some repeater items that you can use to create the form. You can drag and drop to rearrange the form fields.
Open any one repeater item that you want to edit.
Once you open a repeater item, you’ll find two tabs.
Content
From the Type dropdown, you have to select the field type. Here you’ll find different form field options –
- Text – This will add a normal text field.
- Long Text – This will add a text area field.
- Email – This will add an email field.
- Number – This will add a number field.
- Hidden – This will add a hidden field, which can be used to pass some values.
- HoneyPot – This will add HoneyPot to your form. This will add an invisible field to your form, only bots can see the field, and filling the field will cancel the form submission.
- Dropdown – This will add a dropdown field.
- Phone Number – This will add a phone number field.
- Radio – This will add a radio button field.
- Checkbox – This will add a checkbox field.
- URL – This will add a URL field.
- Agree to Terms – This will add a terms and conditions agreement field.
- Date – This will add a date picker field.
- Time – This will add a time picker field.
- Cloudflare – This will add a Cloudflare protection field.
- ReCAPTCHA – This will add a ReCAPTCHA field for spam protection.
Select the field type as per your requirements. Let’s select Text here.
Note: For the Hidden and HoneyPot field types you won’t see any additional fields.
Then, from the Label field, you can add a label.
You can add a placeholder from the Placeholder field.
Then, by enabling the Required toggle, you can make the field required.
By turning on the Autofill toggle, the field can fill in automatically using user data.
You can manage the field width from the Column Width section.
Advance
In the Default Value field, you can add a default value for the field.
You can add a help text for the field from the Help Text field.
You can improve the accessibility of the field by adding an Aria description in the Aria Description field.
Then, in the Unique ID field, you can add a unique ID for the field.
Note: Make sure not to use the same ID in any other field.
After that, you can use the shortcode from the Data Shortcode field to show the data of that particular field. This can be useful for sending customized email notifications.
Note: For the Hidden field, you’ll see the Default Value and Unique ID fields only. For HoneyPot you’ll only see the Unique ID field.
Following this process, you can edit the other repeater items.
You can click on the + Add Item button to add more fields to the form.
Button
From this tab, you can customize the form button. Here, you’ll find two tabs.
Content
From the Button Text field, you can customize the button text.
Then, from the Icon Font dropdown, you can select the font library. Based on your selection, you can add an icon to the button.
You can place the icon before or after the button text from the Icon Position dropdown.
By turning on the Inline Button toggle, the button will appear on the same line as the field.
You can manage the button width from the Button Width section.
Advance
You can add an ID to the button from the Button ID field.
Submit Action
From the Add Action section, you can select the action after form submission. Here you’ll find two options –
- Database Entry – To add form entries in the WordPress phpMyAdmin database.
- Email – To customize the email notification.
- Auto Respond Email – To send an email confirmation to the user.
- Redirect – To redirect the user after form submission.
- ActiveCampaign – To add users to ActiveCampaign from an Elementor Form.
- Brevo – To add users to Brevo from an Elementor Form.
- ConvertKit – To add users to Kit (formerly ConvertKit) from an Elementor Form.
- GetResponse – To add users to GetResponse from an Elementor Form.
- Mailchimp – To add users to Mailchimp from an Elementor Form.
- MailerLite – To add users to MailerLite from an Elementor Form.
- Drip – To add users to Drip from an Elementor Form.
- WebHook – To send data to a Zapier Zap from an Elementor Form.
- Slack – To send a message to a Slack channel from an Elementor Form.
- Discord – To send a message to a Discord server from an Elementor Form.
Message Content
From this tab, you can customize different messages related to the form status.
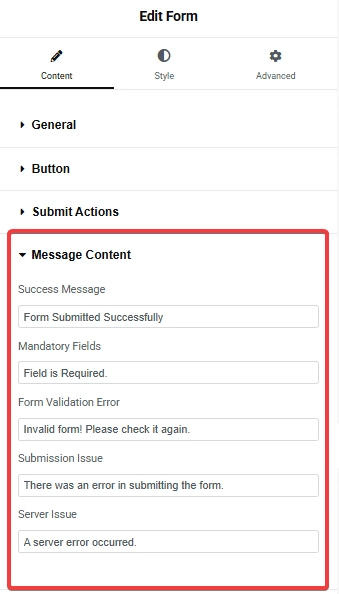
Success Message – From here, you can customize the message when the form is submitted successfully.
Mandatory Fields – From here, you can customize the message for the required field error.
Form Validation Error – From here, you can customize the message when there is any validation error in the form.
Submission Issue – From here, you can customize the message when there is any issue in the form submission.
Server Issue – From here, you can customize the message when there is any server issue in the form submission.
Extra Options
You can add a unique ID to the form from the Form ID field.
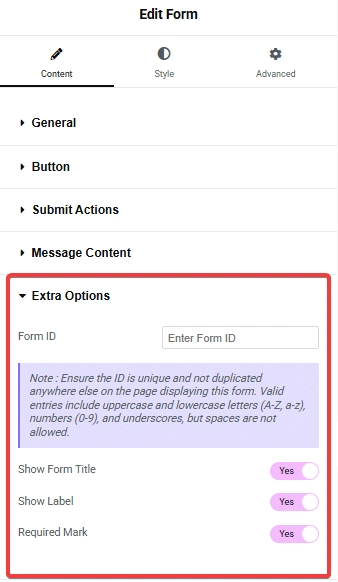
Note: Make sure the form ID is unique and not used anywhere else.
Then, from the Show Form Title toggle, you can show or hide the title from the form.
Then, from the Show Label toggle, you can show or hide the labels from the form.
From the Required Mark toggle, you can show or hide the required mark from the form.
How to Style the Form Widget in Elementor?
To style the Form widget, you’ll find all the options in the Style tab.
General – From here, you can manage the form row and column spacing, you can also manage the form label style.
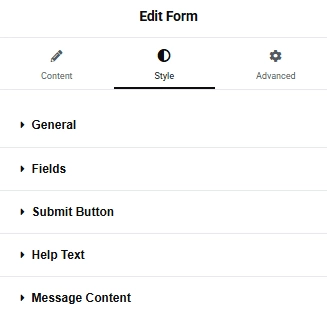
Fields – From here, you can style the form input fields.
Submit Button – From here you can manage the submit button style.
Help Text – From here, you can style the help text.
Message Content – From here, you can style the different messages of the form.
Advanced options remain common for all our widgets, you can explore all its options from here.