As a website owner or developer, you may have come across the need to display an image box on your
WordPress site to showcase your image in a well designed Image box.
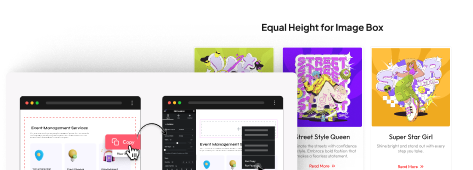
With the Info Box Widget from The Plus Addons for Elementor, you can make a visually appealing image box in Elementor.
To check the complete feature overview documentation of The Plus Addons for Elementor Info Box widget, click here.
Requirement – This widget is a part of The Plus Addons for Elementor, make sure it’s installed & activated to enjoy all its powers.
To do this, add the Info Box widget to the page and follow the steps –
1. From the Select Layout dropdown, you can select Listing or Carosual.
Let’s select Listing here.
From Icon Box Style, select the appropriate display style for the info box.
Add the infobox title and content in the Title and Description fields as per your requirements.
2. Select Image from the Select Icon dropdown.
Note: With the Carousel layout, there are two Select Icon dropdowns – one for all info boxes together and one for each info box individually.
3. From the Choose the Image section add an image from the media library or upload a new image.
From the Image Resolution field, you can adjust the image size.

Now you should have an eye-catching Image box using the info box.
Suggested Read: How to Add a Link to The Info box in Elementor.
