Generate Access Token for Personal Account
1. You have to log in to your Facebook account and then go to Facebook for Developers.
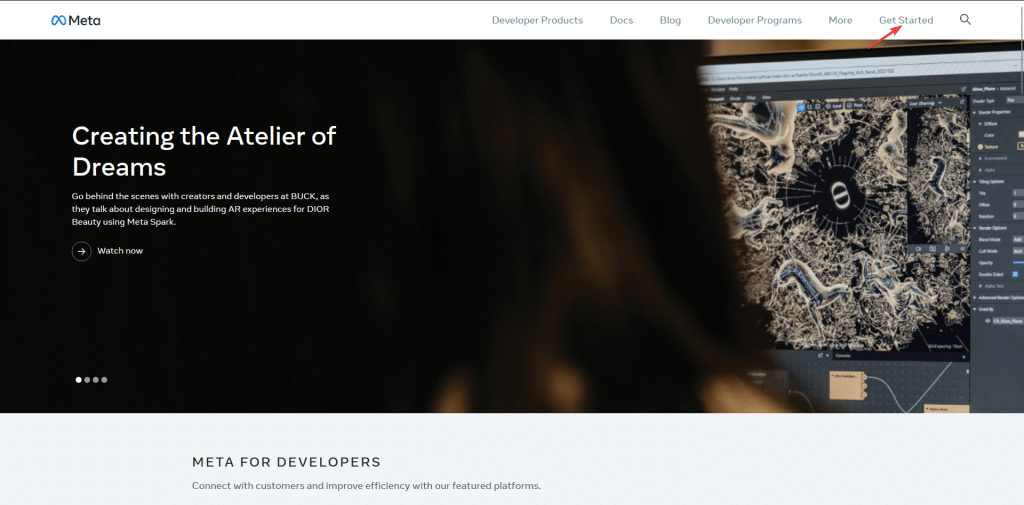
2. If you don’t have a developer account, click the Get Started button at the top. Skip to step 4 if you have a developer account.
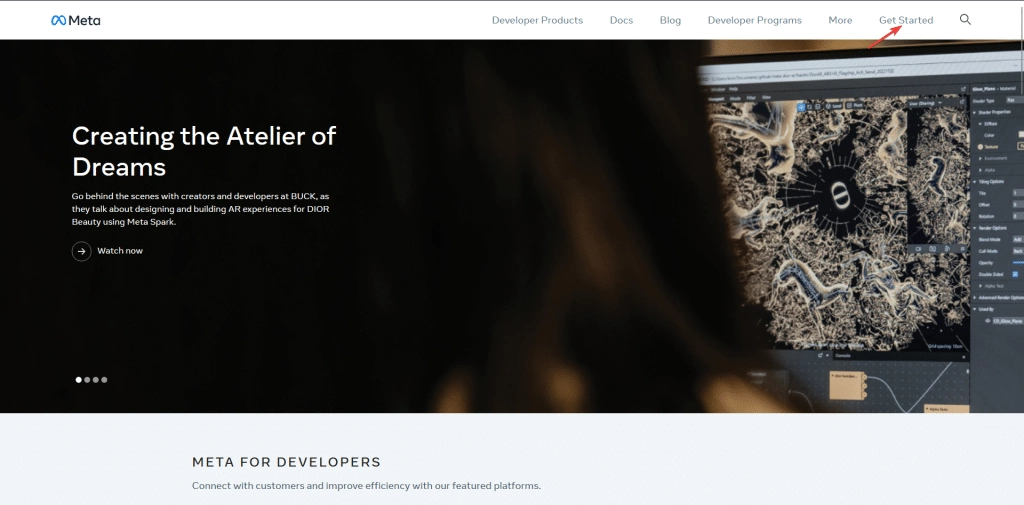
3. Then you have to register for a developer account, and follow the steps to create your account.
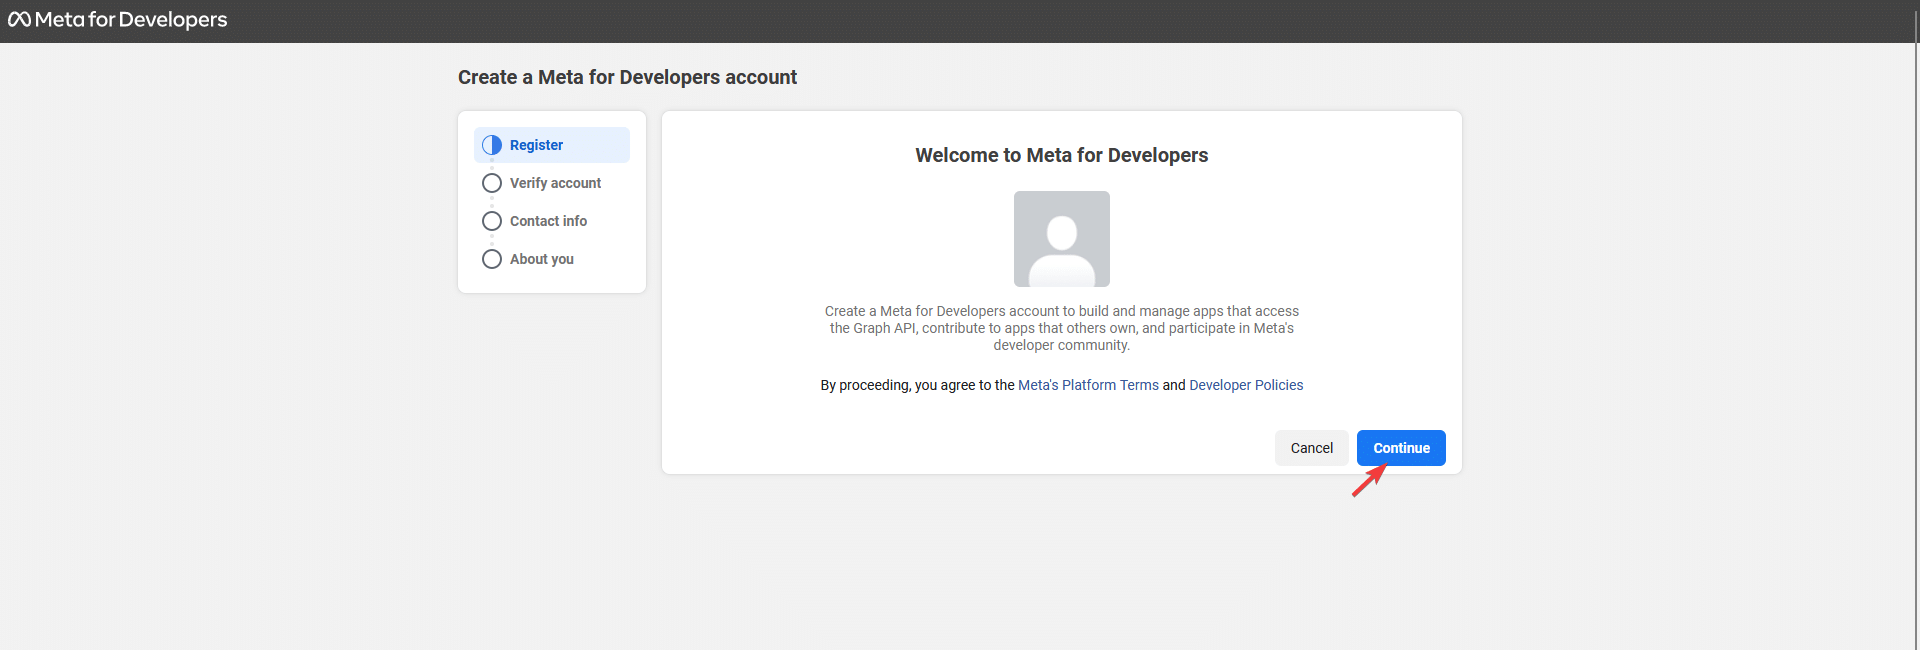
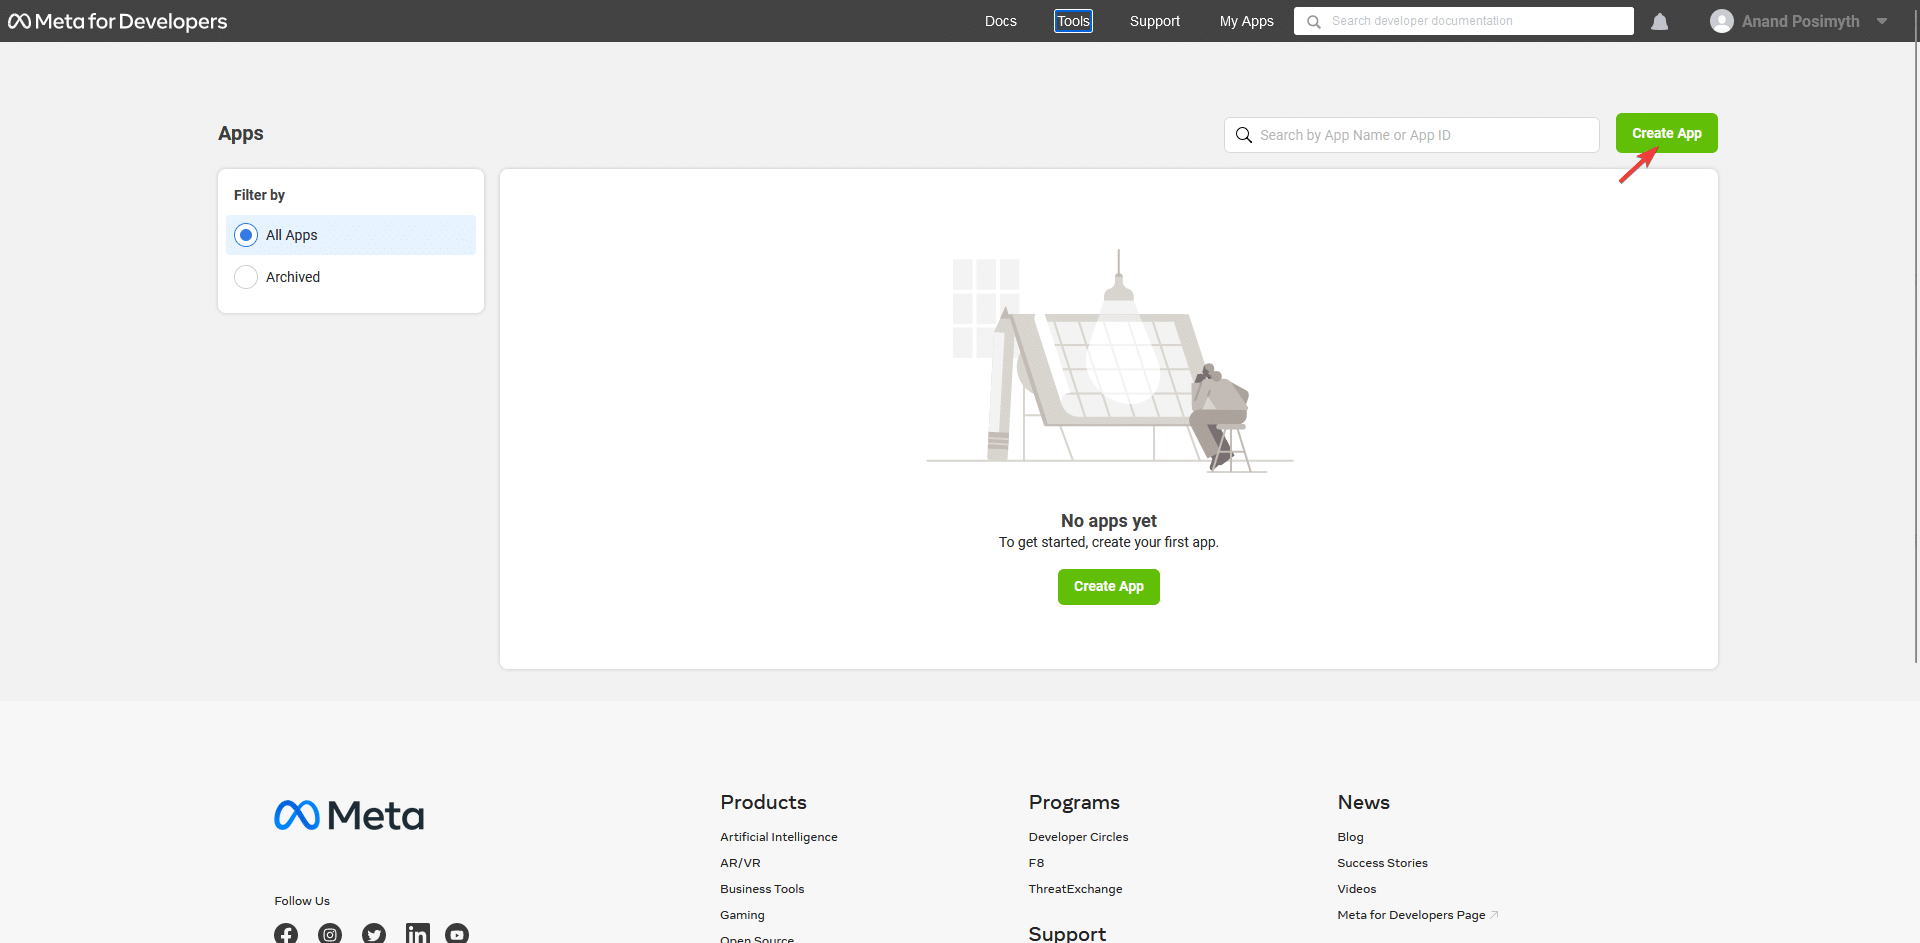
4. Once done, you’ll get to the Apps page, and click on the Create App button.
5. On the next page you have to add your app name and email ID and then click on the Next button.

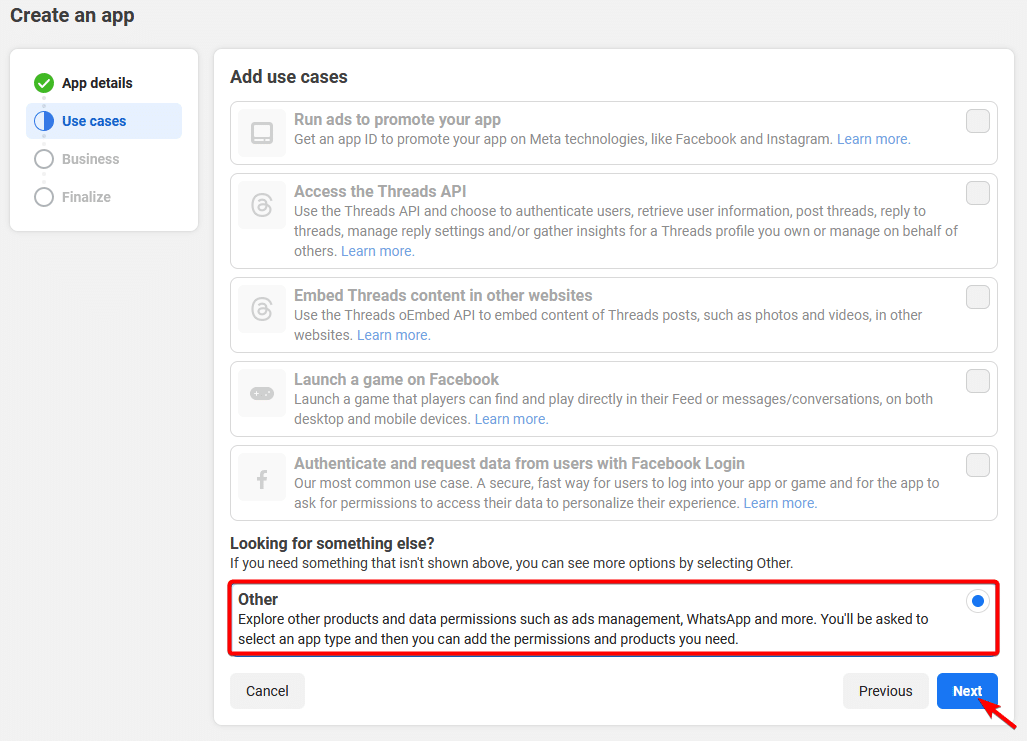
6. On the next page select Other and click Next.
7. On the next screen, you have to select your app type, select Business and click Next.
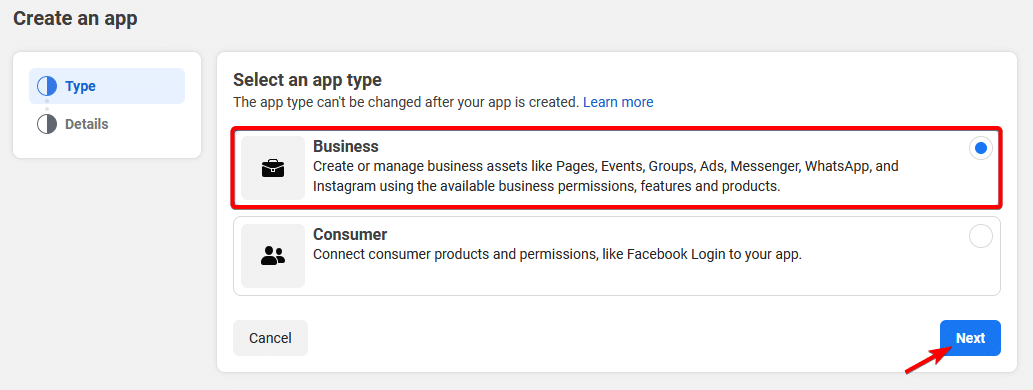
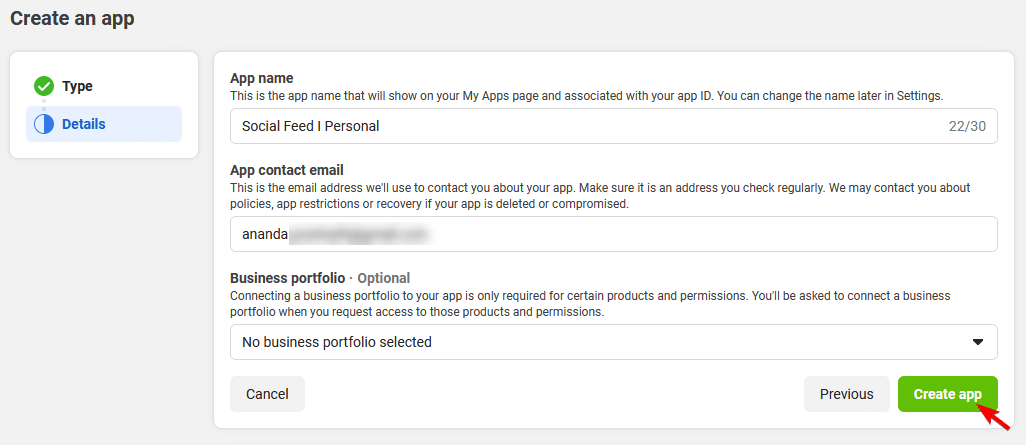
8. On the next screen click on the Create App button, it will ask for your Facebook password to authenticate.
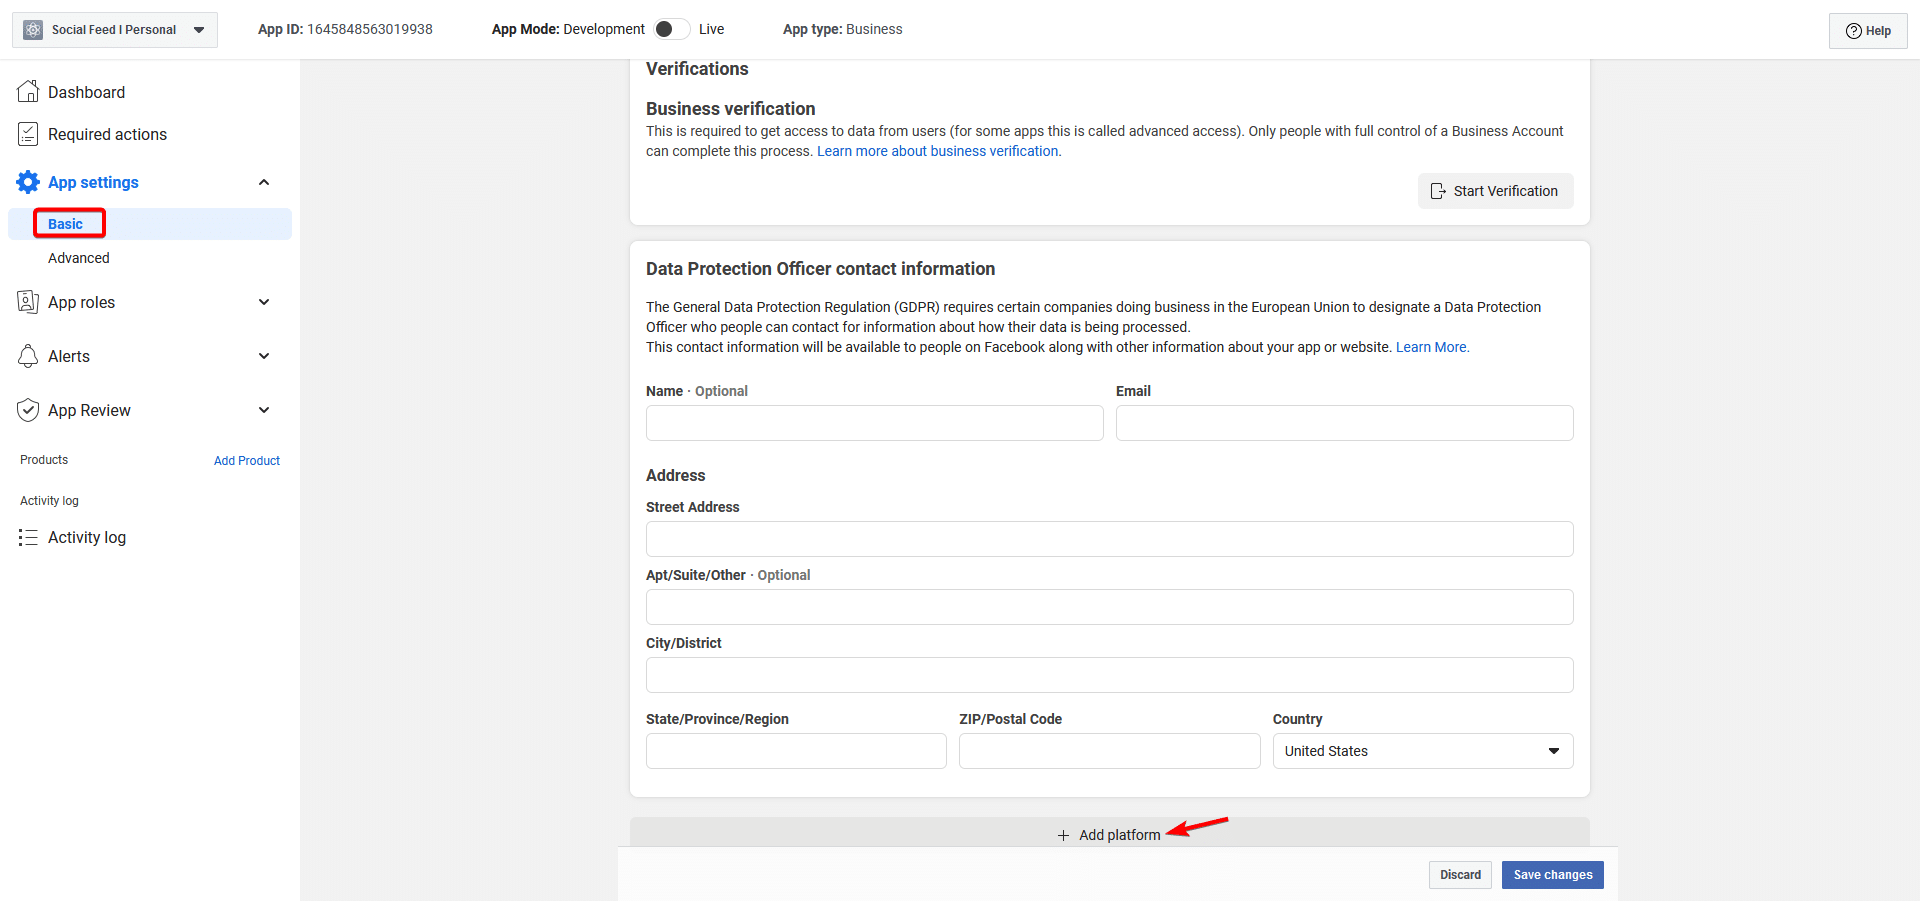
9. On the next page go to App Settings > Basic.
10. On the other screen, scroll to the bottom and click on the +Add platform button.
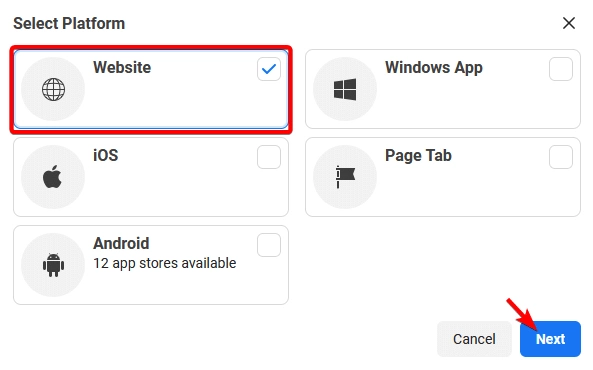
11. It will open a popup, then select Website as the platform, and click on the Next button.
12. Then add your website URL in the Site URL field and click on the Save Changes button.
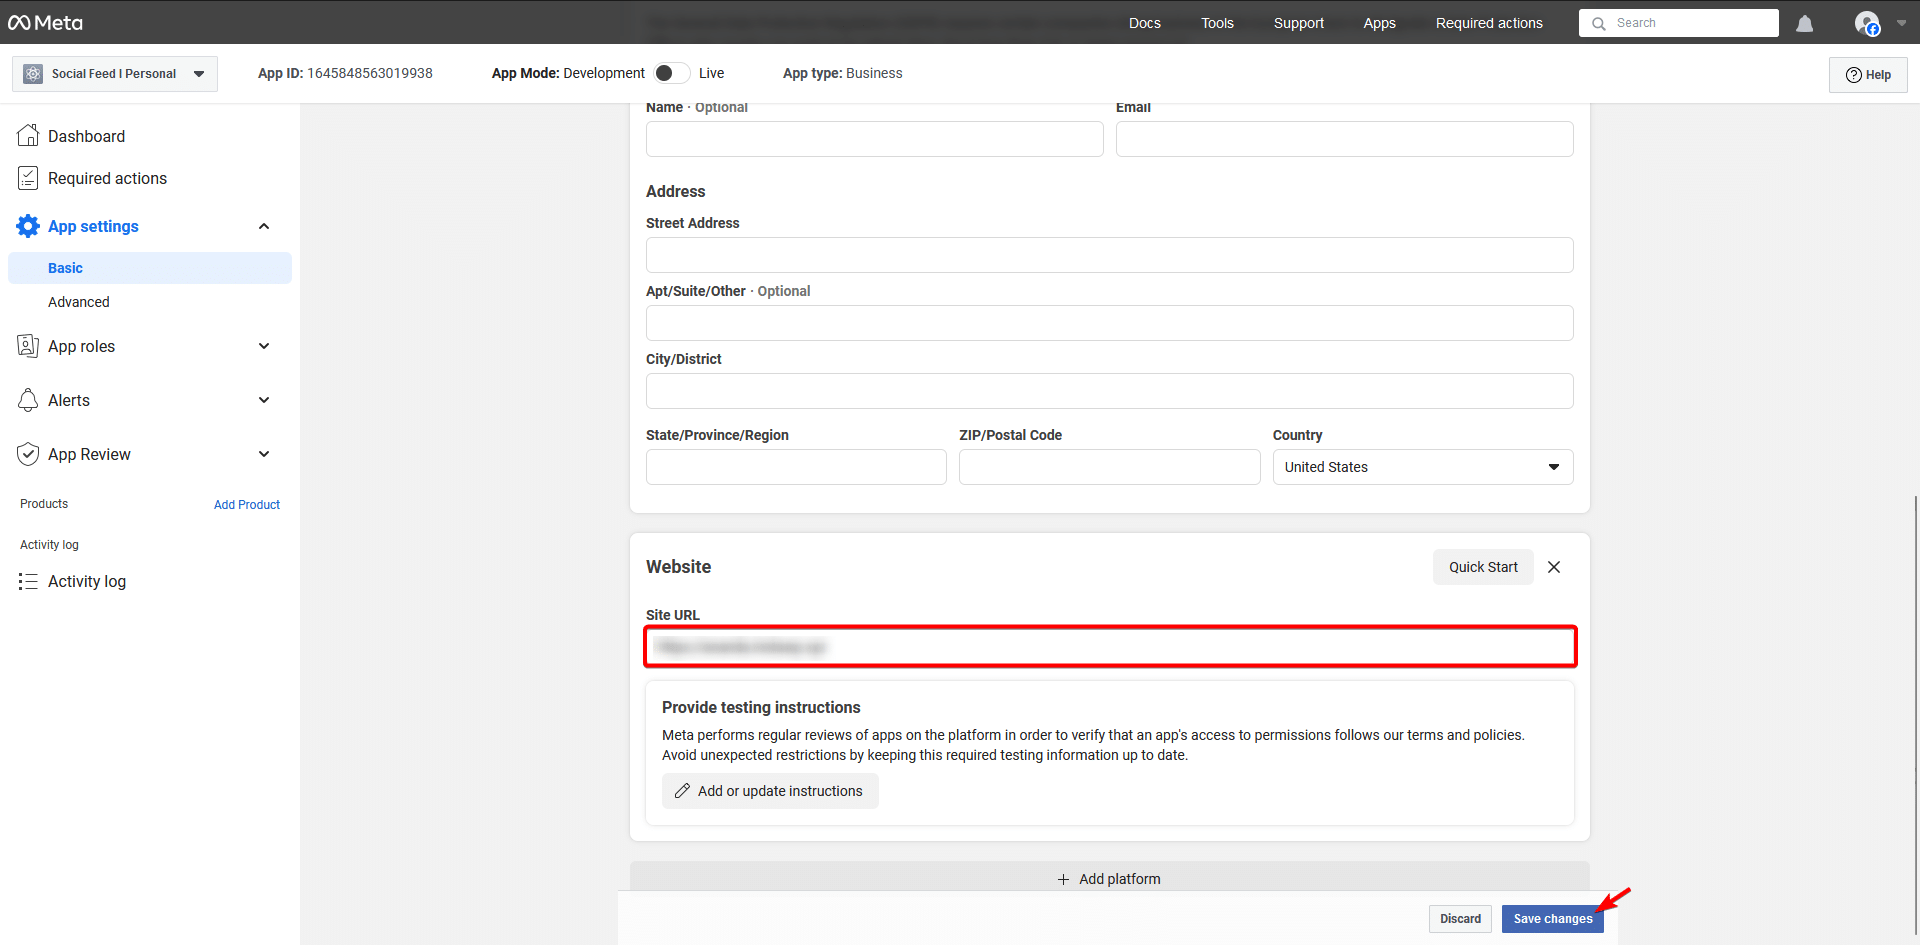
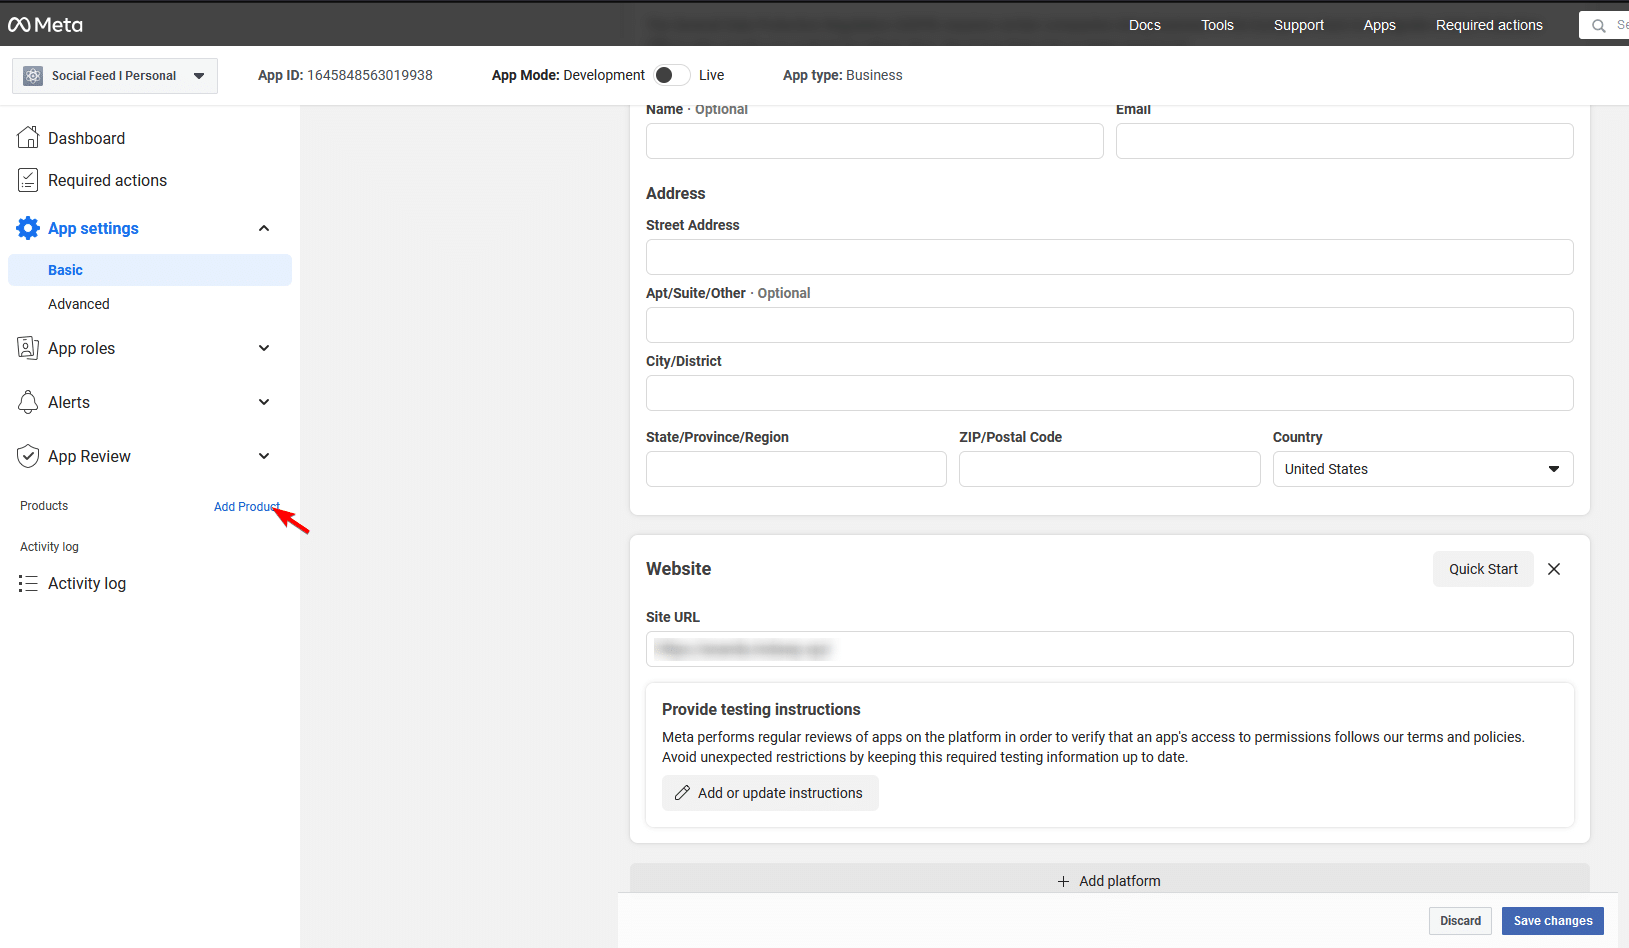
13. Then, from the left panel, click on the Add Product link.
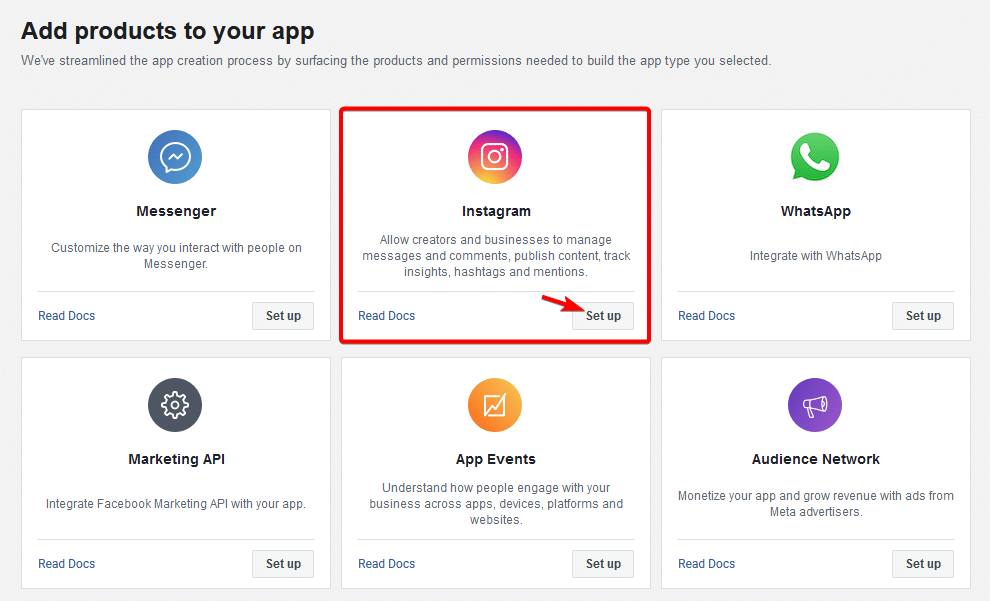
14. After that, scroll down to Instagram and click on the Set up button.
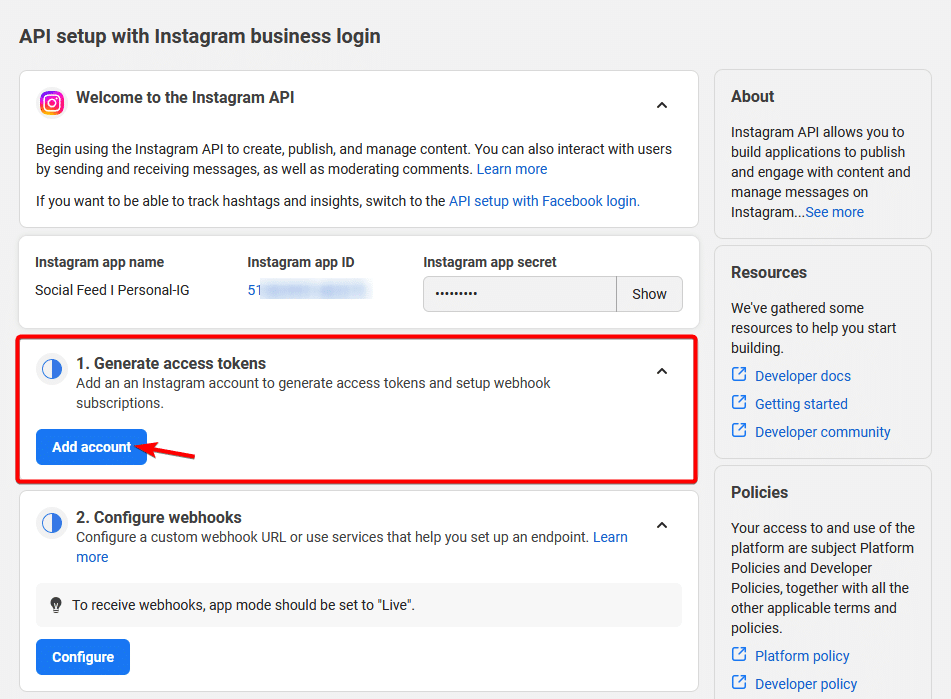
15. On the next page, click on the Add account button under the Generate access tokens section.
16. It will open a popup and click on the Continue button.
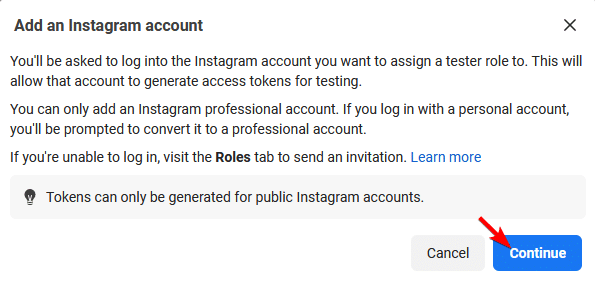
17. Then it will ask you to log in to your Instagram account and grant some permissions.
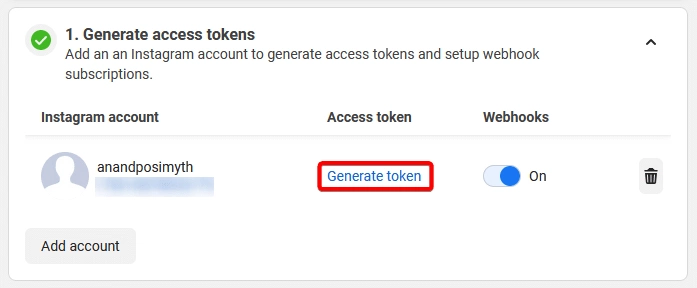
18. After that, click on the Generate token link and allow the required permissions.
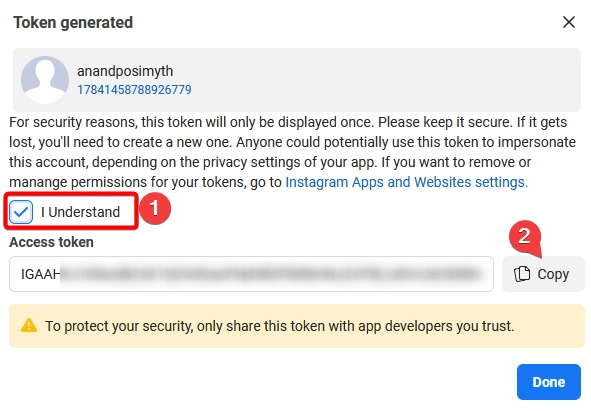
19. Then you’ll see the Token generated popup, check the I understand checkbox to see the token, and click the Copy button to copy the token key.
Generate Access Token for Business Account
To generate access token for business account follow the process –
1. You have to log in to your Facebook account and then go to Facebook for Developers.
2. If you don’t have a developer account, click the Get Started button at the top. Skip to step 4 if you have a developer account.
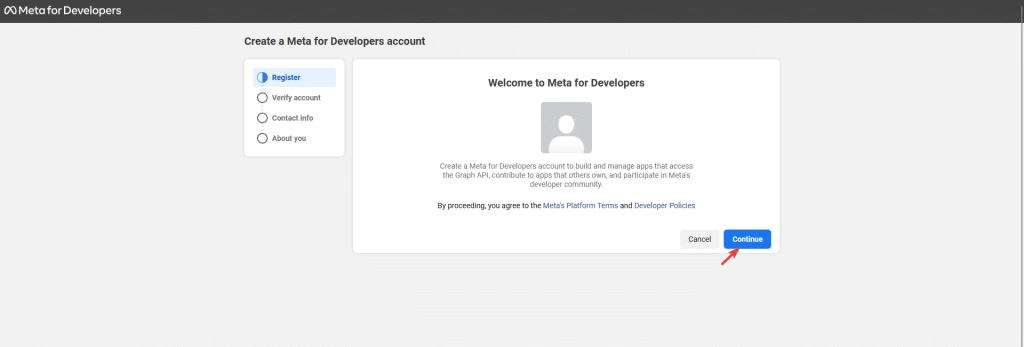
3. Then you have to register for a developer account, and follow the steps to create your account.
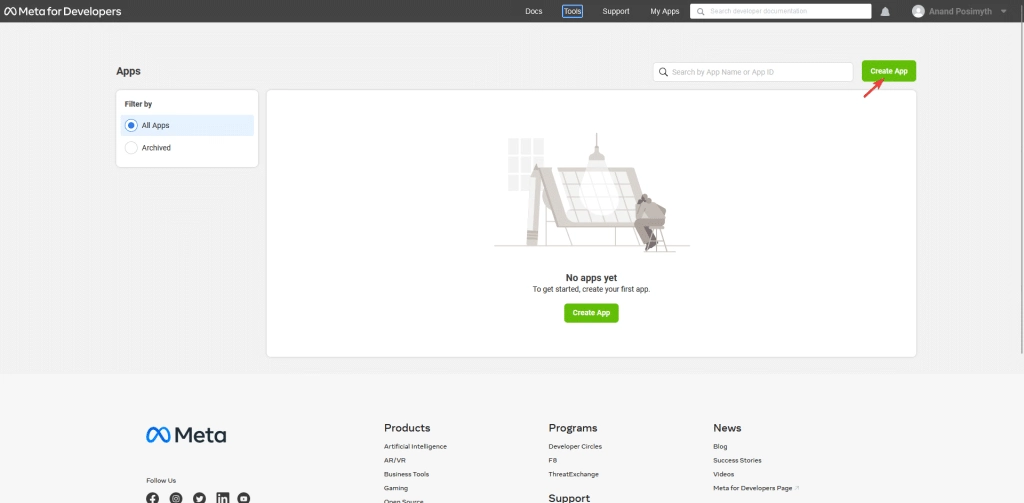
4. Once done, you’ll get to the Apps page, click on the Create App button.
5. On the next page, select the business profile you want to link with the app and click Next.

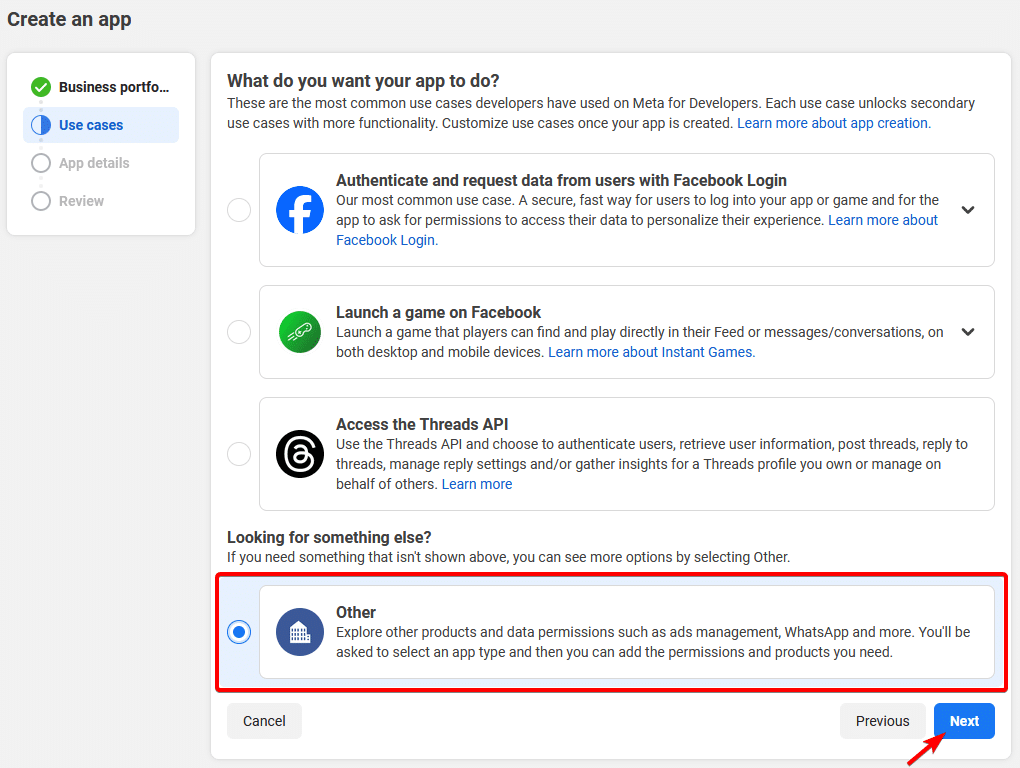
6. On the next page select Other and click Next.
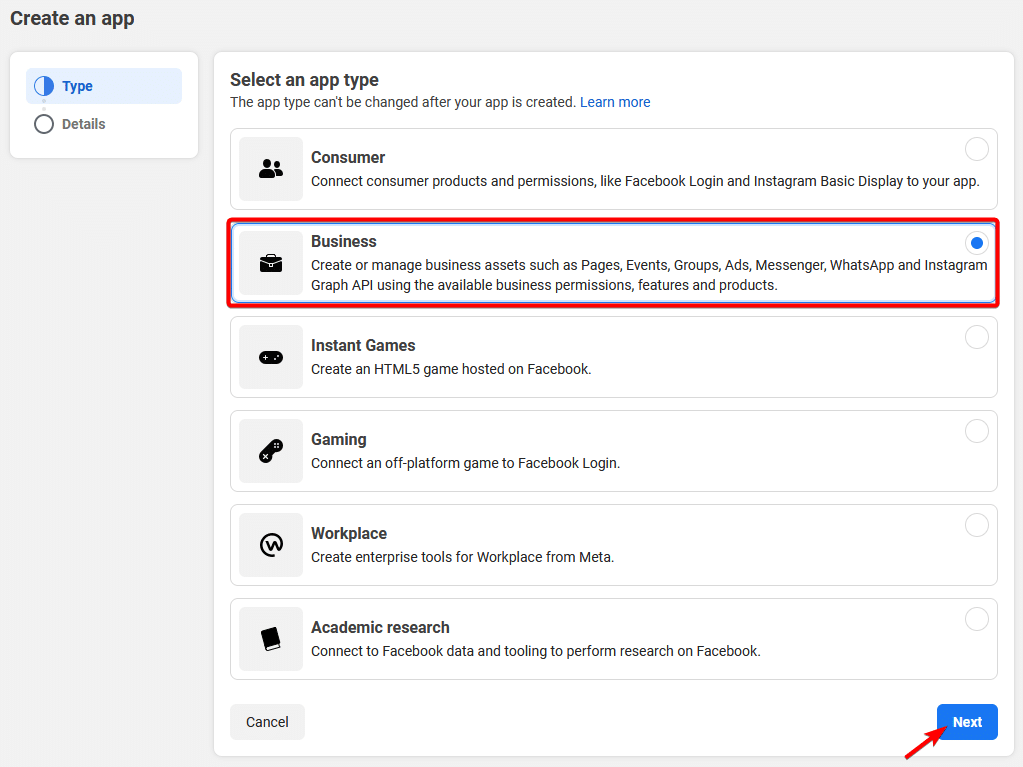
7. On the next screen, you have to select your app type, select Business and click Next.
8. Then add an app name, email id and optionally connect your business account. Once done click on the Create App button, it will ask for your password to authenticate.
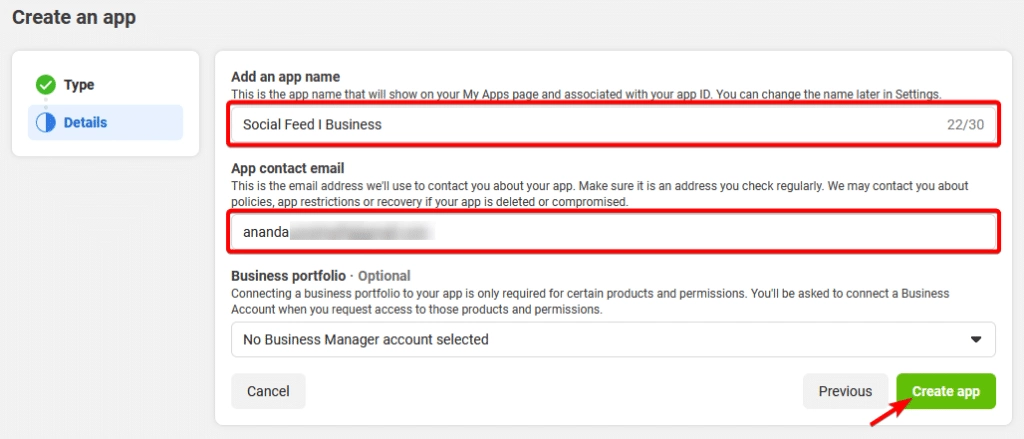
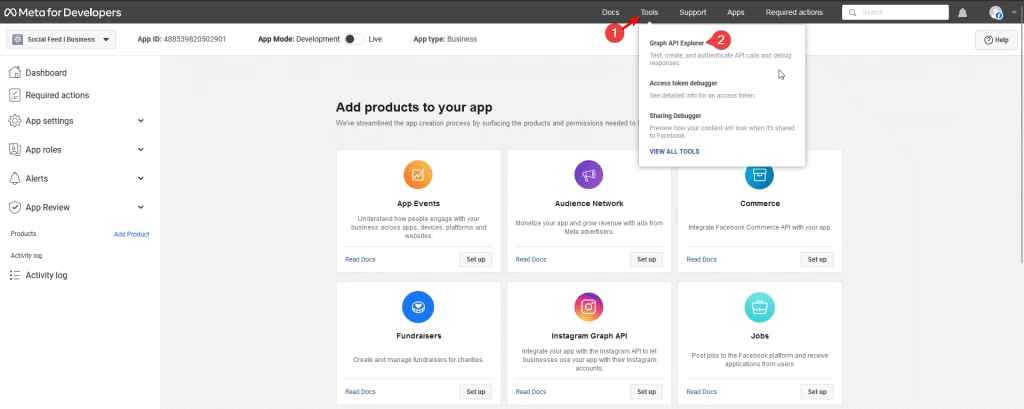
9. On the next page, from the top menu go to Tools > Graph API Explorer.
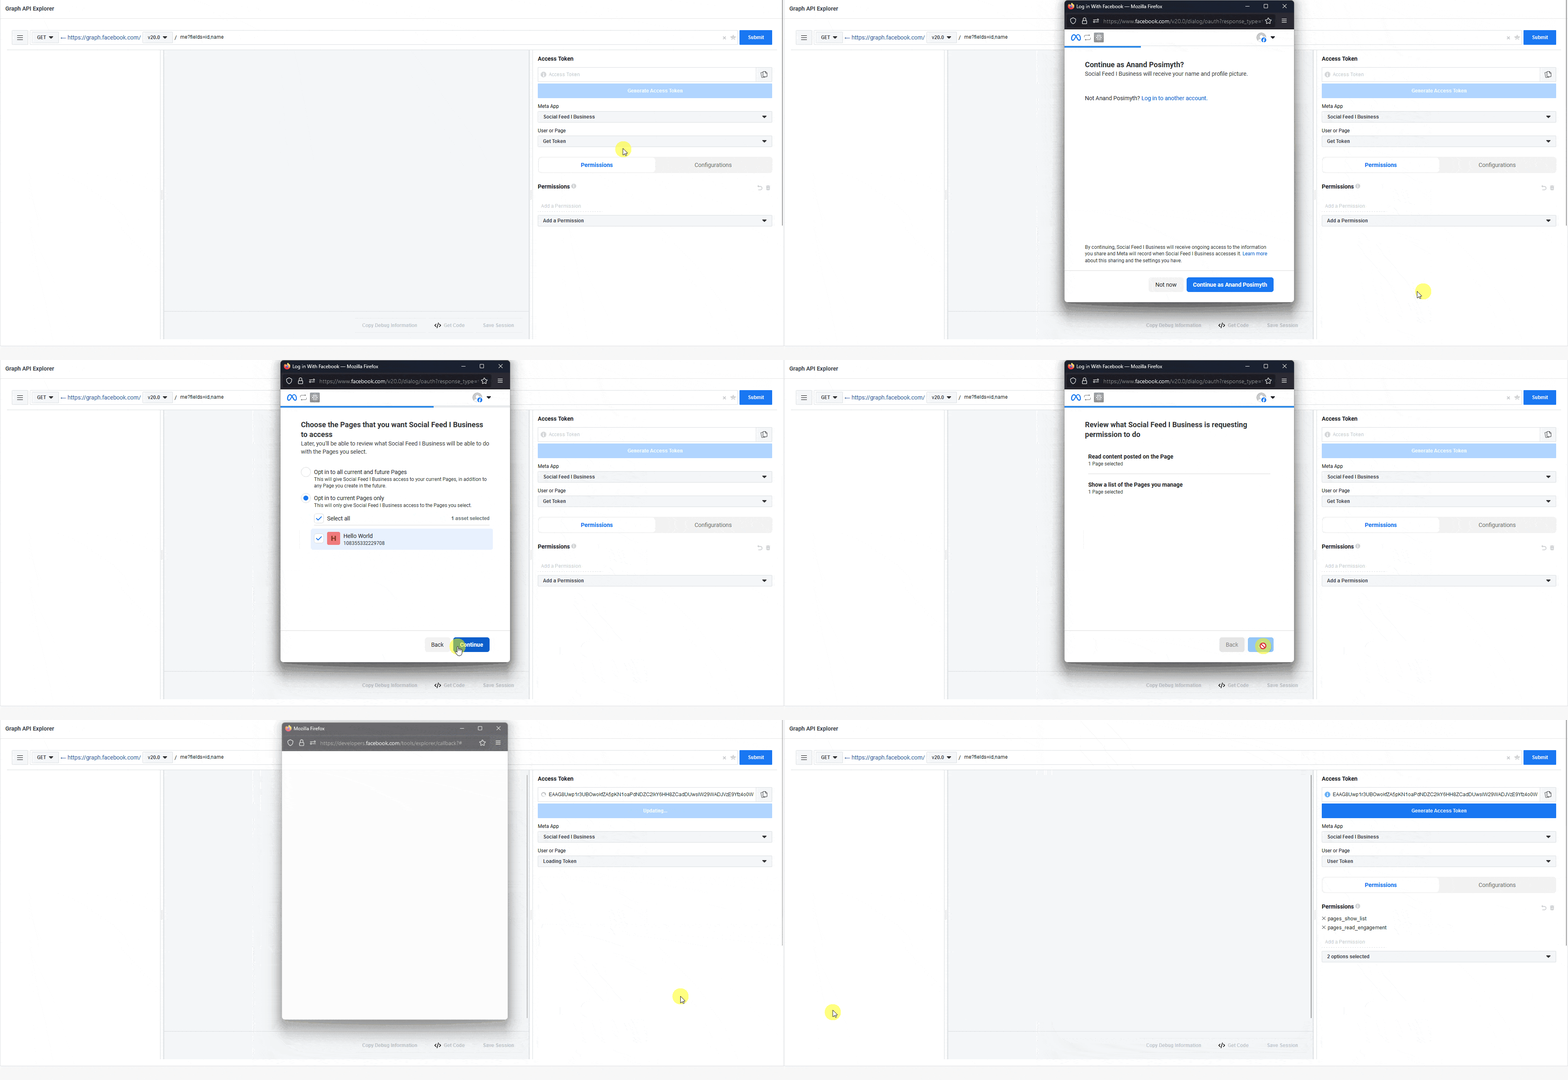
10. On the next page, select your app from the Meta App dropdown.

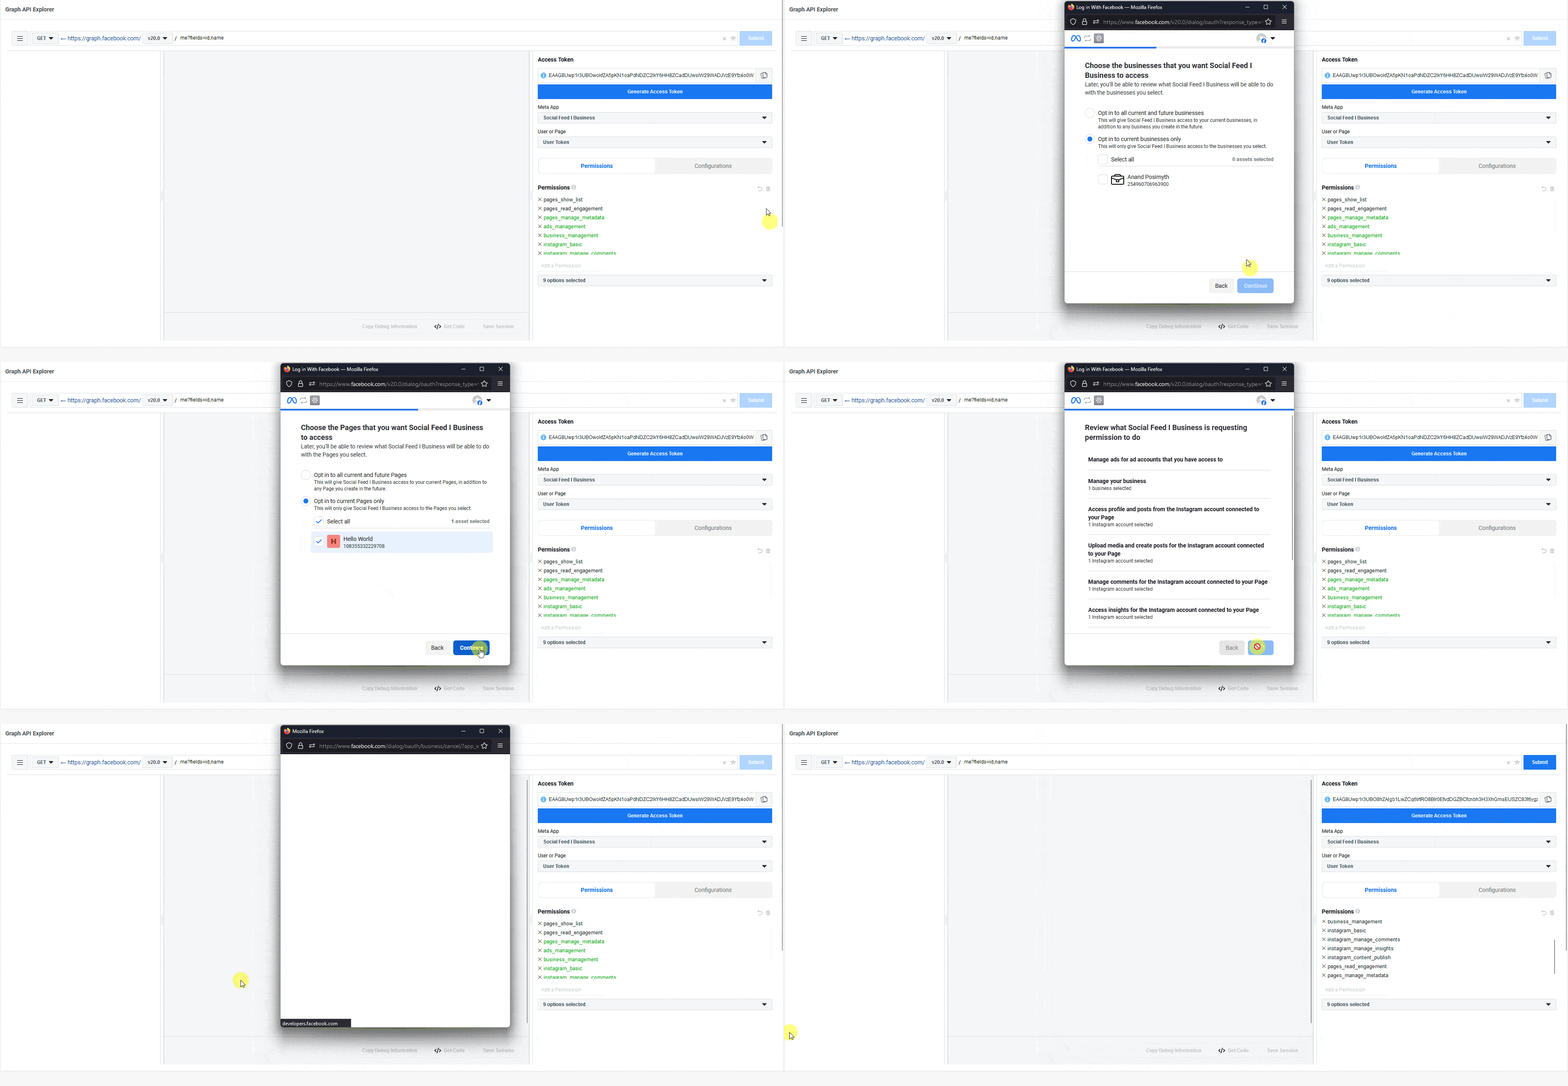
11. Then from the User or Page dropdown select Get Page Access Token. A popup will open, continue with your Facebook account, then select your Facebook page and follow the steps to complete the process. Now you’ll see two permissions added in the Permissions tab.
12. Then add “pages_manage_metadata” permission in the Add a Permission field.
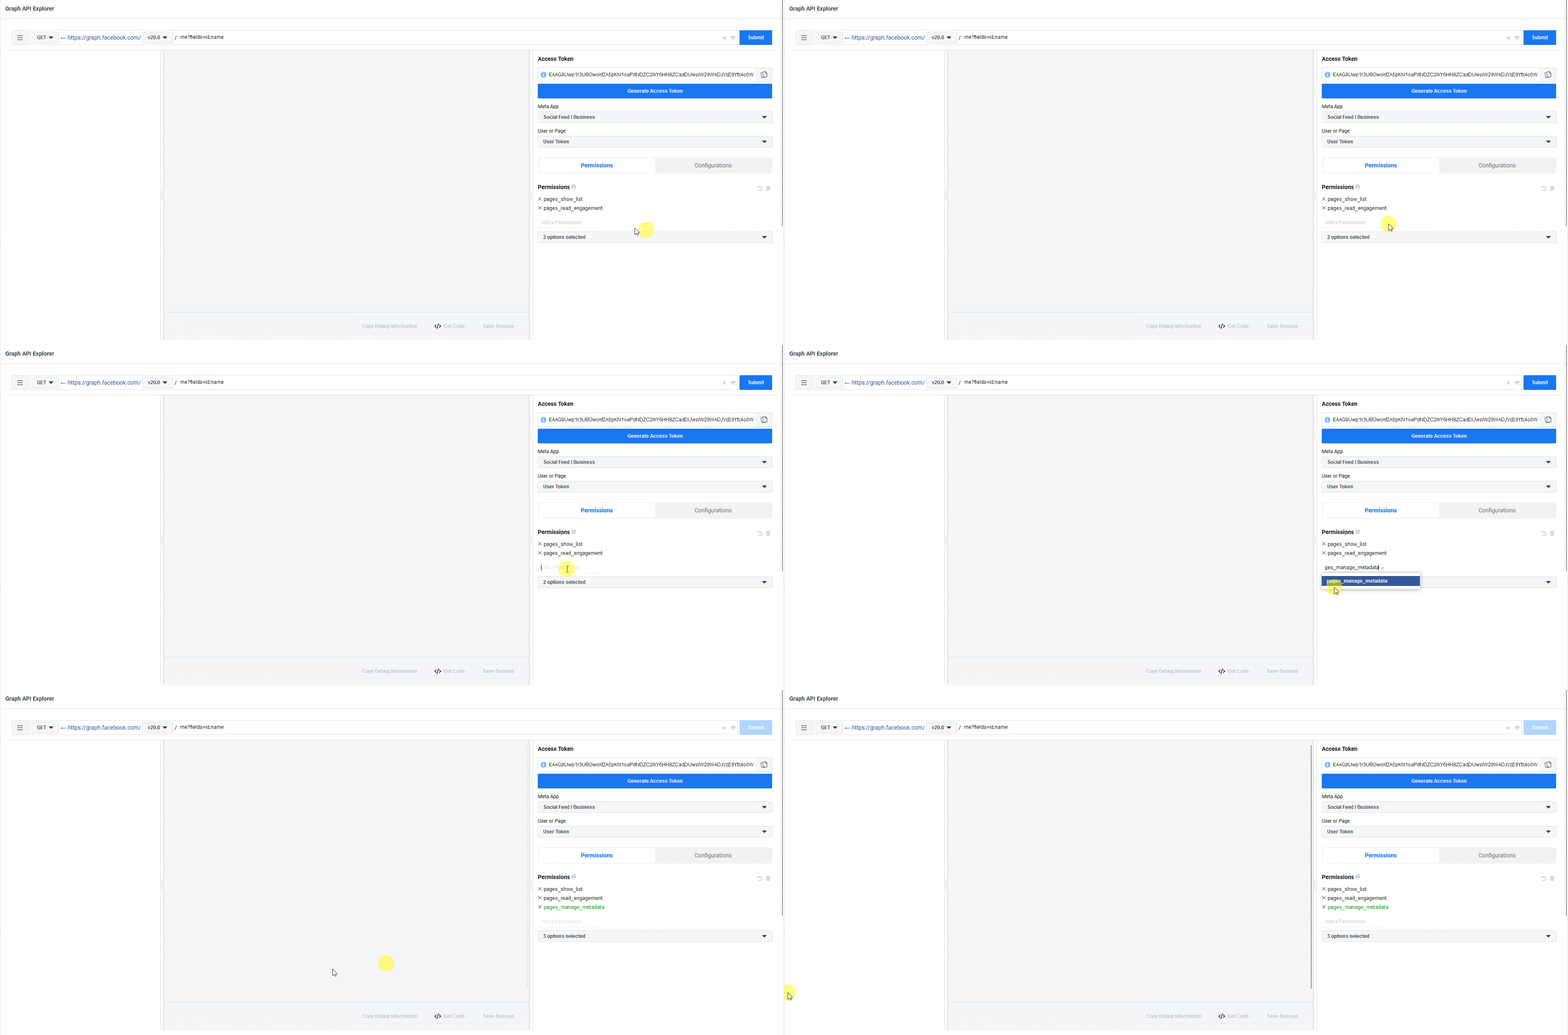
13. Similarly add the following permissions –
- ads_management
- business_management
- instagram_basic
- instagram_manage_comments
- instagram_manage_insights
- instagram_content_publish
Now you should have nine permissions in the Permissions tab. All the permissions in green color are not included yet.
14. To include them click on the Generate Access Token button, a popup will open, continue with your Facebook account, then select your associated business profile, Facebook page and Instagram profile then follow the steps to complete the process. Now you’ll see all permissions in black color.
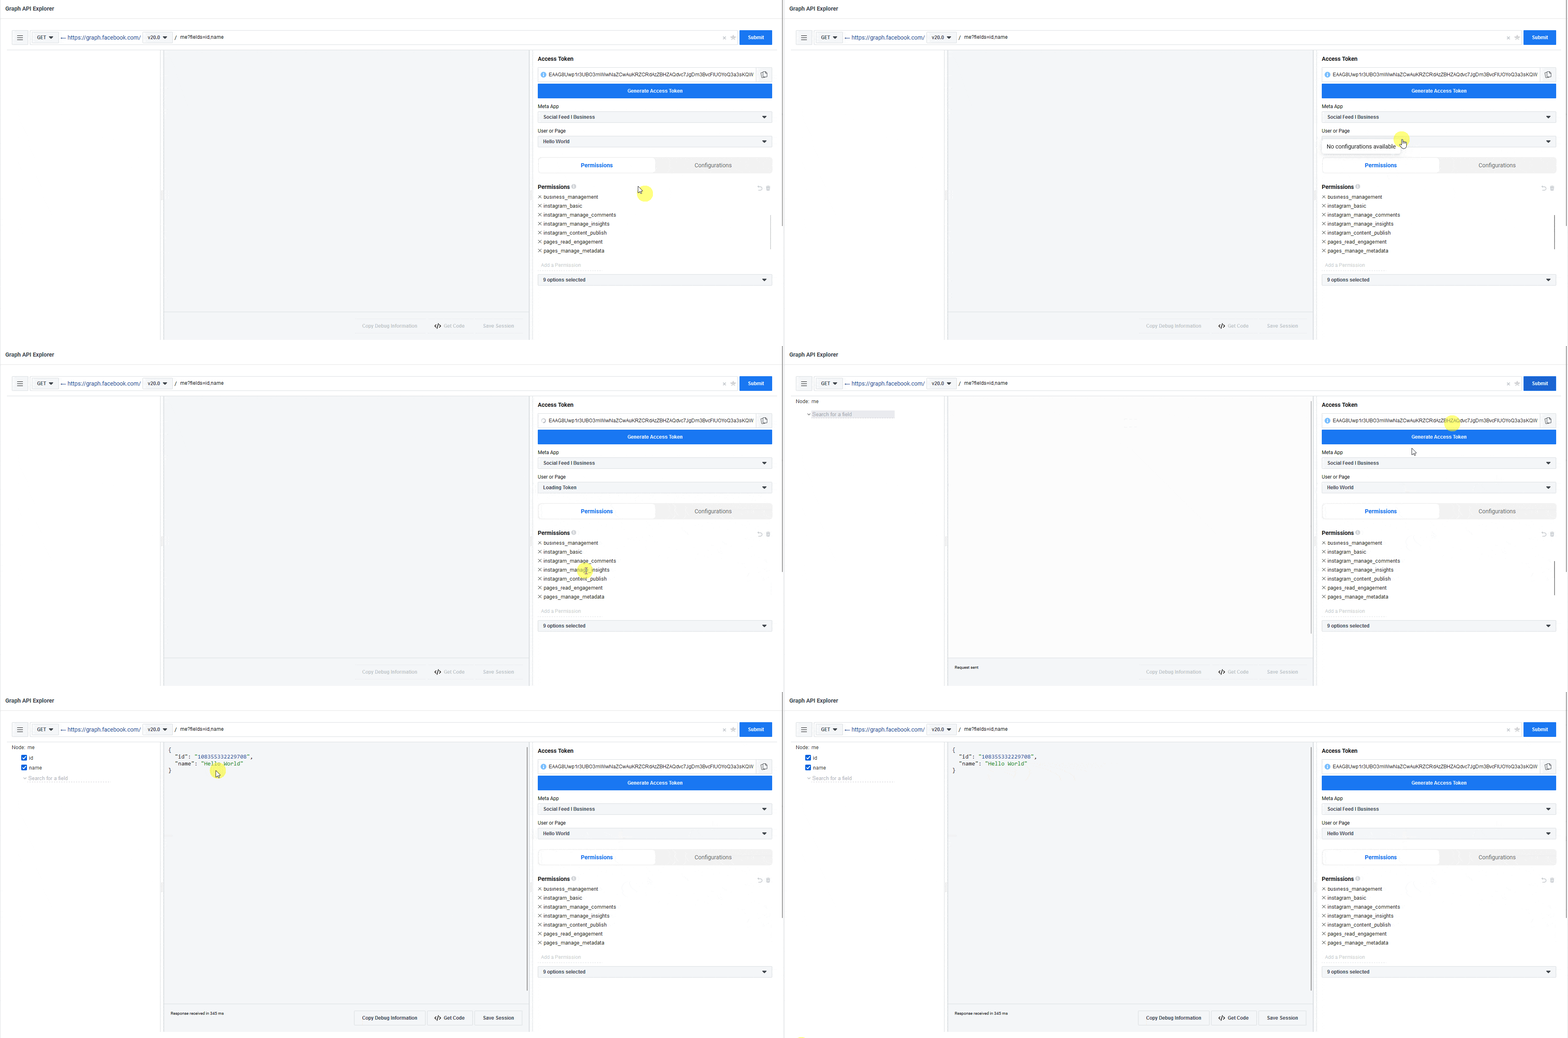
15. Then from the User or Page dropdown select your Facebook page and then click on the Submit button. Now you’ll see your Facebook page name and ID.
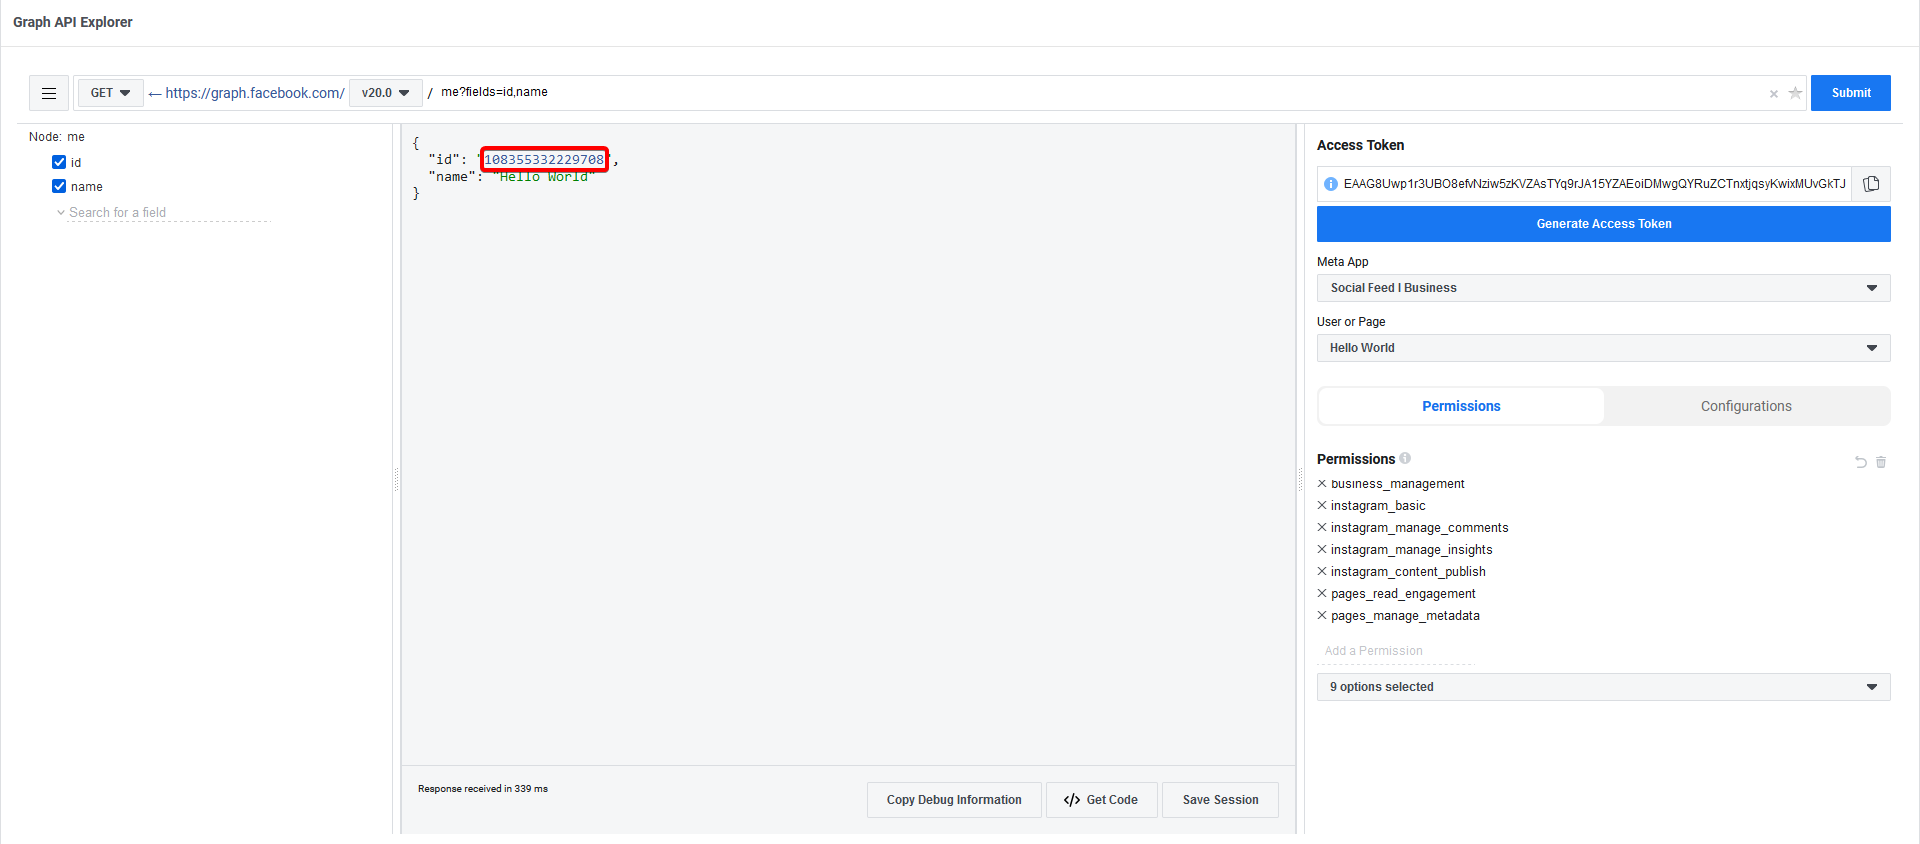
16. Now copy and save the page ID in a notepad.
The access token generated here is a temporary one (will expire in about 2 hours) to extend the access token, follow steps 17-20 mentioned in the Facebook access token document.
