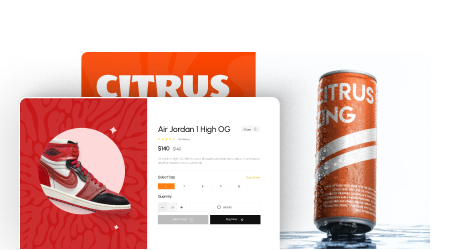
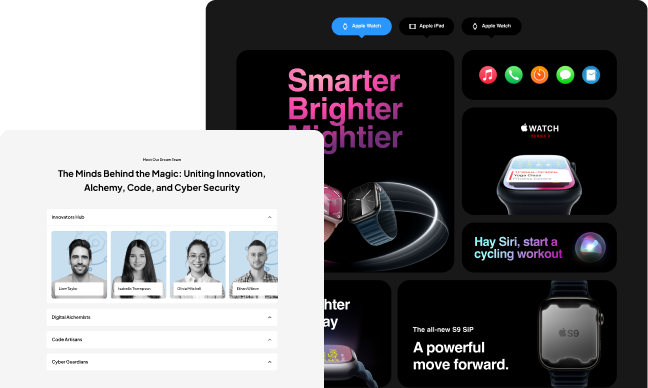
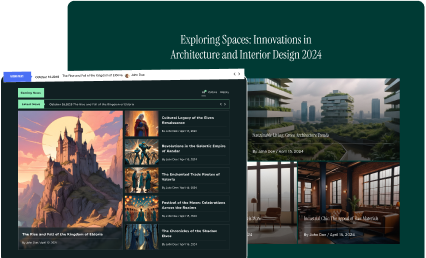
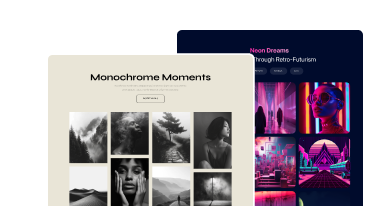
Are you looking to add a frosted glass effect in Elementor? The glass morphism effect adds a modern and sleek look to any element on a website. This effect creates a sense of depth and transparency, making elements appear like they are made of frosted glass.
With the Glass Morphism extension from The Plus Addons for Elementor, you can easily add a frosted glass effect in Elementor.
Required Setup
- Elementor FREE Plugin installed & activated.
- You need to have The Plus Addons for Elementor plugin installed and activated.
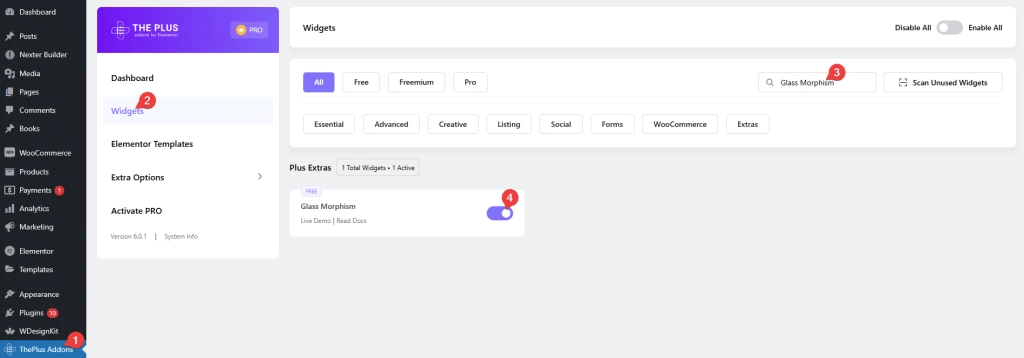
- Make sure the Glass Morphism extension is activated, to verify this, visit The Plus Addons → Widgets → and Search for Glass Morphism and activate.
How to Activate the Glass Morphism Extension?
To get started with Elementor Glassmorphism, go to
- The Plus Addons → Widgets
- Search the widget name and turn on the toggle.
Key Features
- Add frosted glass effect – You can easily add a frosted glass effect on any widget.
How to Add Frosted Glass Effect in Elementor?
Once the Glass Morphism extension is activated, add any widget or a container inside a container or column then follow the steps –
1. Add a background image to the parent container or the column and make the necessary adjustments.
2. Then select the widget and go to Advanced > Plus Extras : Glass Morphism.
3. Turn on the Glass Morphism toggle.
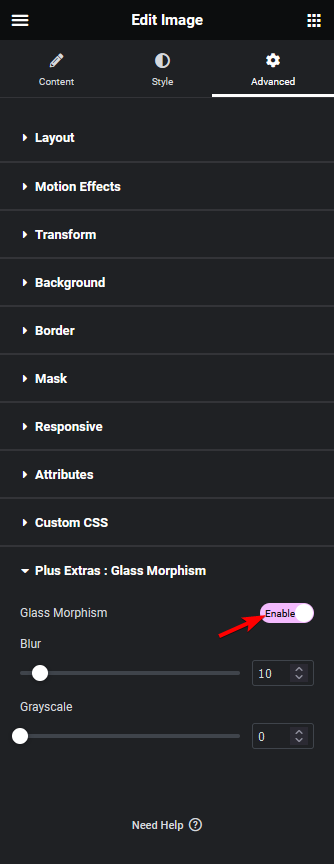
From the Blur section, you can adjust the frosted glass effect Elementor and from the Grayscale section, you can adjust the frosted glass area’s color saturation level.
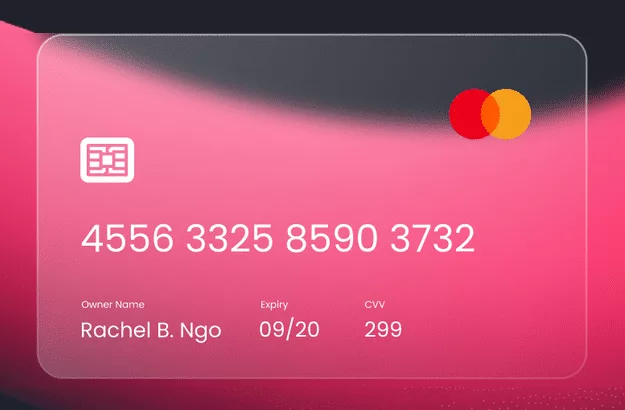
Now, you’ll see a beautiful frosted Elementor glass effect behind your content.
If you’re interested in exploring more design enhancements, check out our doc post on “Neumorphism Shadow Effects in Elementor“.
